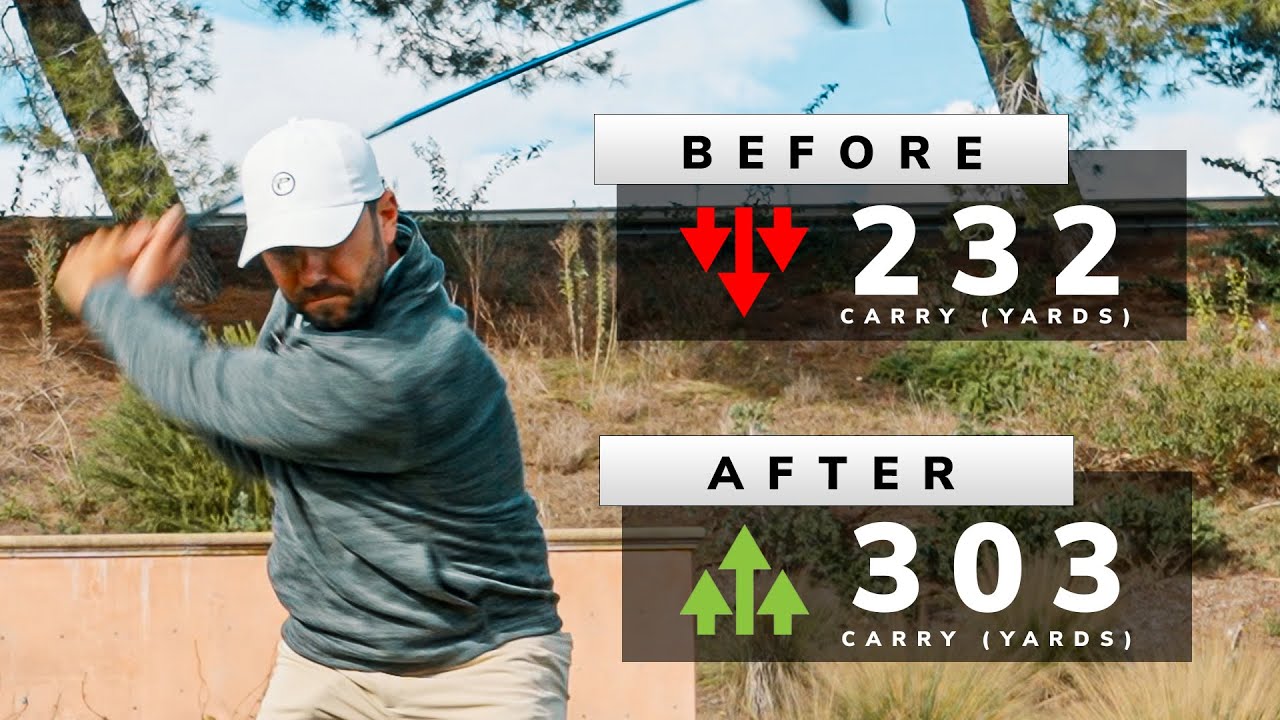
Unlock the secrets to consistent and powerful drives with our step-by-step guide. Discover key checkpoints that simplify the driver swing, increase distance, and keep your ball on target more often.
Table of Contents
- Step 1: Stance Width and Ball Position
- Step 2: Keep Your Head in the Picture Frame
- Step 3: Beat Your Hands to the Ball
- Step 4: Stay Centered and Get Your Sequence Right
- Step 5: Hands and Hips Move Together
- Step 6: Drill to Feel Hand Speed
- Step 7: Stay Behind the Ball to Shape Shots
- Step 8: Increase Turn Range for More Distance
- Step 9: Tee Height and Strike Location
- Step 10: Pre-Shot Checklist
- Common FAQs
- Final Thoughts
Step 1: Stance Width and Ball Position
Start with the basics. Position the ball off your lead shoulder and just inside the front foot. This helps achieve a high launch by striking the ball on the upswing. Your stance should be wide enough for stability but not overly wide to prevent lateral movement.
Step 2: Keep Your Head in the Picture Frame
Imagine a frame around the ball, positioning your head within it. This ensures your club squares up at impact, optimizing launch conditions. Maintain head position backward until after impact, like a ‘knife at the temple’ to remain stable.
Step 3: Beat Your Hands to the Ball
Avoid letting either a rotational or lateral move make your hands lag. Stay centered, allowing hands to move with body transition. This prevents wasted energy and ensures stable, powerful shots.
Step 4: Stay Centered and Get Your Sequence Right
The driver requires maintaining a longer coil for speed. Visualize hands and hips racing like horses to a photo finish, preventing loss of sequencing and maintaining energy transfer.
Step 5: Hands and Hips Move Together
Sync hands and body movements to transfer energy effectively to the clubhead. A synchronized movement results in better contact and flight.
Step 6: Drill to Feel Hand Speed
Practice limiting body rotation, hitting balls with arms and hands to appreciate their impact. This drill refines understanding of hand contribution while maintaining smooth motion.
Step 7: Stay Behind the Ball to Shape Shots
To encourage a draw, keep your head behind the ball. This helps the club to travel on an inside-to-out path, leading to desirable shot shapes.
Step 8: Increase Turn Range for More Distance
To boost distance, slightly lift the lead heel at transition. This expands turn range, enhances torque, and may add 30-40 yards for some golfers.
Step 9: Tee Height and Strike Location
Proper tee height is crucial. Aim to strike the upper middle of the clubface by following these guidelines: half the ball above the face for normal shots, lower for windy conditions, and higher for increased launch.
Step 10: Pre-Shot Checklist
Create a routine pre-shot checklist to mentally prepare and achieve consistent results: position ball correctly, adjust stance width, maintain head position, ensure hands and hips sync, and choose optimal tee height.
Common FAQs
- What does “keep a knife at the temple” mean? It’s a cue to maintain head stability, preventing premature forward movement that disrupts sequence.
- Is hand speed or hip rotation more important? Both are essential and must be integrated into your swing for effective power transfer.
- What tee height should I use? Choose based on your desire to optimize launch angle and weather conditions for a balanced trajectory.
Final Thoughts
Focus on a balanced, natural stance, consistent ball position, and ensure your head remains stable through impact. Incorporate drills to trust your hand speed and consider minor heel lifts for extra distance. With practice, you’ll make your driver a reliable asset on the course.


0 Comments