

 Unlock More Power and Precision in Your Golf Swing with the Bigger Turn Golf Setup! Dive into this step-by-step guide to enhance your swing, improve contact, and increase your distance on the course.
Table of Contents
- Step 1: Check Your Grip for a Bigger Turn Golf Setup
- Step 2: Set Fixed Points & Create Your Spine Angle with a Hip Bump
- Step 3: Minimize Lateral Slide — Rotate Around the Spine
- Step 4: Play Golf Underneath You Versus Around You
- Step 5: Practice Progression & Drills
- Step 6: Troubleshooting Common Issues
- Step 7: The On-Range Routine
- Step 8: Pre-Shot Quick Checklist
- Step 9: FAQs About the Bigger Turn Setup
- Conclusion — Make This Setup Your Default
Step 1: Check Your Grip for a Bigger Turn Golf Setup
Your grip sets the stage. Ensure the clubface sits square at impact to allow consistent rotation and cleaner contact.
- Ensure the clubface wants to be square at address.
- Check that the “V” shapes created by your thumbs and forefingers point between your chin and right shoulder (for right-handers).
- Adjust your grip pressure to maintain control without locking your forearms and shoulders.

Step 2: Set Fixed Points & Create Your Spine Angle with a Hip Bump
Establish your spine angle by bumping the hips forward. This creates a natural, effective coil without over-leaning.
- Position your right hip inside your right foot for proper loading and turning.
- Focus on pelvis movement over upper body tilting to create a refined spine angle.
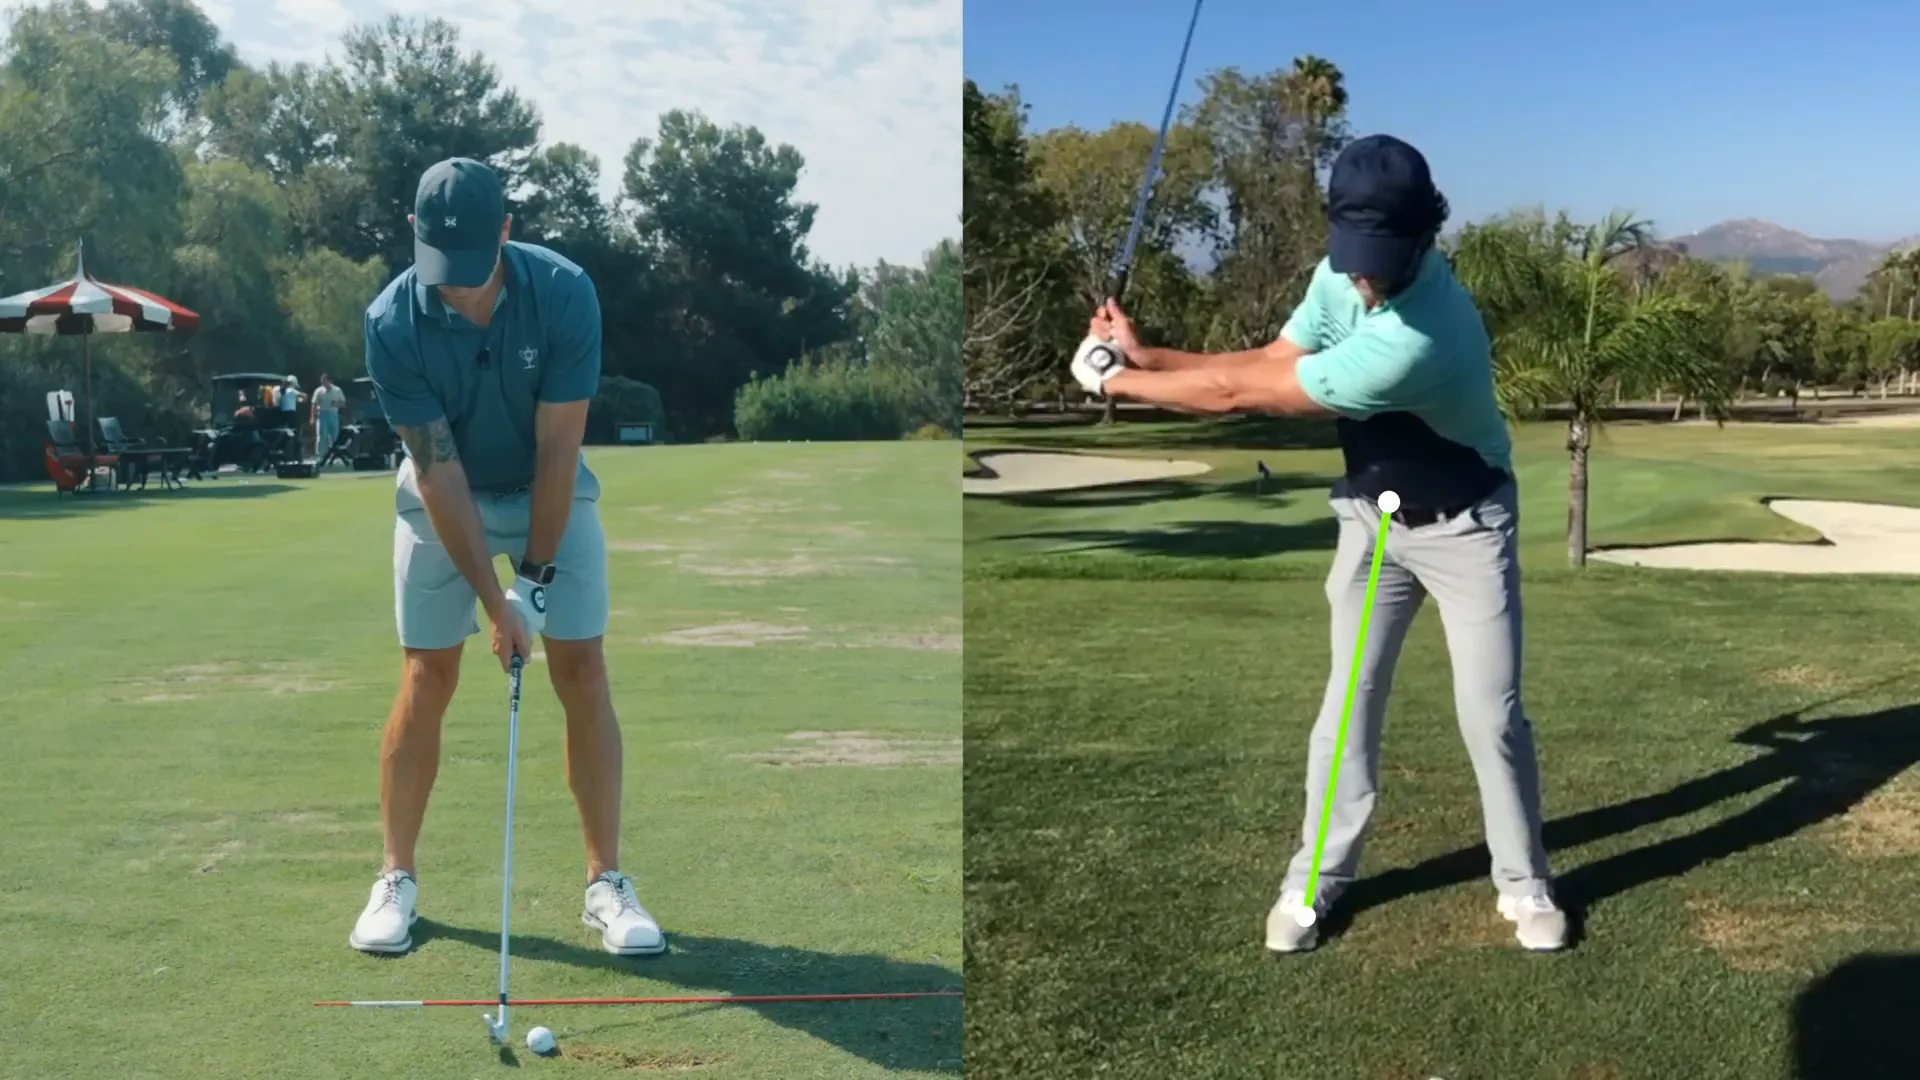
Step 3: Minimize Lateral Slide — Rotate Around the Spine
Avoid sliding your lower body at transition and instead, focus on rotating around a stable spine post.
“Watch what happens when the lower body slides out. It leaves the upper body behind.”
- Sliding causes timing issues and inconsistent contact.
- Focus on torso rotation over the stable lower body to gain speed and accuracy.
Step 4: Play Golf Underneath You Versus Around You
Maintain a stable turn with the hips driving the motion and avoid swaying back and forth.
- Keep your sternum steady as the pelvis bumps forward.
- Engage your core to support a powerful turn.
Step 5: Practice Progression & Drills
Solidify your setup with a structured practice routine.
- Start with static setup and hip bump drills.
- Progress to slow swings, focusing on spine-centered rotation.
- Incorporate video feedback for path confirmation.
Step 6: Troubleshooting Common Issues
Reverse Pivot
Focus on maintaining a stable upper body and hip bump.
Sitting Back on Heels
Ensure your weight is balanced toward the mid-foot.
Spine Crunch
Focus on pelvis-driven spine angle formation.
Step 7: The On-Range Routine
Refine your muscle memory with a purposeful practice routine.
- Hip bump warm-up with club across chest.
- Half-turn drills to reinforce spine rotation.
- Full swings while maintaining all setup checkpoints.
Step 8: Pre-Shot Quick Checklist
- Confirm grip and clubface alignment.
- Establish hip bump and stabilize sternum.
- Ensure hands follow proper path during rotation.
Step 9: FAQs About the Bigger Turn Setup
Q: How big should the hip bump be?
A: Keep it subtle, with the feel of a minor shift, akin to a door-stop under your trail foot.
Q: Will this setup work with driver and irons?
A: Yes, it enhances swing mechanics across clubs.
Q: Is the hip bump the same as a lateral slide?
A: No, it’s a controlled move to maintain stability and power.
Q: How long will it take to build this into my swing?
A: Regular practice can yield improvements in weeks, with lasting changes over time.
Conclusion — Make This Setup Your Default
Mastering this setup enhances your power and consistency. Practice the steps, use the drills, and employ video analysis for improvement. Soon, these adjustments will become second nature, leading to straighter shots and greater efficiency on the course.
0 Comments