
 Improve your golf game by focusing on the fundamental aspects of setup—ball position and stance width. Learn to consistently strike the ball accurately and efficiently through optimized stance geometry, enhancing your play significantly.
Table of Contents
- Step 1: Visualize the Swing Arc
- Step 2: Basic Rules for Ball Position and Stance
- Step 3: Impact of Stance Width
- Step 4: Prevent Misses with Proper Ball Position
- Step 5: Practical Setups for Clubs
- Step 6: Consistency with Three Dots
- Step 7: Drills for Muscle Memory
- Step 8: Troubleshooting Setup Issues
- Step 9: On-Course Checklist
- Step 10: Continual Adjustment
Step 1: Visualize the Swing Arc
Start by examining your face-on setup, which reveals the critical position of your sternum relative to the ball and how your body will progress through impact. Think of your swing as a pendulum with your sternum being its apex. The key is to align your chest and ball so that the low point of this pendulum is positioned strategically depending on the club and desired trajectory.
Step 2: Basic Rules for Ball Position and Stance
Mastering these setup rules helps maintain consistent club separation and optimal attack angles without conscious manipulation. Rule summary:
- Wedges: Ball centered under your upper body sternum for precision.
- Irons: Position the ball from the middle of your feet to nearer your shoulders as the club lengthens.
- Woods and Driver: Play the ball under or just forward of your lead shoulder, promoting a natural forward club extension.
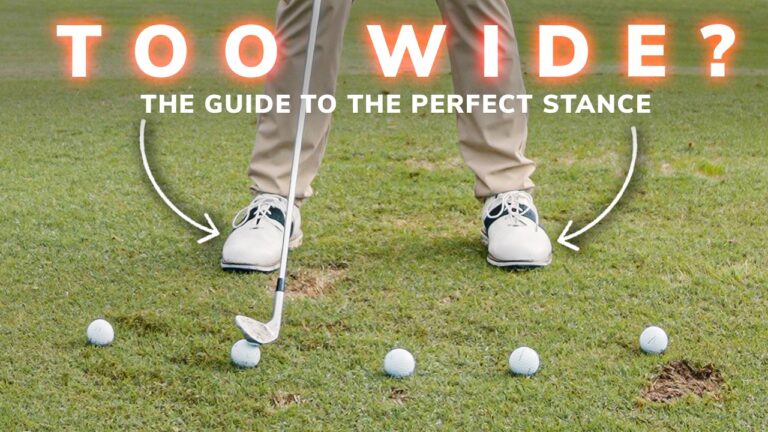
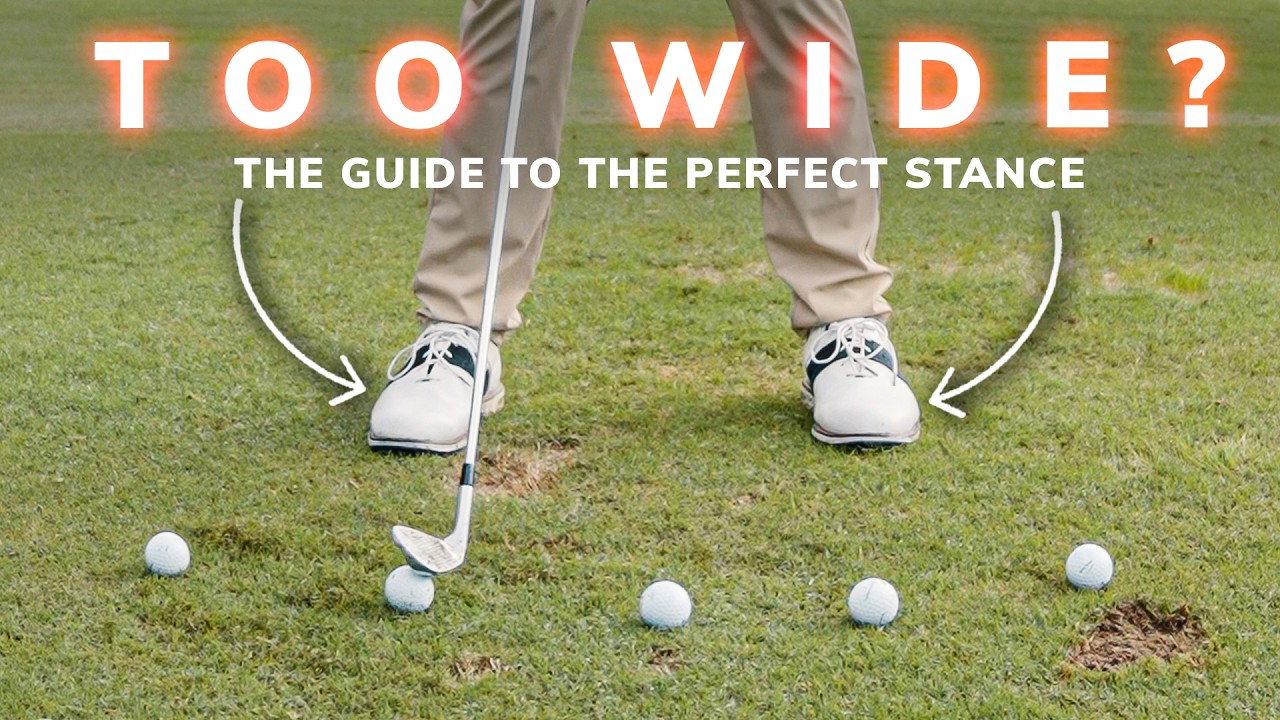
Step 3: Impact of Stance Width
Your stance width significantly shapes the bottom of your swing arc. Stance guidelines:
- Wedges: Feet at or inside shoulder width for a deeper attack angle.
- Irons: Adjust from mid-foot to shoulder-width apart to match club length.
- Woods & Driver: Wider stance to accommodate the club’s natural travel and timing.
Step 4: Prevent Misses with Proper Ball Position
Correct ball position helps avoid unintentional swings like pulls or hooks. Consider your sternum’s position relative to the ball and how it will affect the swing arc and impact angle. Common fixes:
- Forward ball position: Can advance hand lead and improve coverage.
- Back ball position: May require adjust stance to finalize attack plane.
Step 5: Practical Setups for Clubs
- Wedges: Ball centered under sternum, feet slightly narrow.
- Short/Mid Irons: Ball position from foot midline to shoulder edge, stance widens with club length.
- Hybrids/Fairway Woods: Favor forward position to long club allowance.
- Driver: Position forward relative to lead shoulder, wider stance promotes consistent ascending strike.
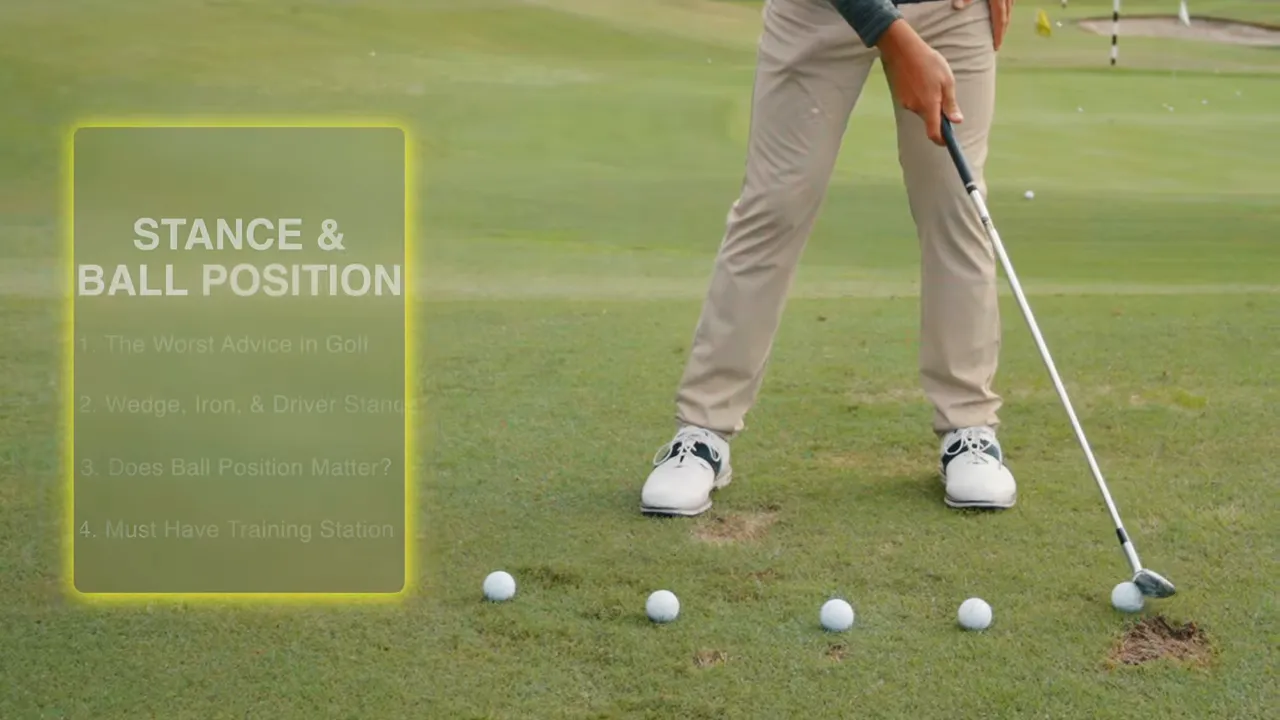
Step 6: Consistency with Three Dots
Using three ground dots to guide your setup ensures consistent alignment and an improved ball-striking pattern.
- Midpoint Dot: Defines wedge play area.
- Outside Dots: Frame iron through driver positioning.
Step 7: Drills for Muscle Memory
-
Three-dot setup aligning drills enhance setup fidelity.
-
Chest-to-ball drills focus on sternum lead at stance for effective release.
-
Divot drills provide feedback on compression and contact positioning.
-
Driver timing drills, emphasize stance stability for controlled swing path.
Step 8: Troubleshooting Setup Issues
Common problems often stem from setup errors, not swing faults. Correct your stance and ball position first.
Step 9: On-Course Checklist
Develop a mental setup checklist that becomes as routine as your swing, focusing on stance width, ball position, and posture consistency.
Step 10: Continual Adjustment
Always be ready to refine your setup. Use consistent marker systems to receive immediate visual feedback and adjust accordingly.
Consistent ball positioning and stance width are two essential components to improve your golf game.
This guide prioritizes your setup over mechanics, cultivating an environment where effective ball striking occurs naturally.
0 Comments