

If your irons feel heavy, your driver starts off straight but finishes right, or your carry numbers have flatlined, the cause is often not your downswing. It is frequently the takeaway. Small positioning errors early in the swing can force compensations later, reducing leverage, changing bottom-of-swing, and stealing distance.
This guide breaks down the common takeaway mistake that leads to right shots and distance loss, plus practical drills and checkpoints you can use to fix it.
Table of Contents
- Why the takeaway mistake ruins distance
- Step 1: Identify the pattern you are probably dealing with
- Step 2: Correct the misconception that makes the takeaway worse
- Step 3: Use a simple visual checkpoint for hands and club
- Step 4: Fix the takeaway timing with the “hands with the body” feel
- Step 5: Train your setup so leverage stays available
- Step 6: Rehearse a takeaway that matches your “real swing”
- Step 7: Stop chasing a bowed wrist misconception
- Step 8: Use the “two-part” drill to prevent hands and club from going the wrong way
- Step 9: Rebuild your target contact and divot pattern
- Common mistakes to avoid when fixing the takeaway
- FAQ
- Next steps: a simple practice plan
Why the takeaway mistake ruins distance
Distance in golf is not just swing speed. It depends on how efficiently you deliver the club to the ball. When the takeaway is off, it can cause:
- Hands and club to move outside the intended path, which often leads to the club getting pulled back inside later.
- Less leverage, making it harder to keep the club in front and controlling angle of attack.
- A steeper delivery, which can contribute to chunking and loss of carry.
- Different bottom-of-swing positioning, which changes contact quality.
The key idea: you are not trying to “fix the downswing.” You are trying to set up a takeaway that makes the rest of the swing easier.
Step 1: Identify the pattern you are probably dealing with
Takeaway issues show up in a few predictable ball-flight and contact patterns. Use this quick diagnostic to match what you see:
- Driver starts and then finishes right (often “right-right”): This can be tied to the club and hands being out of sync early, then needing to “work” from the bottom.
- Chunked irons: Common when your delivery becomes too steep or your low point shifts behind where it should be.
- Cupped or “shut” feel at the top: When the takeaway encourages the wrists to set in a way that changes face and delivery, you often end up more closed and steeper.
- Inconsistent carry: A leverage or bottom-of-swing change tends to create uneven strike location.
None of these guarantee the same root cause, but they are consistent with a takeaway that sends the club and hands the wrong direction relative to your body.
Step 2: Correct the misconception that makes the takeaway worse
A very common error is thinking: “The club has to go outside in the takeaway.” That often causes the hands to move out too early. When the hands get too far outside, the club can respond by moving low and inside, and you end up forced to compensate at impact.
Instead of “getting the club outside,” your goal is to keep the hands on a stable line so the club can stay in front and the swing can deliver the correct relationship at the top.
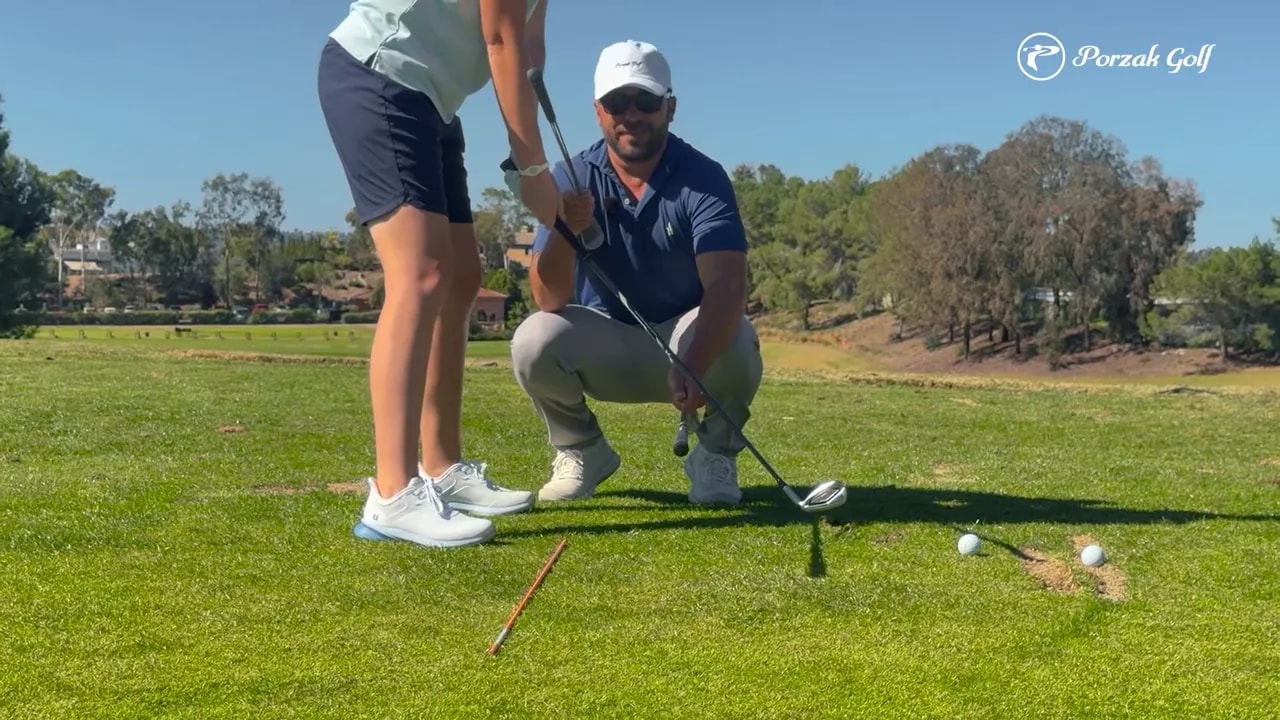
Step 3: Use a simple visual checkpoint for hands and club
One of the most effective ways to fix a takeaway is to create a repeatable visual target. A helpful approach is to use an alignment line (or similar straight reference) to guide where your hands should travel.
Here is the idea you are training:
- Keep your hands inside your line (or on it)
- Prevent the club from going inside too early
- Let the rest of the swing “work easier” once the takeaway is correct
When this is done well, you should feel a clearer, more consistent club path and fewer “rescue moves” later.
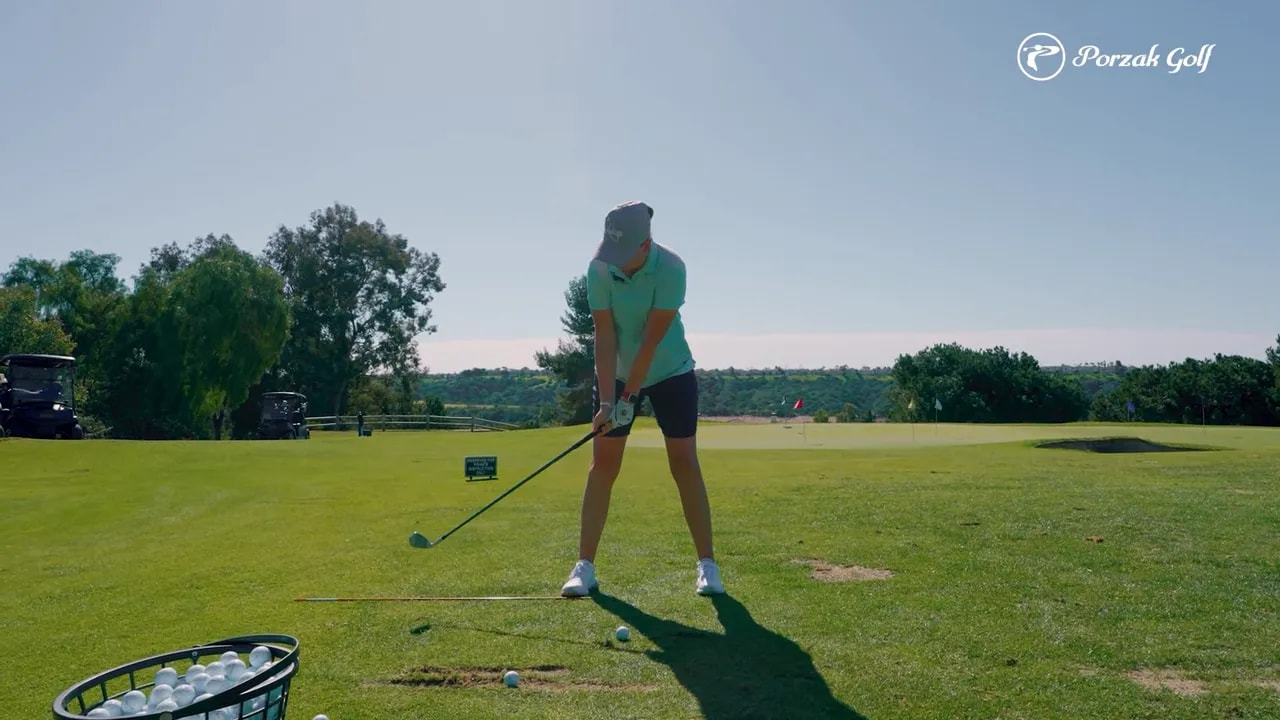
Step 4: Fix the takeaway timing with the “hands with the body” feel
Distance drops when you are late and must “save it” with the arms and hands. A better takeaway-to-transition connection is to time the first movement so your hands move as your body turns through loading.
Try this feel cue during your practice swings:
- As you load at the top, you want your hands to move with your weight transfer as you start down.
- If you feel you are “a little late,” the takeaway is often part of the reason.
- Separate the motion slightly less so the club stays more connected to your pivot.
This reduces the need to steepen or flip to meet the ball.
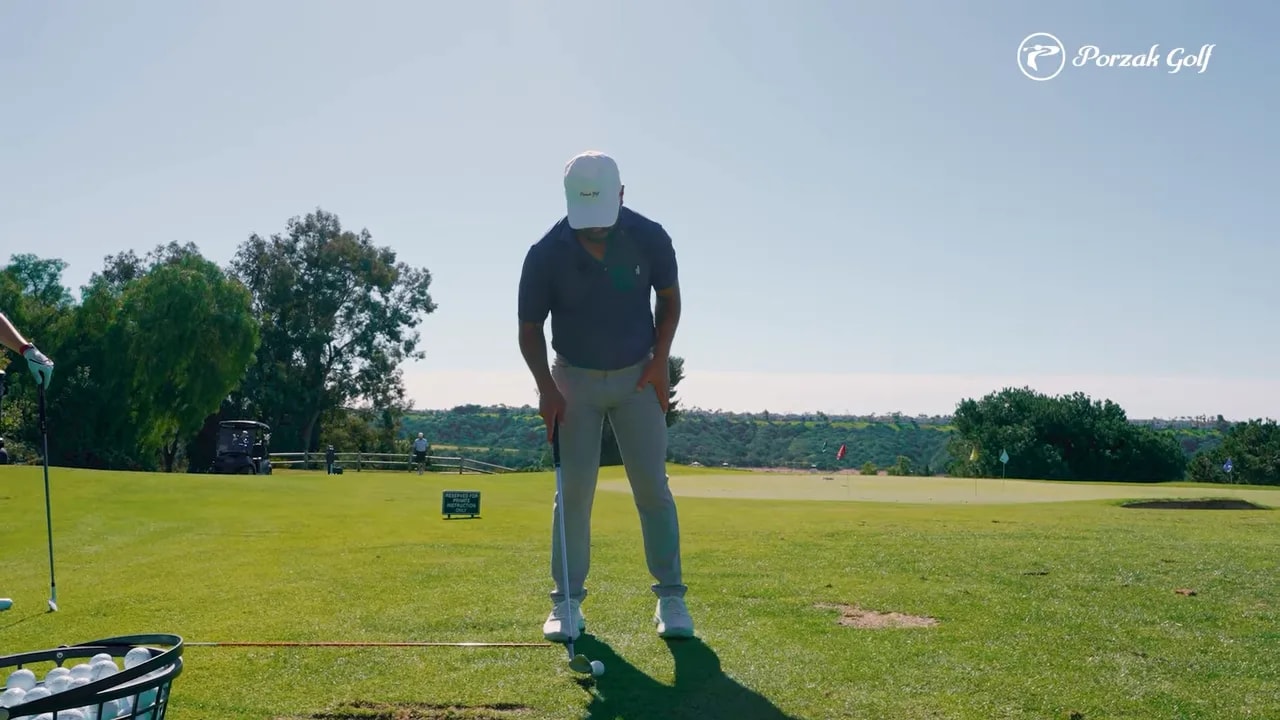
Step 5: Train your setup so leverage stays available
Even with a good takeaway, setup can limit your leverage. If you sit back with your putting and full swing alignment in a way that leaves your hips behind your ankles, it can lift your hands too high and decrease leverage. Less leverage makes it easier for the club to fall into an unintended position.
Instead, aim for checkpoints like:
- Hips over ankles
- Shoulders past toes
- Handle position that supports hinge without forcing a bowed wrist habit
- Butt of the club into the belt as a reference point
When leverage improves, it becomes easier to hinge and keep the club working out in front rather than getting stuck.
Step 6: Rehearse a takeaway that matches your “real swing”
Many golfers use a rehearsal that feels right but does not match what happens when they turn through. A proven fix is to rehearse a takeaway segment that resembles the correct position at parallel, then blend it naturally with the turn.
A helpful reference is a 10-and-10 style rehearsal: when the club is parallel to the ground, you rehearse a consistent angle and shoulder alignment. If you tend to be “under” or “inside” at parallel in the real swing, the rehearsal can feel exaggerated. That is normal. The goal is to ingrain the correct relationship so that when you turn, the club returns to the proper line.
Practice approach:
- Set up as normal.
- Move the club to parallel in a controlled rehearsal position.
- Repeat until the feel matches your desired hand and club relationship.
- Then add your turn and see if the club returns down the line rather than drifting inside.
This helps bridge the gap between feel and real.
Step 7: Stop chasing a bowed wrist misconception
Another common takeaway-related habit is trying to force a bowed wrist. If you get taught (or feel) that you must “bow” the wrist to create power, it can backfire. The result may be that you arrive at the top too shut and too steep, increasing the likelihood of chunking and distance loss.
Instead, train the shape you want by using a position checkpoint rather than forcing a wrist shape:
- Rehearse hinging so that at the top the club is above your right shoulder while your hands are still in a lower, connected position.
- Use the feeling of hinge and elbow/hand placement to keep the wrist from collapsing into a bowed position.
- Let the club weight and your hand position stabilize the wrist shape.
The goal is not “more bow.” The goal is a repeatable delivery that supports staying in front of the body through transition.
Step 8: Use the “two-part” drill to prevent hands and club from going the wrong way
To correct the takeaway mistake, train separately what goes wrong and then combine it. A useful drill concept is to use two visuals:
- Prevent the hands from getting outside
- Prevent the club from getting inside
When you do this, you often notice immediate improvement in the swing’s bottom behavior and contact. Instead of compensating, your swing can stay on the rails.
How to practice it:
- Pick one alignment reference for the hands.
- Pick another reference for where you want the club to stay relative to your body.
- Rehearse short swings first so you can feel the hands and club relationship.
- Gradually add full swings once the hands stay in and the club stays out in front.
Step 9: Rebuild your target contact and divot pattern
After correcting the takeaway, your strike zone usually changes. A better contact pattern is a practical confirmation that you are delivering the club correctly.
Signs your takeaway fix is working:
- Divots become more consistent (less random chunking)
- Ball flight improves with more playable curvature
- Carry increases because the club meets the ball with a more efficient angle and speed delivery
- Contact feels cleaner without needing late arm flips
If your ball flight gets worse, it is often because the hands drift outside again or the setup leverage is still too limited.
Common mistakes to avoid when fixing the takeaway
- Trying to fix everything at once: Change one constraint. Hands-in line first, then club relationship.
- Overcorrecting by forcing the club outside: The hands often follow, and you end up with club movement low and inside.
- Rehearsing without turning: The feel must blend into the full swing so the club returns down the line.
- Forcing wrist shape: Avoid “bow it because you have to.” Use checkpoints and hand/hinge placement to stabilize the wrist naturally.
- Ignoring leverage in setup: If hips and ankles and hand height are off, you may not get the benefits of the corrected takeaway.
FAQ
What takeaway mistake most often causes right shots with a driver?
A common issue is letting the hands move outside your intended hand path too early. When the hands go out, the club often reacts by moving low and inside, and the downswing becomes forced. That mismatch can lead to rightward ball flight and inconsistent contact.
How do I know if my takeaway is reducing distance?
Look for patterns like heavy or chunked irons, inconsistent carry, and driver shots that start in control but finish right. These are often signs that the club is not staying in front and that leverage or bottom-of-swing has changed.
Do I need to force a bowed wrist for distance?
Not if it forces you to arrive shut and steep. Instead of forcing bow, train a checkpoint where the club is above your right shoulder at the top while your hands stay in a lower, connected position. The correct delivery should stabilize wrist shape.
What drills help me keep my hands from going outside?
Use a line as a visual constraint so your hands stay inside (or on) your reference path. Then use another visual to prevent the club from going inside too early. Practice short swings until the hands and club relationship feels repeatable, then add full turns.
How can rehearsal improve my takeaway?
Rehearse a takeaway position at parallel with a consistent hand and shoulder relationship (similar to a 10-and-10 concept). Once that feel is consistent, blend it with your turn so the club returns down your intended line during the real swing.
Next steps: a simple practice plan
Use this 15 to 20 minute routine to address the takeaway mistake that limits distance:
- Check your setup: aim for hips over ankles and shoulders past toes so leverage is available.
- Rehearse the takeaway segment: use a parallel-style rehearsal so your hands and club relationship match your intended line.
- Run the two-part drill: constrain the hands on a line, and constrain the club from getting inside too early.
- Hit 6 to 10 shots with the same feel and watch contact and ball flight.
- Adjust only one thing if needed, usually the hands staying inside the line or the hinge timing into transition.
When your takeaway stops forcing compensations, your leverage improves and your club can arrive in front more consistently. That is where distance returns.
0 Comments