
If your golf drives feel shorter than they should, the fix might be much smaller than a full swing overhaul. In many cases, distance loss comes from tiny grip placements that change how your wrists load and deliver clubhead speed.
This guide focuses on two grip-related problems that can cost you golf distance fast. You’ll learn how to spot them, run two simple tests at home, and apply two quick training thoughts to restore speed and improve your strike.
Table of Contents
- Step 1: Identify the first grip fault (too high in your hand)
- Step 2: Build a simple glove-based training aid (for grip placement)
- Step 3: Run Test 1 (wrist load check) without losing face control
- Step 4: Run Test 2 (grip security check using your index finger and pad)
- Step 5: Fix the second problem (don’t lock your wrists)
- Step 6: Use two quick training thoughts to restore speed
- Step 7: Combine the fixes on real shots (and judge the results)
- FAQ
Step 1: Identify the first grip fault (too high in your hand)
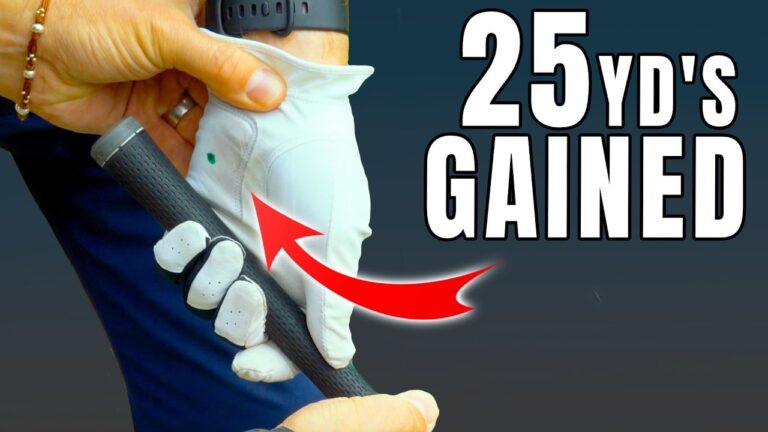
The first issue is a grip placement that sits too high in your hand. Even when your hand feels “comfortable,” that small height change can reduce leverage and limit how your wrists can move through the swing.
Here’s the key idea. When your grip is too high, the club sits more through the palm (the lifeline area) rather than deeper through the fingers. The result is that you struggle to get the club into a powerful position without either losing speed or leaving the face open.
How it impacts your swing (and why distance drops)
With the grip sitting too high, your wrist motion becomes restricted. The clubhead does not reach an optimal height as easily, meaning you create less potential energy and less potential speed.
To compensate, many golfers start relying on wrist twist later. But when the grip is placed incorrectly, you can get a tradeoff:
- Option 1: You don’t create enough speed.
- Option 2: You create speed, but the clubface opens significantly.
Both options show up on the course as shorter drives or more time in the rough. Neither option helps your golf distance.
Step 2: Build a simple glove-based training aid (for grip placement)
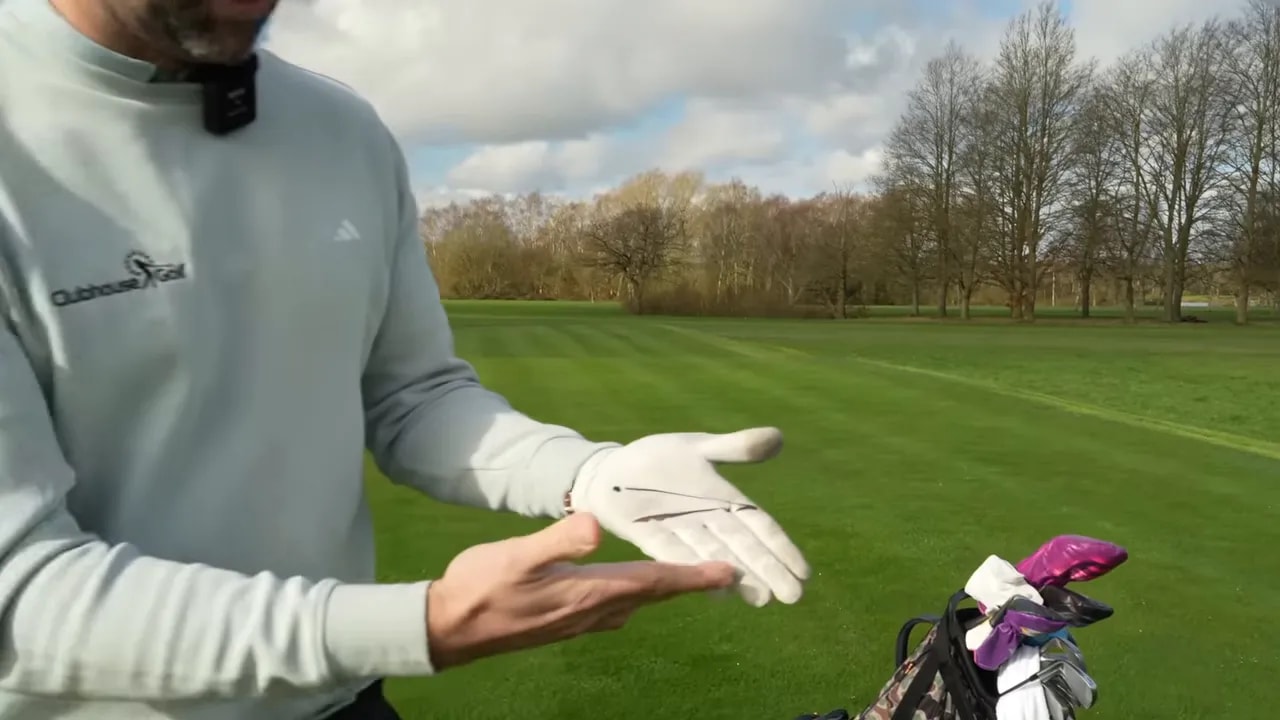
To make grip changes measurable, you can build a tiny reference tool using an old or new golf glove and a marker.
What you’ll do:
- Grab a glove.
- Draw two lines on the back of the glove or near the grip area of the hand.
- Place both lines so they run from the base of your index finger.
- Make one line go to just short of the little finger base.
- Make the other line point toward the pad area on the hand (the “meaty” portion just behind the index finger side).
The goal is to have a clear visual target for where the handle sits against your hand when you close your grip.
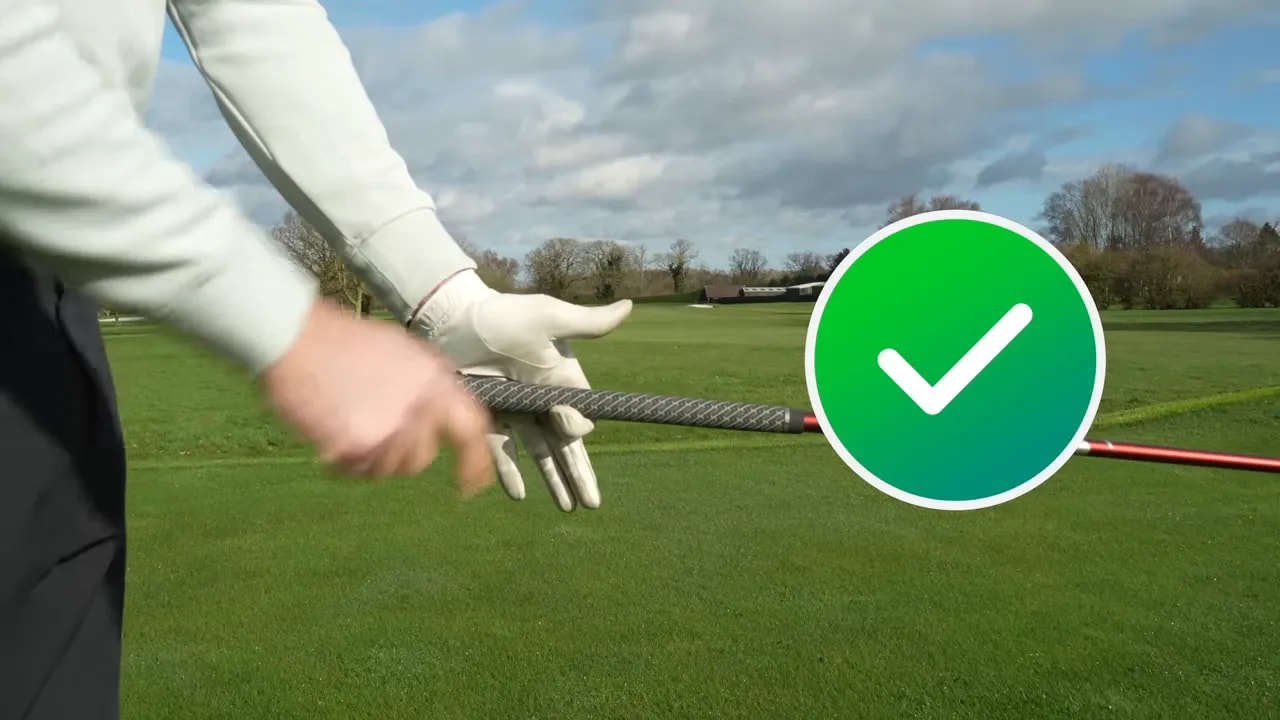
What “correct” looks like when you close your hand
When you hold the club with the correct grip position, the contact point should align with the lower reference line (the one that represents placing the club more through the base of the fingers).
On top of that, check the “dot” behavior described in the drill. When your grip is placed correctly, the pad of your hand should sit on top of the handle. This is a major marker for whether the club is sitting in the right place.
Step 3: Run Test 1 (wrist load check) without losing face control
Grip placement only matters if it produces the right club delivery. So the first test checks two things:
- Can you raise the club to about horizontal (or close to it)?
- Can you keep the clubface reasonably square as you raise it?
How to test:
- Hold the club in your normal grip.
- Make a controlled backswing motion focusing on the feel of the grip in your hand.
- Stop when the shaft is around parallel to the ground.
- Observe what the face does.
If your grip is too high, the clubface often trends open as you reach that position, because the wrist movement is restricted and you have to “find power” another way.
Success criteria: You can get the club to horizontal while the clubface stays more neutral rather than opening dramatically. That usually indicates the club is sitting more through the base of the fingers, giving your wrist better freedom to load.
Step 4: Run Test 2 (grip security check using your index finger and pad)
The second test checks grip placement in a different way: stability.
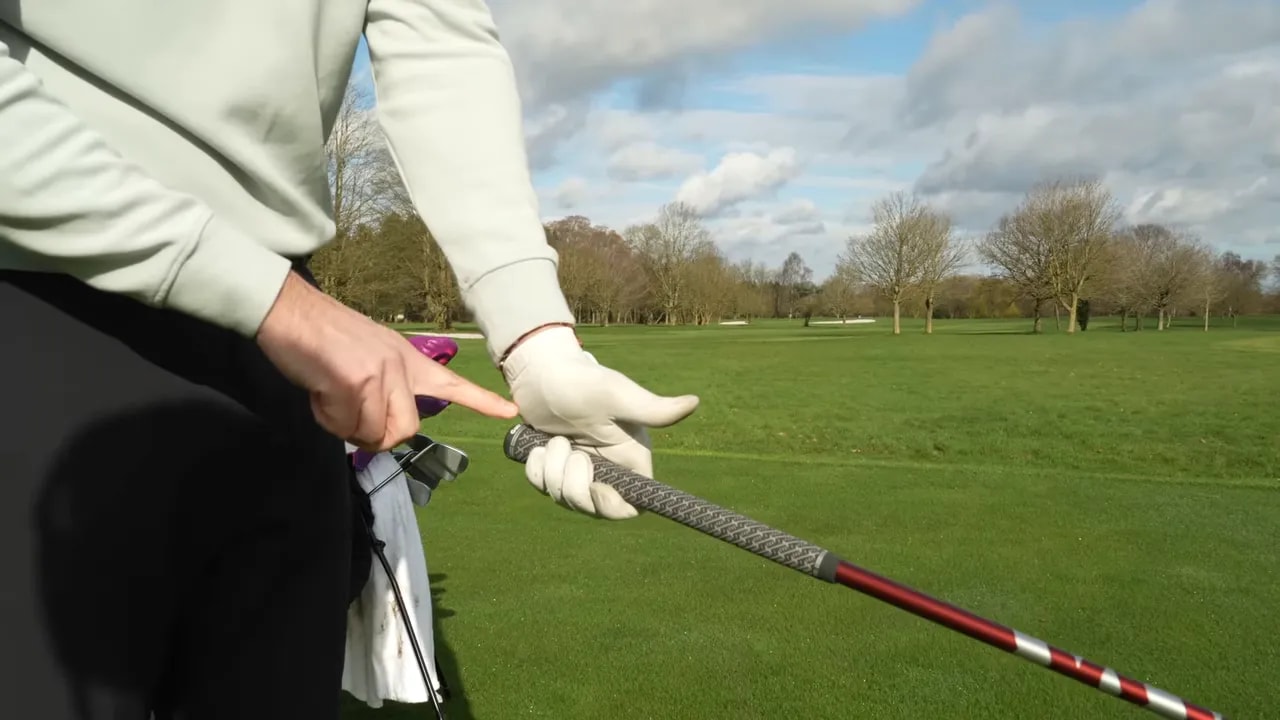
How to test:
- Hold the club using the pad of your hand and your index finger.
- Try to remove support from the thumb and the last three fingers as much as possible.
- The club should still feel secure, not loose or ready to slip.
This test helps confirm you’ve placed the handle in the right “contact zone.” When the grip is correct (more through the base of the fingers), you get better leverage and more stable control without clamping.
If it feels insecure: That often means your grip is sitting slightly too high in the hand or too much pressure is landing in the palm lifeline area. Lowering it a touch can change the whole feel.
Step 5: Fix the second problem (don’t lock your wrists)
In Chris’s case, correcting the grip placement produced straighter results, but distance still wasn’t where it should be. That’s because there was a second fault hiding underneath.
The golfer was locking the wrists during swings. When the wrists are locked, clubhead speed becomes tied to body movement. You lose the ability to let the club “zip” through the swing with the right flow.
What wrist locking tends to feel like
Even if your grip is improved, you may notice:
- Your swing feels stiff or mechanical.
- Clubhead speed depends entirely on how fast you move your body.
- The shot feels smooth but not particularly fast.
This is exactly what you’re trying to avoid. The goal is to restore wrist freedom and add clubhead speed without forcing more effort.
Step 6: Use two quick training thoughts to restore speed
Once grip placement is corrected, use simple rehearsal cues to keep the wrists working.
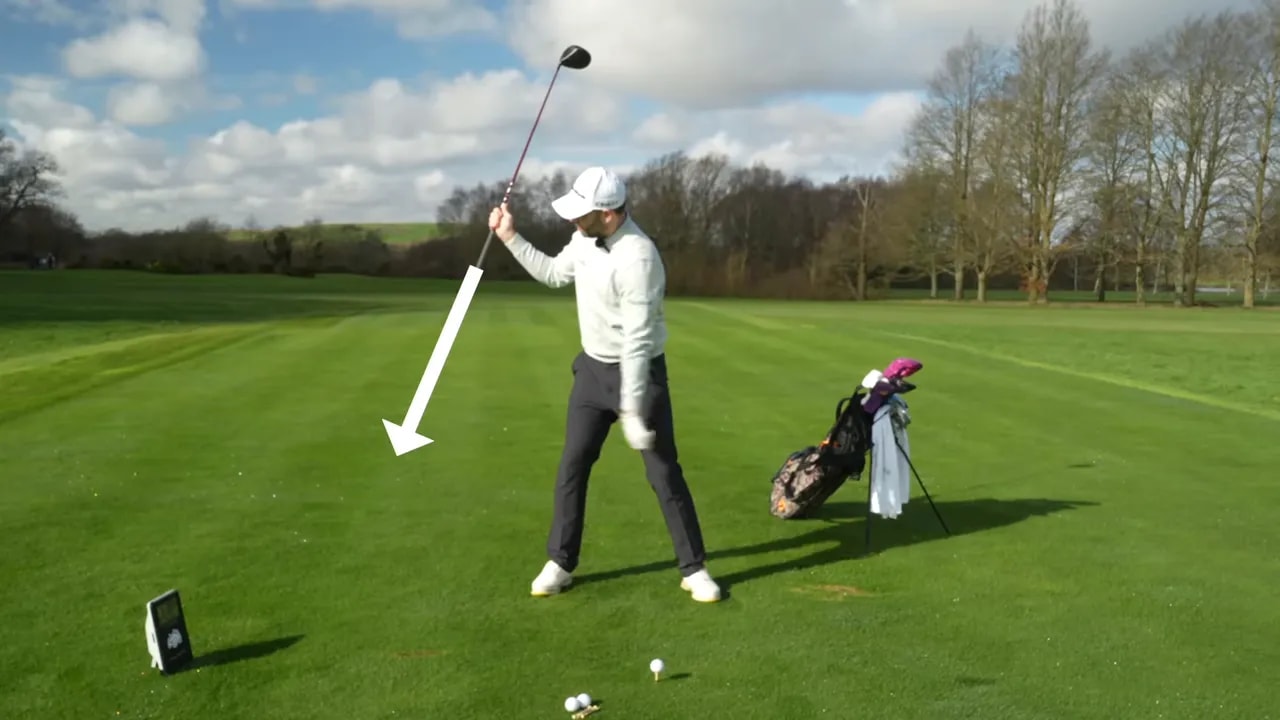
Training thought 1: “Point the grip down at the ground” in the backswing
Your backswing rehearsal should include a feel that softens the wrist rather than freezing it.
Try this drill setup:
- Make short practice swings.
- Feel your grip pointing down toward the ground as you move into the backswing.
- Use that feel to “soften the wrist” and encourage wrist action.
If your wrists have been firm for a long time, letting them soften can feel like releasing control. That feeling can be uncomfortable, but it often leads to better motion. The intended sensation is that the club moves with flow and some speed rather than being pinned in place.
Training thought 2: “Bounce the club shaft off your shoulder” on the downswing
For downswing timing, use a cue that helps your hands and club swing with the body instead of being held rigid.
Try this rehearsal pattern:
- On the downswing, feel like the club shaft “bounces” off your shoulder.
- Repeat it as a practice swing feel before hitting full shots.
A simple repetition works well. The sequence becomes:
- Grip down
- Bounce off the shoulder
- Repeat for several swings
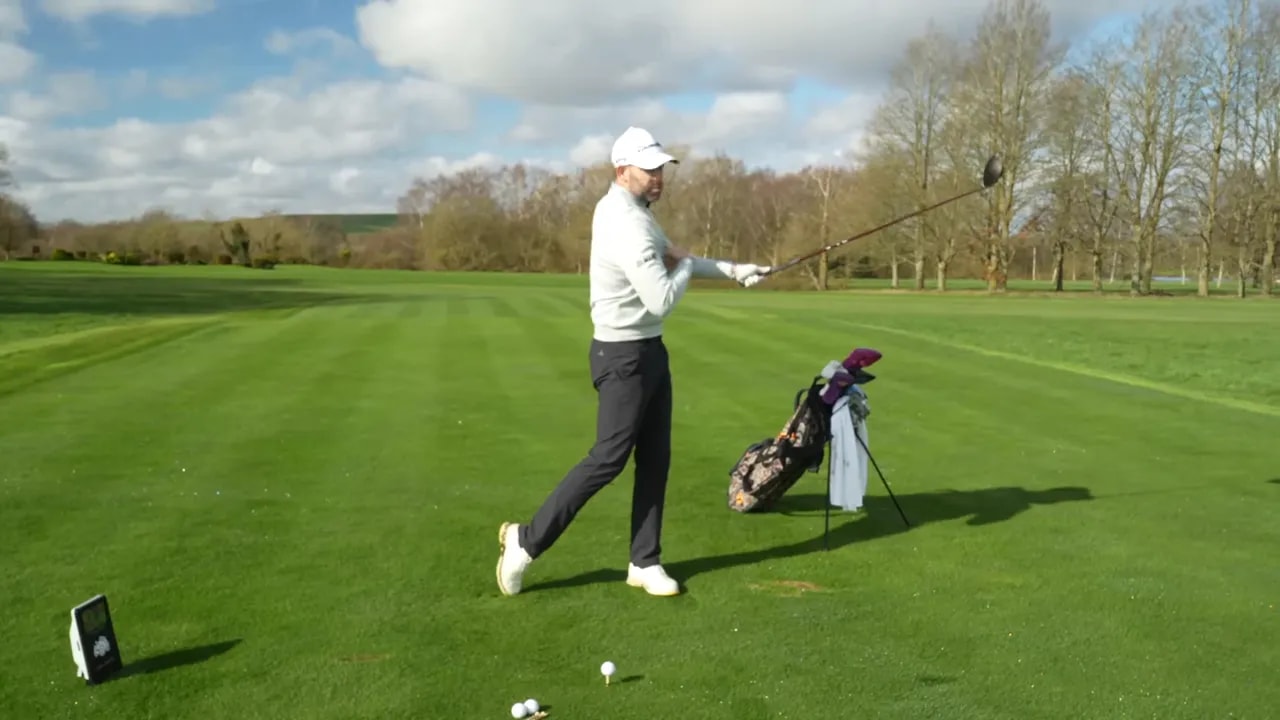
Step 7: Combine the fixes on real shots (and judge the results)
After adjusting your grip placement and rehearsing softer wrist motion, you can take the changes to the ball.
Before you hit:
- Double-check your grip placement using your tests.
- Confirm you can raise the club to horizontal with better face control.
- Confirm it feels secure using the pad of your hand and index finger.
Then hit shots using the two cues:
- Backswing: point the grip down at the ground
- Downswing: bounce the club shaft off your shoulder
When these changes connect, you should notice the golf feel improving: smoother motion, more clubhead speed, and distance that comes back without needing extra effort.
In the lesson, the golfer described the swing as smoother and felt like there was more speed, with no dramatic increase in effort.
FAQ
How can I tell if my grip is too high without guessing?
Use the glove reference lines and the two tests. If you struggle to get the club to horizontal while keeping the face from opening, or if the club becomes insecure when you reduce support from the last three fingers, your grip is likely sitting too high in your hand.
Do I need to change my grip strength or hand position every time?
You should focus on consistent placement. The main change here is where the handle sits relative to your fingers and pad. Once you find the correct contact zone, return to it every session using the tests so you don’t drift back into the same fault.
What if I fix the grip but still lose distance?
That usually means there’s another restriction in the swing. In this lesson, the second problem was locked wrists, which ties clubhead speed too closely to body speed. Practice softening the wrist with the “grip down” and “bounce off the shoulder” cues.
Will these drills make my swing slower because I’m softening my wrists?
The intention is the opposite. Soft wrists increase the ability to load and deliver speed. If you use the two cues in short rehearsals, you should feel more flow and speed, not less control.
How many practice swings should I do before hitting full drives?
Use the rehearsal approach in short bursts. The lesson used a small number of swings focused on the two cues before hitting balls, such as five swings for each cue sequence while you build the feel.
0 Comments