
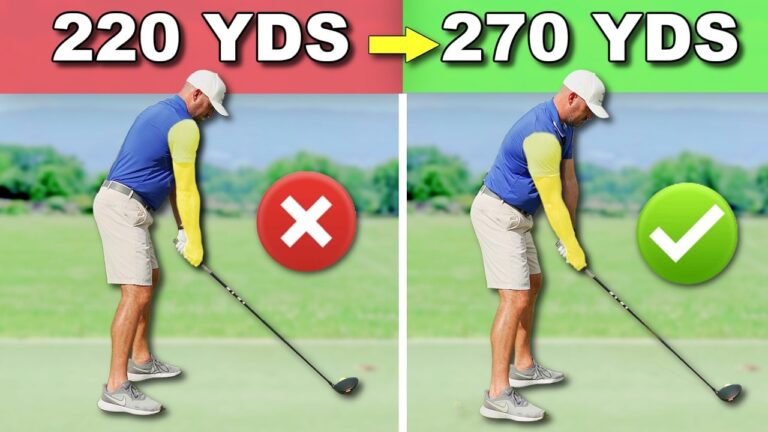
Three simple adjustments will transform how the club meets the ball and add real distance off the tee. Most golfers who struggle with driver fall into the same three traps: a poor setup that encourages an outside-in path, a downswing that comes too steep and left, and a release that leaves the clubface open through impact. Fixing these problems in the right sequence delivers cleaner contact, a more powerful inside-out path, and a natural draw that finds fairways and gains yardage.
The focus keyphrase for this post is increase driver distance. The approach below is a step-by-step coaching progression you can practice on the range. It moves from simple feel drills to full swings and emphasizes reproducible feedback so you know when you are doing it correctly.
Table of Contents
- Step 1: Close the clubface through impact to increase driver distance
- Step 2: Swing from inside to increase driver distance
- Step 3: Setup and tilt — the finishing touch to increase driver distance
- Practical training plan: 4-week practice progression to increase driver distance
- Common mistakes and how to fix them
- Frequently Asked Questions
- Summary and next steps to increase driver distance
Step 1: Close the clubface through impact to increase driver distance
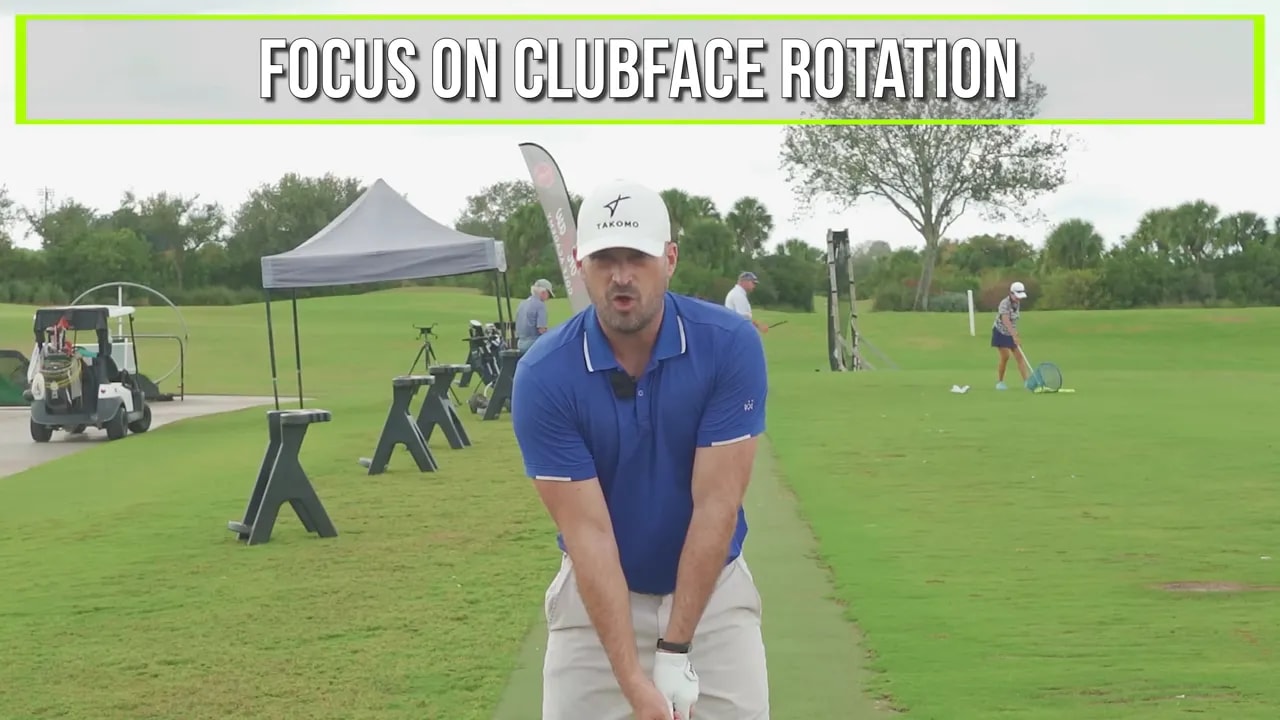
If the clubface is open through impact the ball will slice or fade weakly, and added loft from an open face kills distance. The quickest way to start adding yards is to learn a dependable release that squares the face through the hitting area. The goal is a natural, gradual rotation so the toe sits level with or slightly in front of the heel at impact.
Drill progression for clubface control:
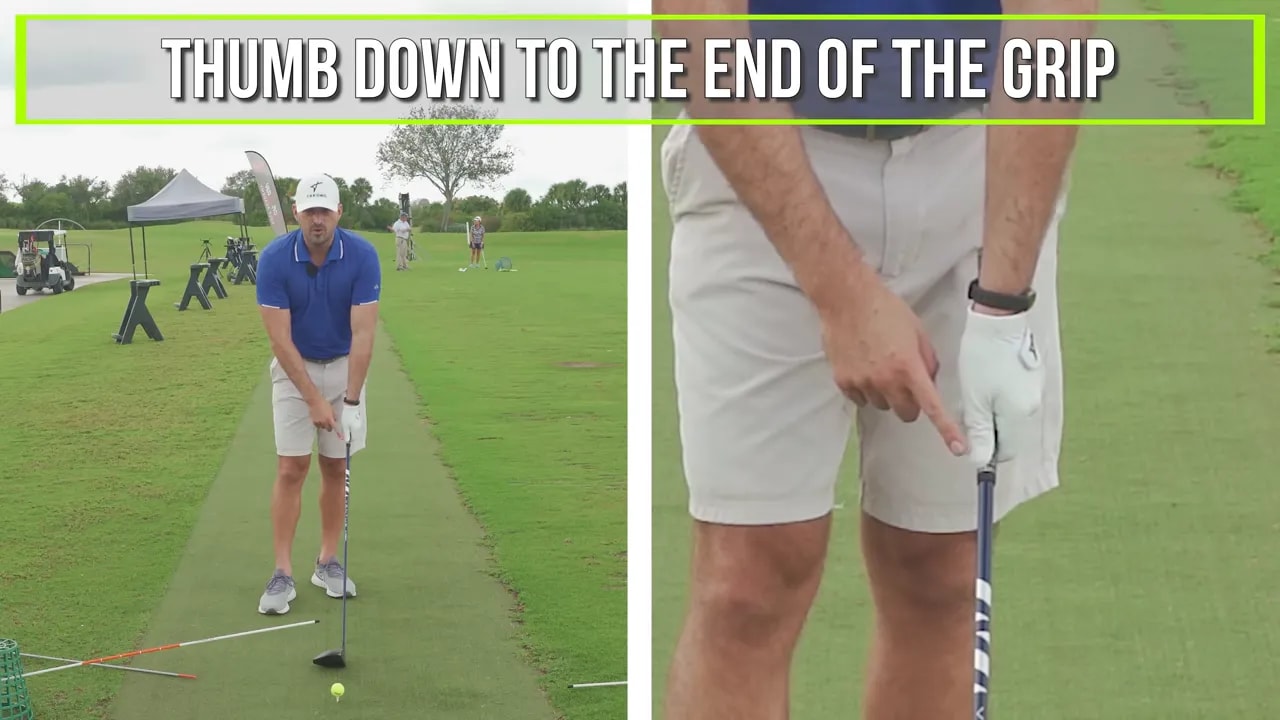
- Grip the club with your lead hand only (left hand for right-handed golfers). Grip down slightly so the club feels lighter and easier to rotate.
- Make repetitions with only the lead arm. On the way through, rotate the lead forearm so the left elbow and the logo on your glove point slightly down and to the left. This rotation moves the face toward square.
- Keep a relaxed bend in the lead elbow — you do not need a fully locked arm. Allow a natural arm fold while maintaining the rotational feel.
- Keep your head back over the ball line and the right shoulder down while you rotate. This prevents an early forward move that ruins timing and face control.
- Perform three to five clean reps, then add your trail hand and repeat the same rotation feeling through impact.
Why this works: rotating the lead forearm on the way through establishes the release pattern used by top players. When you practice this purely with the lead arm, your nervous system learns the required rotational timing and the sensation of the logo and elbow turning down and left. Once that feel is reliable, adding the trail hand simply reinforces the same motion with both hands together.
Immediate payoff: many players notice cleaner, slightly straighter ball flight and an instant increase of 10 to 30 yards just from squaring the face through impact. That sets the stage for the next step, which is controlling the path the clubhead travels into the ball.
Step 2: Swing from inside to increase driver distance
Swing path and clubface work together. An inside-out path matches a closed or square face to produce a draw and maximize roll. If your downswing is steep and coming from the outside, you will continue to lose distance and control even if your face rotation improves. Teach your arms to travel from low and inside toward impact and let the body rotation bring the club back to neutral.
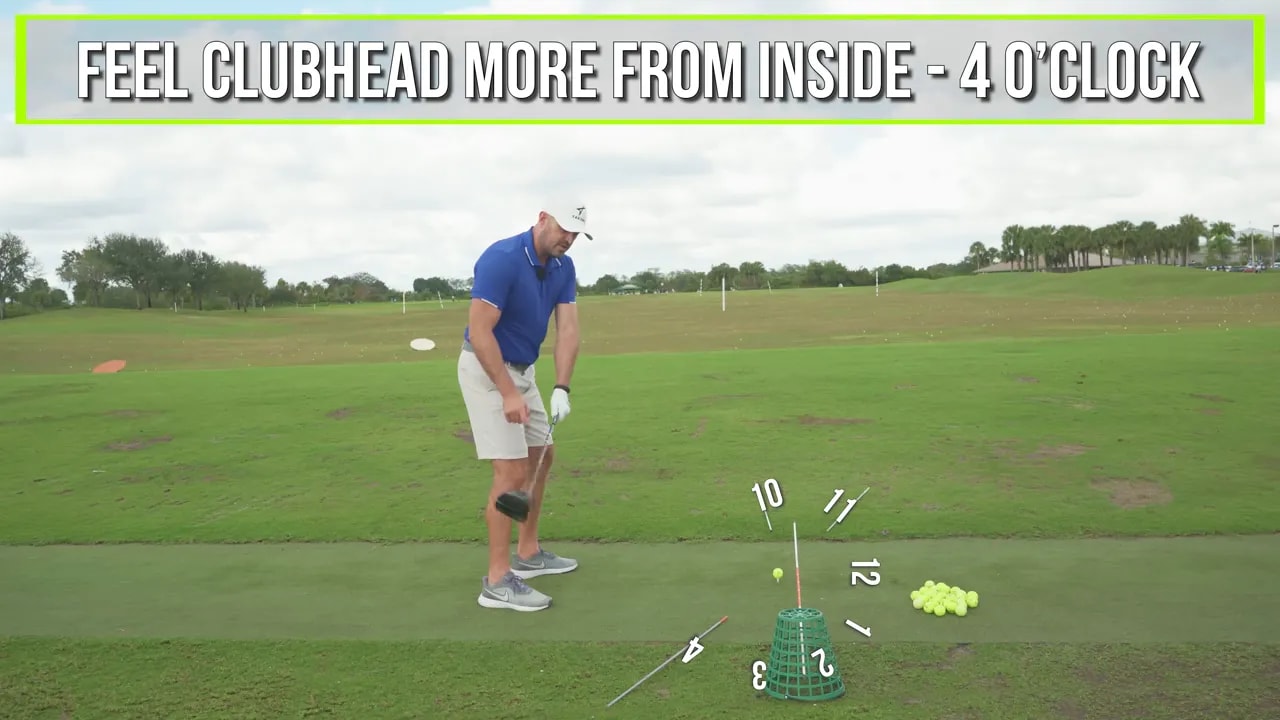
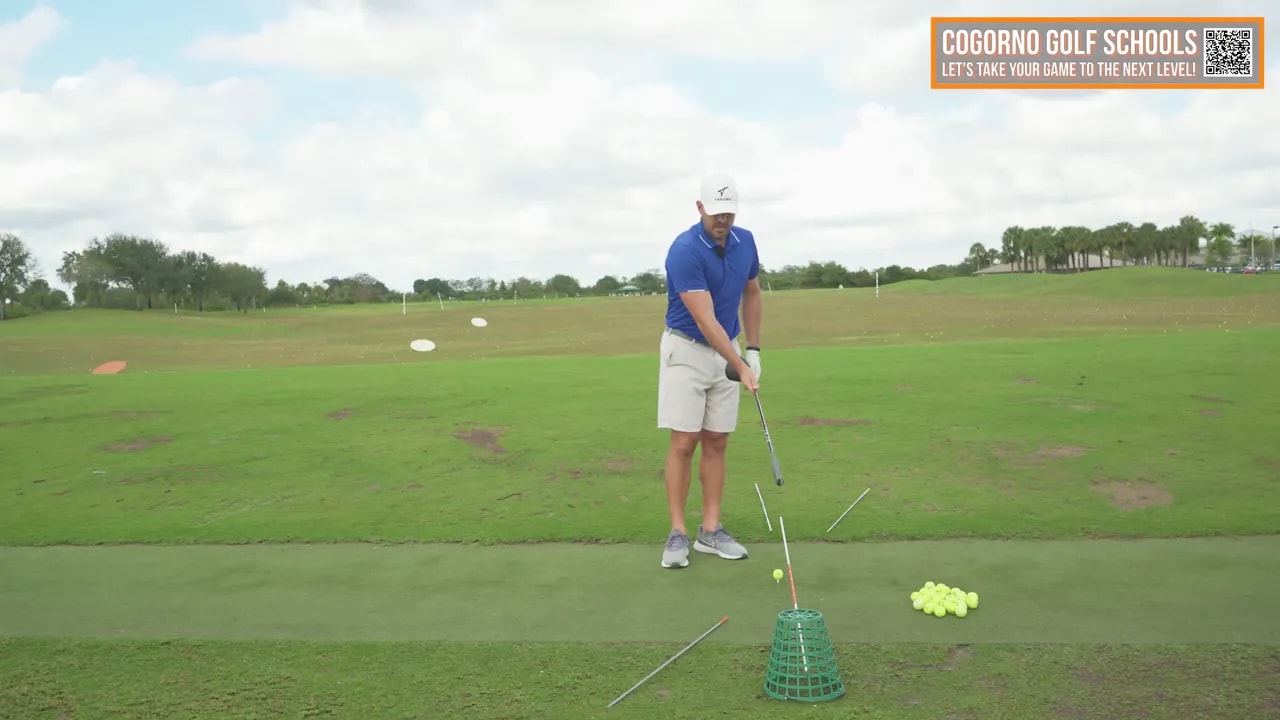
Setup some alignment sticks or use visual targets to exaggerate the inside-out feel. Place small sticks on the ground to mark an exaggerated club path that comes from roughly 4 o’clock and exits toward 10 o’clock when viewed from behind the ball. That exaggeration helps reprogram your swing if you habitually come over the top.
Inside-out swing drill steps:
- Start with single-arm swings again. With only your lead arm, feel the clubhead trace from the 4 o’clock position on the way through to the 10 o’clock area. Combine this with the face-rotation feel from Step 1.
- Add your trail arm and repeat the low-to-inside-to-out feel with both hands. The arms should feel like they are swinging in a shallow arc under the alignment stick.
- Add a body turn. On the backswing, rotate your chest away from the target. On the downswing and through impact, rotate your chest through the target. The arms provide the inside-out path while the body rotation moves the club into a neutral finish position.
- Use an alignment stick placed just over the back of the ball as a guard. The clubhead should travel inside underneath that stick on the way toward impact.
Important posture cues:
- Head stays back over the ball line — not forward toward the target.
- Lead shoulder and elbow should feel slightly rotated down and left through impact rather than flipping up and away.
- Right shoulder stays down on the downswing to avoid lifting and flipping the face open.
The reason to practice the inside-out feel before or while adding body rotation is that the torso turn tends to bring the hands out in front of the body. If the arms have not trained an inside-out path, the result is an exaggerated outside-in attack that promotes slices and weak contact. By rehearsing the arm path separately, then blending in the body, you produce a controlled, powerful downswing that keeps the clubhead traveling into the ball from low and inside.
Step 3: Setup and tilt — the finishing touch to increase driver distance
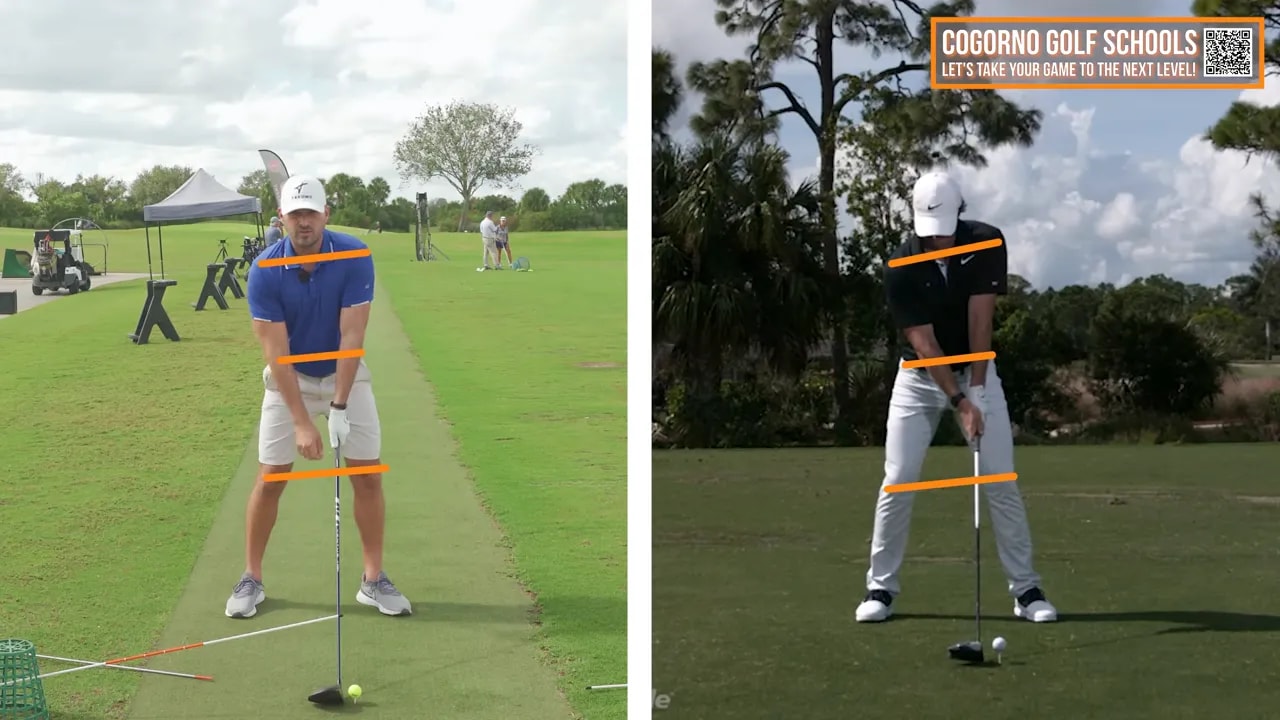
Setup is not just about where your feet or ball sits. Shoulder and hip tilt set the plane of the swing and strongly influence whether your path will be inside or outside. Most players who slice or hit weak fades set up too square or even with the left shoulder too low. That posture encourages an outside-in swing and forces a held-off clubface.
Setup checklist for a powerful inside-out path:
- Create tilt by raising the lead shoulder and lowering the trail shoulder slightly. The left side of your body should be a touch higher than the right (for a right-handed player).
- Left knee and hip should be slightly higher than the right to support the tilt and allow the torso to rotate through on a downward plane.
- Lead elbow slightly higher than the trail elbow at address promotes a shallow, inside-first takeaway and helps the club approach from low and inside.
- Pull the trail shoulder back and down if you tend to set with the trail shoulder high and forward. That reverse of the common error immediately helps the swing path.
Putting these setup cues together with the lead-arm release and the inside-out path drills produces a reproducible full swing sequence:
- Set up with a clear tilt: left shoulder/higher, right shoulder/back/down.
- Rehearse the lead-arm rotation and the glove-logo feel to square the face.
- Swing the arms from low and inside while rotating the chest back and through.
- Use an alignment stick over the ball as feedback so the head of the club travels inside under the stick on the downswing.
How far can this go? When the three elements are trained together — reliable face closure, an inside-out path, and a tilted setup — many mid-handicap players gain 30 to 50 yards. Cleaner, lower-compression contact and a draw bias unlock more roll and transfer more clubhead speed into distance.
Practical training plan: 4-week practice progression to increase driver distance
Follow this weekly progression to lock the changes into your swing without overcomplicating practice time.
- Week 1 — Lead-arm rotations only: 10 minutes per range session. Focus on glove-logo and elbow turning down-left and the head staying back.
- Week 2 — Add both hands and path drills: Incorporate inside-out swings with alignment sticks. Do sets of 5 reps alternating with normal swings.
- Week 3 — Full swings with setup tilt: Use the stick over the ball for feedback, blend the arm rotation and body turn, and hit full swings aiming for a controlled draw.
- Week 4 — On-course application: Play 9 holes or simulate tee shots on the range, focusing on ball flight and course management. Track distance gains and fairways hit.
Each session should include deliberate feedback: video, an alignment stick, or a practice partner watching for the glove-logo feel and the club traveling under the stick on the downswing.
Common mistakes and how to fix them
- Flipping the wrists instead of rotating the forearm: If you feel like the clubhead comes through with the toe pointing up at impact, pause and do lead-arm-only repetitions until the rotation feel is consistent.
- Head moving forward early: Keep your head back over the ball line during drills. A head-forward move often precedes a lifted shoulder and an open face.
- Overly exaggerated inside path turning into hooks: If you start pulling or hooking excessively, reduce the arm-only exaggeration and rely more on the body turn to neutralize the path.
- Setup tilt too extreme: Small, consistent tilt is enough. If balance or contact suffer, reduce the tilt slightly and recheck your knees and hip heights.
Frequently Asked Questions
How quickly can I expect to increase driver distance?
Results vary, but many golfers notice improved contact and 10 to 30 yards of extra distance within a single range session after practicing the face-rotation and inside-out drills. Sustained gains of 30 to 50 yards typically require blending the drills with a better setup and consistent practice over several weeks.
What if I over-hook the ball after closing the face?
An occasional hook simply means you moved the face too far closed relative to the path. If that happens, lean into the inside-out path less aggressively or reduce the lead-arm rotation. It is easier to move from a mild hook back toward neutral than to correct a persistent slice. The goal is a controlled, gentle draw rather than a hard hook.
Should I change my driver setup or ball position?
Ball position may remain slightly forward in your stance for a driver, but the key change is shoulder and hip tilt. Raise the lead side slightly and lower the trail side. This adjustment encourages a low-to-high impact angle with an inside approach and supports the inside-out path without requiring major changes to ball position.
How do I practice these drills safely without developing bad habits?
Start slowly with lead-arm repetitions to ingrain the rotational feel. Use alignment sticks and a guard stick over the ball for immediate feedback. Record a few swings on video to verify head position, shoulder tilt, and that the club travels under the guard stick. Increase speed gradually only after the motion feels consistent at slow to mid pace.
Summary and next steps to increase driver distance
To increase driver distance reliably, prioritize three things in this order:
- Close the clubface through impact with lead-arm rotation and the glove-logo down-left feel.
- Train an inside-out path with exaggerated arm swings, alignment sticks, and then add controlled body rotation.
- Set up with tilt so the lead shoulder/hip/knee are slightly higher than the trail side to encourage a low-to-high approach.
Apply the 4-week practice progression, use aligned drills for immediate feedback, and record your swings occasionally to confirm posture and face control. With consistent practice, you will see cleaner contact, more roll, and meaningful yardage gained off the tee.
Use the drills in this post as your blueprint for practice. Track fairways hit and carry distance to measure progress and refine the small details that matter.
0 Comments