

Table of Contents
- Outline
- Step 1: Understand why you’re slicing your golf shots
- Step 2: Reconnect your arms to your body to stop slicing your golf shots
- Step 3: Add a smooth pause at the top to fix sequencing when slicing your golf shots
- Step 4: Get clubface awareness — face orientation and right-hand cues
- Step 5: Learn the body draw using the medicine ball feel to eliminate the flip
- Step 6: Fix your grip to stop slicing your golf shots
- Putting the steps together: a practice routine to stop slicing your golf shots
- Troubleshooting common problems when trying to stop slicing your golf shots
- How long does it take to stop slicing your golf shots?
- Can these fixes be applied to driver and fairway woods to stop slicing your golf shots?
- Will strengthening my grip make me hook instead of slice?
- What is the simplest immediate check if I slice a lot?
- Key checkpoints to remember
- What should I practice first when trying to stop slicing your golf shots?
Outline
- Step 1: Identify the real cause of your slice
- Step 2: Reconnect your arms to the body at the top
- Step 3: Add a purposeful pause so the downswing starts in sequence
- Step 4: Check clubface orientation and right-hand pressure
- Step 5: Use the body draw medicine-ball drill to lock connection
- Step 6: Grip check — strong left hand, thumbs and knuckles
- Practice plan, progress tracking, and troubleshooting
- FAQ
Unlock Your True Golf Potential: Stop Slicing Your Golf Shots! A persistent slice isn’t just about an open clubface; more often, it’s about the disconnection of your arms and body. This creates extra swing, leading to that unwanted left-to-right ball flight. This guide offers clear cues, simple drills, and effective checks to help you connect your swing and achieve straighter, more consistent shots.
Step 1: Understand why you’re slicing your golf shots
Slices occur when your arms and body aren’t aligned. A disconnection causes your club to lag, opening the face at impact. Fixing it requires synchronized movement between your arms and body, allowing the club to close naturally by rotation.
Step 2: Reconnect your arms to your body to stop slicing your golf shots
The most impactful adjustment is keeping the right elbow close to the left arm in your backswing, minimizing unwanted movement. Drill: Right-Elbow Tuck
- Make a slow backswing.
- Keep the right elbow close to your left arm at the top.
- Maintain connection on the downswing.
- Your arms and chest should move together, feeling controlled.

Shortening your swing arc helps maintain sequence and prevent an open face at impact.
Step 3: Add a smooth pause at the top to fix sequencing when slicing your golf shots
Maintaining rhythm is crucial. A slight, intentional pause at the top allows your downswing to start with a hip rotation for optimal synchronization.
- Drill: Pause-and-Go
- Conduct a slow backswing and hold at the top for a second.
- Start the downswing by rotating your hips.
- Let your arms follow naturally.

This method establishes a controlled transition, resulting in a more natural swing.
Step 4: Get clubface awareness — face orientation and right-hand cues
Keeping the clubface under control is essential. At the top, aim for the clubface to point slightly down.
- Top-of-swing checkpoint
- Let the clubface point toward the ground.
- Press your right palm as if against a wall to prevent rolling open.
- Rotate through impact, closing the face with body rotation.

This position helps inhibit an overly open face by the time of impact.
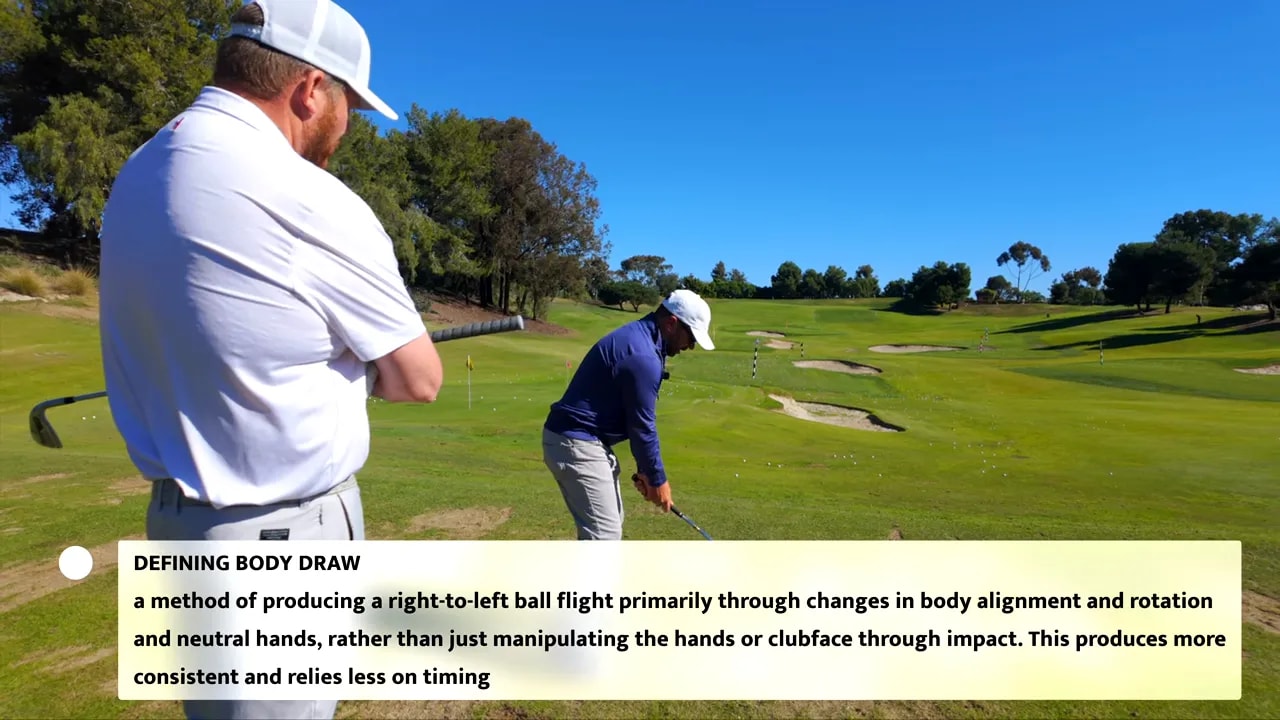
Step 5: Learn the body draw using the medicine ball feel to eliminate the flip
The body draw involves a three-quarter, rotation-driven swing ideal for keeping hands out of dominance. Envision swinging a medicine ball by rotating your torso.
- Medicine Ball Drill
- With a six-iron, picture holding a heavy ball.
- Rotate your torso, simulating a throw with your core.
- -Allow the face to close naturally with rotation.
This drill promotes a rotational closure, reducing unintended flips.
Step 6: Fix your grip to stop slicing your golf shots
Grip can heavily influence face control. A weak grip can leave it open, leading to slices. Check for two knuckles of your left hand at address.
Putting the steps together: a practice routine to stop slicing your golf shots
- Warm-up: Focus on the right-elbow tuck and clubface orientation.
- Pause-and-Go: Practice the transition with 20 swings.
- Body Draw: Use 20 three-quarter iron shots.
- Grip Check: Confirm grip after every 10 shots.
- Progress: Move to full swings gradually.
Emphasize quality and control over quantity for lasting improvement.
Troubleshooting common problems when trying to stop slicing your golf shots
Problem: You still open the face even after fixing grip
Ensure your lower body starts the downswing. Focus on pausing and hip rotation.
Problem: Shots go low and right like a lob
This suggests a weak grip or over-dependence on hand flipping. Reinforce a stronger grip.
Problem: You feel tight and can’t rotate
Work on smaller swings first, focusing on connection and mobility exercises.

How long does it take to stop slicing your golf shots?
Can these fixes be applied to driver and fairway woods to stop slicing your golf shots?
Will strengthening my grip make me hook instead of slice?
What is the simplest immediate check if I slice a lot?
Key checkpoints to remember
- Keep right elbow close to minimize unnecessary movement.
- Pause at the top for correct sequencing.
- Adjust clubface orientation to limit an open face at impact.
- Check left-hand grip for reliable face control.
- Body draw for emphasizing rotation-based closure.
Slices indicate errors in sequence and face control. By following these steps, you can improve your swing for straighter, more consistent shots.
0 Comments