


Unlock the Secret to Lower Scores and Power-Packed Swings!
If you’re eager to perfect your swing with a straightforward drill, you’ve come to the right place. Master the lateral shift and revolutionize your golf game with repeatable, powerful contact. Just point the grip — the butt of your club — at the ball during your downswing to feel the magic. This move integrates a proper lateral shift, an engaging turn, and an effective shoulder tilt, improving every swing element.
Contents at a Glance
- Step 1: Set Up the Drill – Club Behind Back “T-Rex”
- Step 2: Master the Lateral Shift
- Step 3: Enhance Rotation and Extension
- Step 4: Integrate Tilt
- Step 5: Combine and Swing
- Why This Drill Resolves Swing Issues
- Winter Practicing Routine
- Troubleshooting
- Accelerate with Additional Drills
- Step 6: Course-Specific Cues
- FAQ
- Final Insights
Step 1: Set Up the Drill – Club Behind Back “T-Rex”
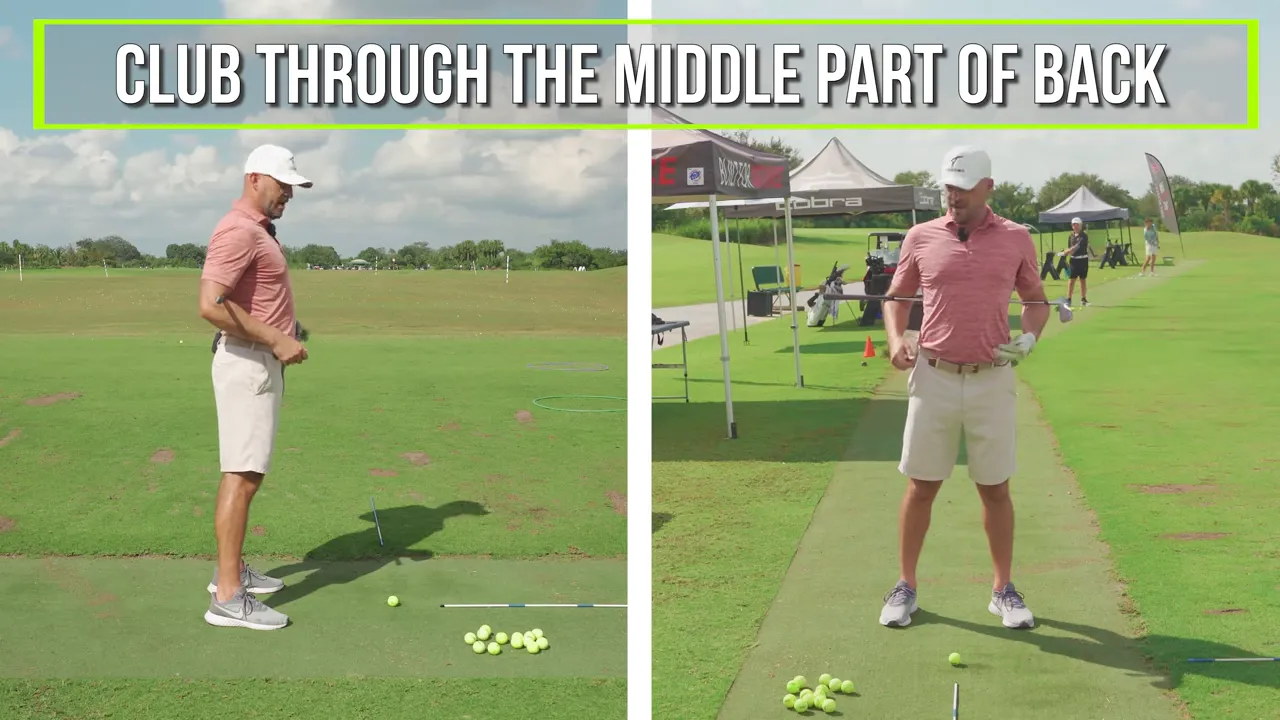
Begin with an eight iron. Position the club behind your back so the shaft sits between your elbows, with the grip on your right side. Yes, it feels goofy — kind of like a T-Rex pose. But this awkwardness is beneficial, isolating how your torso, shoulders, and hips should move to point the grip toward the target.
Practice rotating your torso from this position to point the club’s butt at a ball ahead. This practice is foundational, not for hitting shots, but because it instills the correct body movement sequence through the impact zone.
Step 2: Master the Lateral Shift

The initial focus is learning the lateral shift. It’s more about your belt buckle than your hips. During your downswing, slide your belt buckle toward your lead ankle. This isn’t a jump or step, but a small, controlled shift where your lower body moves forward more than your upper body.
- Feel: The buckle moves over your lead ankle at the downswing’s start.
- Weight: Shift pressure to your lead foot, easing it off your trail foot.
- Purpose: This shift moves the club’s low point forward, ensuring it meets the ball before touching turf, key for solid shots.
Tour players exemplify this. Without the shift, fat or thin shots emerge, often leading to scooping. Rehearse the belt buckle slide in practice drills to learn this shift correctly.
Step 3: Enhance Rotation and Extension

With the forward slide internalized, add rotation and extension. While your belt buckle slides forward, let it rotate, so your stomach faces the target. Extension is the subtle upward forward thrust of the belt buckle during this rotation.
- Shift: Move the belt buckle toward the lead ankle.
- Turn: Point the buckle at the target as it shifts.
- Extend: Gently elevate your midsection forward, preventing arms from premature descent.
Synchronized shift, turn, and extension align the club naturally with the ball at impact. These harmoniously offer an ideal club path, improved compression, enhanced power, and remarkable consistency — elements of a great coach’s drill.
Step 4: Integrate Tilt

The face-on shift and rotation position you for impact. From the side view, add tilt to bring the club’s butt down for ball contact. This tilt isn’t a collapse but a controlled side-bend away from the target combined with a slight oblique crunch.
- Feel: Slide your belt buckle forward and rotate, letting your trail shoulder gently drop.
- Visual: From a down-the-line view, aim the club butt gently down towards the ball.
- Impact: Tilt ensures the clubhead strikes the ball on the correct plane; otherwise, contact inconsistency arises.
Tilt is an evolving side bend supporting the lower body’s lateral shift. The upper-body side bend and core engagement allow the proper clubpath through impact.
Step 5: Combine and Swing

Practice the synchronized sequence with a club. Begin with half swings, gradually moving to full swings as you gain confidence.
- Initiate with the belt buckle sliding over the lead ankle.
- Rotate the buckle towards the target and slightly push it upward.
- Drop the trail shoulder in a gentle oblique crunch to integrate tilt.
- Smoothly blend these actions into a cohesive sequence.
A key swing phrase like “Buckle to ankle, shoulder down” can act as a mental reminder each practice. As you move, feel your buckle and shoulder interacting, and you’ll soon notice improved contact and alignment.
Why This Drill Resolves Swing Issues
This uncomplicated drill corrects key swing faults, supporting well-struck shots:
- Fats: A forward low-point slide positions the club to strike the ball first.
- Tops/Thins: Tilt ensures a downward motion and negates premature scooping.
- Over-the-tops: The inside path developed from a lateral shift and rotation minimizes arms-over action, reducing slices.
- Early Extensions: A forward pushing belt buckle prevents collapse toward the ball.
- Power Loss: A unified shift-turn-extend movement generates energy and compression, avoiding erratic arms.
Mastering this drill can reduce strokes significantly, moving you from shooting 80s closer to par. It isn’t magic — just solid movement patterns utilized by top golfers.
Winter Practicing Routine
No hours on the range are needed. A focused routine reinforces the pattern:
- Loosen up with five minutes of stretching and select half swings without a ball.
- Spend five to ten minutes on the club-behind-the-back drill, rehearsing each movement 20 to 40 times. Focus on feeling instead of forcing.
- Conduct 20 half swings, reciting “Buckle up and forward, trail shoulder down.” Confirm the path using your phone’s camera.
- Progress to three-quarters and eventually full swings when comfortable. Maintain a simple, focused mantra per set.
- Conclude with five to ten full swings, prioritizing feel over power.
By repeating this routine three to five days a week, the new movement pattern should settle in quicker than expected.
Troubleshooting
- Belt buckle is static: Exaggerate the lead foot’s step in practice to encourage forward movement.
- Rotation precedes shift: Prioritize sliding first. Without forward movement, the low point remains behind.
- Excessive tilt: Reduce side bend; the shift drives most tilt, and the oblique engagement should be gentle.
- Premature posture loss: Emphasize “Buckle up and forward” to uphold spine angle.
- Driver feels off: Tweaking timing slightly is key here, as longer clubs need adaptation but a similar order of movements.
Accelerate with Additional Drills
- Back Rehearsals: Daily, 5 minutes. No ball.
- Step-and-Set Drill: Begin the downswing with a slight step towards your goal.
- Half-Swing Compression: Hit half shots focusing on “buckle to ankle” and “shoulder tilt” cues.
- Video Feedback: Capture down-the-line and face-on perspectives for self-evaluation.
Step 6: Course-Specific Cues
Complex instructions vanish under stress. Embrace a singular prompt:
- “Buckle to ankle, shoulder down”
- “Up-and-forward to target”
- “Slide, turn, tilt”
Uphold these phrases during your pre-shot routine. With consistent practice, they braid into your motor memory, driving reliable success during rounds.

FAQ
How much lateral shift is enough for a typical iron shot?
Will this drill work for drivers and fairway woods as well?
Can this drill cause lower-back pain if I overdo the tilt?
How long before I see measurable improvement on the course?
What are the most common mistakes when doing this drill?
What practice progressions should I use if I currently slice or hook most of my shots?
Final Insights
Integrating this drill into your routine delivers outsized benefits. Guiding the club’s butt towards the ball harmonizes essential body movements, broadening your skill set and encouraging a dependable pattern. Keep phrases focused: lateral shift golf swing, buckle to ankle, buckle towards target, shoulder tilt. Practice precise repetitions using the club-behind-the-back, progressing into full swings. Experience newfound consistency as you incorporate this routine within weeks.
Take a club, explore the back pose, and direct your buckle toward your goal. Sequential mastery of simple yet impactful movements transforms your ball-striking abilities and contributions to lowered scores.
0 Comments