

Unlock consistent power with your swing. The trail arm, often overlooked, plays a crucial role. Learn the secret forearm twist that influences your club face and swing path for better accuracy. Utilize a simple code system and a tailored dumbbell drill to gain a competitive edge on the course.
Table of Contents
- Understand the 3-2-1 Trail Arm Secret
- Separate Arm Rotations
- Set Up the Dumbbell Drill
- Practice the Motion and Checkpoints
- How the Secret Fixes Path and Face
- Apply to Drivers and Longer Swings
- Progressive Practice Plan
- Common Mistakes and Fixes
- On-Course Checklist
- Frequently Asked Questions
- Final Thoughts
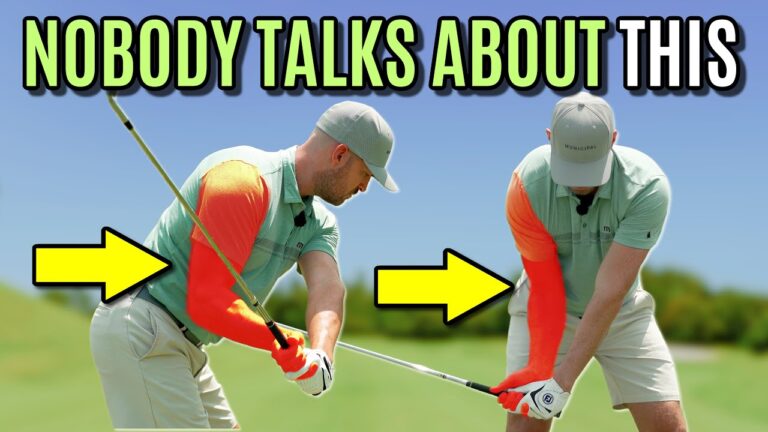
Understand the 3-2-1 Trail Arm Secret
Think in terms of positions for your upper arm and forearm to create a mental map. Position your Upper Arm = 3 (externally rotated) and your Forearm = 1 (pronated) to achieve the optimal swing path and club face control.
- Upper arm positions: 1 is toward the target, 3 is away, 2 is midway.
- Forearm positions: 1 is palm down, 3 is palm up, 2 is midway.
Separate Arm Rotations
The upper arm and the forearm rotate independently. Forcing them together can lead to swing compensations. Focus on the upper arm for swing path and the forearm for the club face.
“Use the wrist and forearm to square the face, not the elbow.”
Set Up the Dumbbell Drill
Use a lightweight dumbbell to develop the trail arm feel. The dumbbell helps you sense the correct alignment between your elbow and forearm.
- Hold the dumbbell as you would a club. Position the elbow in the ‘give blood’ stance with the forearm in position 1.
- Perform bicep curls and rotate the dumbbell to enhance the hammer-curl rotation.
- Maintain tension as you practice swings, ensuring the elbow and forearm positions are correct throughout.
Practice the Motion and Checkpoints
Build the trail arm motion through controlled practice:
- Start with single-arm reps holding the dumbbell.
- Progress to half swings with your club.
- Include short chip shots before attempting full swings.
- Gradually increase speed while checking the trail arm alignment.
Key checkpoints: halfway back, at transition, and at impact.
How the Secret Fixes Path and Face
Simply placing your elbow forward isn’t enough. You need to incorporate the forearm twist to prevent an open face. Achieving the 3 and 1 alignment stabilizes swing radius and controls the club path for a solid impact.
Apply to Drivers and Longer Swings
Drivers require more precision; maintain the 3 and 1 alignment as you transition to longer swings. Use video to ensure you’re keeping proper form.
Progressive Practice Plan
- Week 1: Daily dumbbell drills for 5-10 minutes.
- Week 2: Move to club swings, focus on feel.
- Week 3: Full swings, check progress with video.
- Maintenance: Regular warm-ups with hammer-curl drills.
Common Mistakes and Simple Fixes
- Ignoring the forearm: Add rotation to square face.
- Flipping the elbow: Re-train to control the club face.
- Inconsistent practice: Use tactile feedback to reinforce good habits.
On-Course Checklist
- Ensure elbow in position 3 with forearm in position 1.
- Feel tension between elbow and forearm.
- Verify positions at various points throughout swing.
- Post-impact, keep the elbow visible upward with twisted forearm.
Frequently Asked Questions
How quickly can I expect improvement using the trail arm secret?
Do I need a heavy dumbbell to get the benefit?
What if I can do the motion without the dumbbell but lose it when I hit a ball?
Will this fix my slice or pull?
Can I use this for all clubs?
Final Thoughts
Elbow forward is not enough. The trail arm secret lies in a coordinated forearm twist. Use the 3-2-1 system and dumbbell drills to enhance your swing, leading to a stable swing radius and a square face at impact. Consistent practice transforms contact and ball flight.
Stick to your practice plan to make the 3 and 1 alignment a natural part of your golf swing.
0 Comments