
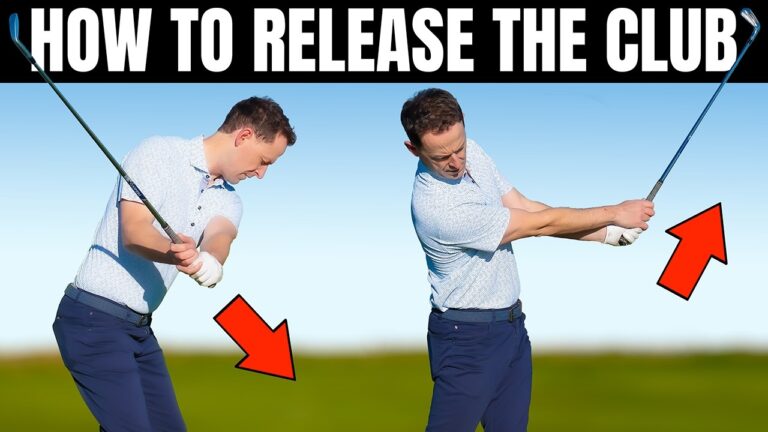

Unlock your true potential on the golf course by mastering the art of releasing the golf club. In this comprehensive guide, discover simple techniques to drastically improve your accuracy and distance.
Table of Contents
- Step 1: Arm Drills for a Free-Flowing Swing
- Step 2: Use Your Pelvis to Support a Full Release
- Step 3: Gluing Release and Clubface Control
- Practice Routine: Integrating All Steps
- Troubleshooting Common Release Problems
- Coaching Cues to Remember
Step 1: Arm Drills for a Free-Flowing Swing
For optimal swings, arms should pivot naturally around the elbow joints without holding angles at impact. Free-flowing arms result in higher clubhead speed and consistent strikes.
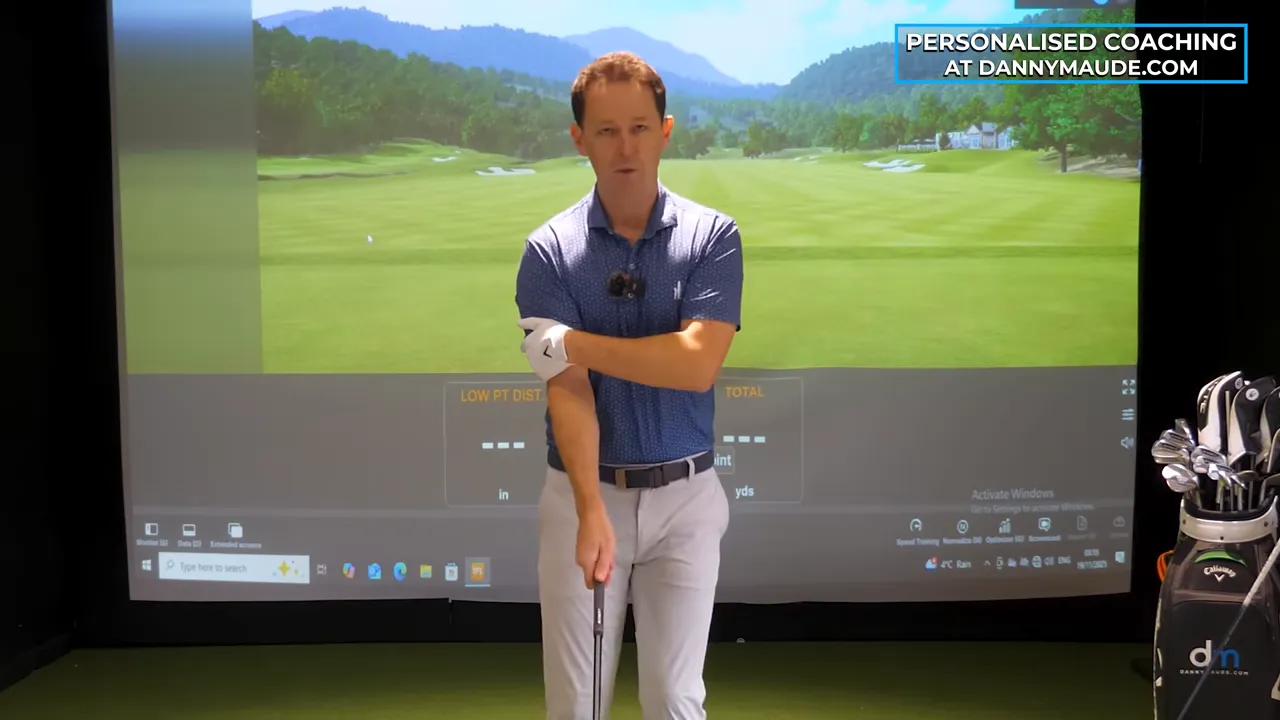
- Drill 1 – Lead Tricep Lock:
- Set up: Grip the club lightly, ensuring lead tricep is locked to the chest.
- Feel: Allow the club to swing, noticing how it free-falls through the hitting zone.
- Cues: Avoid steering; let the club pivot around the elbow hinge.
- Reps: Complete 20 slow swings and 10 faster ones.
- Drill 2 – Lead Arm Reverse:
- Set up: Pin the trail tricep and allow the lead arm to work.
- Feel: Lead arm pivots at its elbow, allowing free swing and natural rotation.
- Cues: Imagine the lead arm as a hinge and the club as a pendulum.
- Reps: Alternate sets between the two drills.
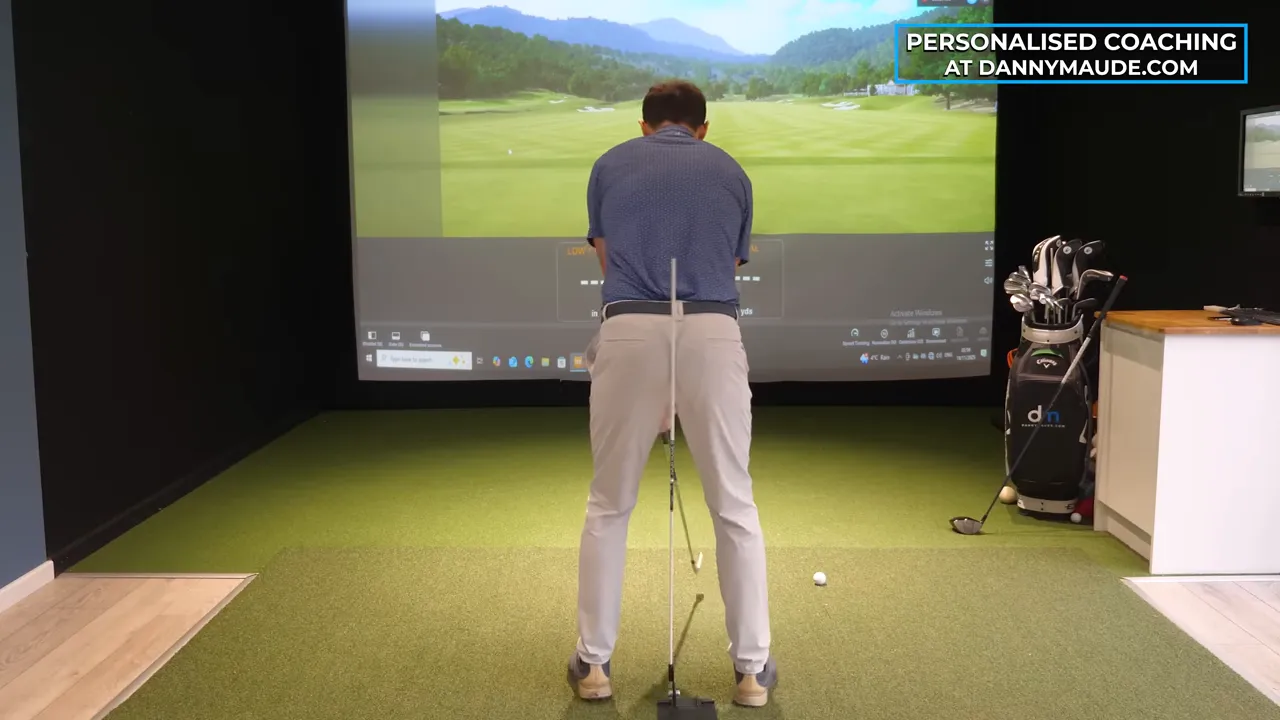
Step 2: Use Your Pelvis to Support a Full Release
Effective arm release is reliant on correct body sequencing. The pelvis leads the downswing, ensuring powerful impact positions.
- Drill 3 – Stick Feedback:
- Set up: Place a stick behind the hips to check pelvic movement.
- Goal: Ensure pelvis stays ahead of the stick on downswing.
- Feel: Maintain pelvis forward, promoting compression instead of flipping.
- Reps: 10 slow swings, progressing to full swings.
- Drill 4 – Shin Breaker:
- Set up: Use a training basket to constrain lead foot, preventing forward slide.
- Goal: Train pelvis to remain forward, allowing full swing release.
- Feel: Achieve shaft lean and compression through impact.
- Reps: 15 swings with constraint, 10 without for carryover.

Step 3: Gluing Release and Clubface Control
Even with free arms and pelvis timing, clubface awareness is crucial for impact accuracy. Develop awareness to ensure the clubface is properly aligned.
- Develop Clubface Awareness:
- Feel of the Top: Pause at the top and assess clubface orientation.
- Sound Check: Listen for feedback sounds during practice.
- Tools: Consider face-angle sensors or aids for accurate feedback.
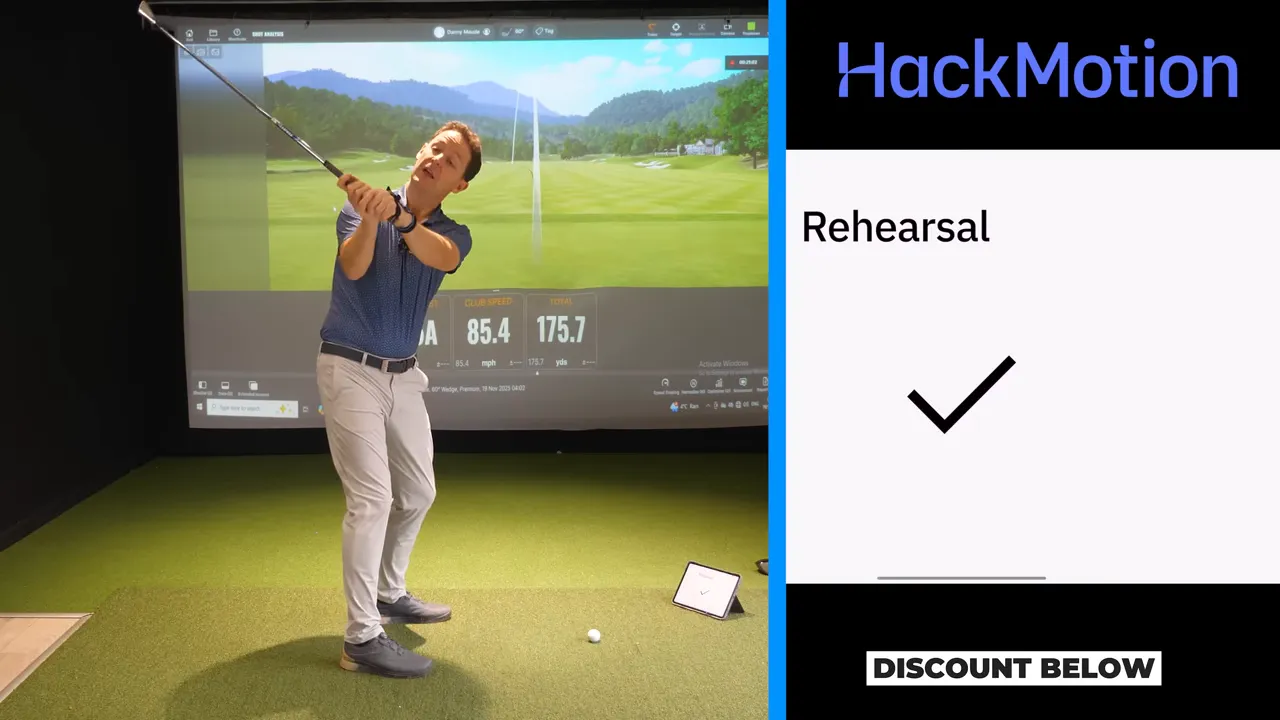
Practice Routine: Integrating All Steps
Consistent practice is key to mastery. Follow this routine for optimal results within 20-30 minutes:
- Warm up: 5 minutes of light arm swings.
- Step 1 Practice: 20 reps each of lead and trail tricep lock swings.
- Step 2 Practice: 15 reps with stick feedback, 15 with shin-breaker constraint.
- Step 3 Practice: 10 controlled swings and 20 full swings focusing on face awareness.
- On-Course Transfer: 15 mid-iron shots, followed by 10 driver swings focusing on release and pelvis position.
Enhance your performance weekly by increasing speed or club length when mechanics stabilize. Focus on feeling over distance as you learn.
Troubleshooting Common Release Problems
If experiencing shot deviation or control issues:
- Misaligned Pelvis: Correct backward pelvis using stick drills.
- Impact Issues: Practice lead tricep locks for better strike.
- Feeling Out of Control: Slow down, maintain balance while focusing on drills.
Coaching Cues to Remember
- Pin the tricep, let the club swing.
- Pelvis ahead of the stick on the way down.
- Trust the release; control comes from the body.
- Check the face at the top before committing to speed.
Will releasing the club make me lose control of the shot?
How often should I practice these release the golf club drills?
Can this fix a slice or only a loss of distance?
What about lag and shaft lean — do I need to hold them?
Do I need a device like a face sensor to get the clubface right?
Train intentionally: ensure your arms pivot freely, anchor your pelvis correctly, and cultivate keen clubface awareness. Witness a swing transformation that brings ease, distance, and clarity to your game.
Commit to these drills, keep cues simple, and let your body dictate control. Relish your enhanced speed and striking precision.
0 Comments