

Tired of range success not translating to the course? You’re in the right place. Unlock your golf potential with actionable strategies for improving timing and consistency, drawn from the expertise of Craig Hanson and Dr. Rob Neal. This guide dissects the key drills and concepts that can revolutionize your performance, mirroring tour-level success.
Identify Timing, Not Just Technique
On the course, nerves can derail your swing, leaving it stiff and short. Timing is crucial—ask yourself: Are you pausing at the top? Is your hip movement off? Many mistake this for a technique flaw when, in truth, it’s a timing mishap under pressure.
“On the range, he was relaxed, hitting nicely, but froze up on the first tee.”
Test Your Timing
- Hit full swings on the range and compare to the course. Notice a pause or hip lift? Timing is likely the perpetrator.
- Concentrate on rhythm and staying relaxed, especially when the stakes rise.
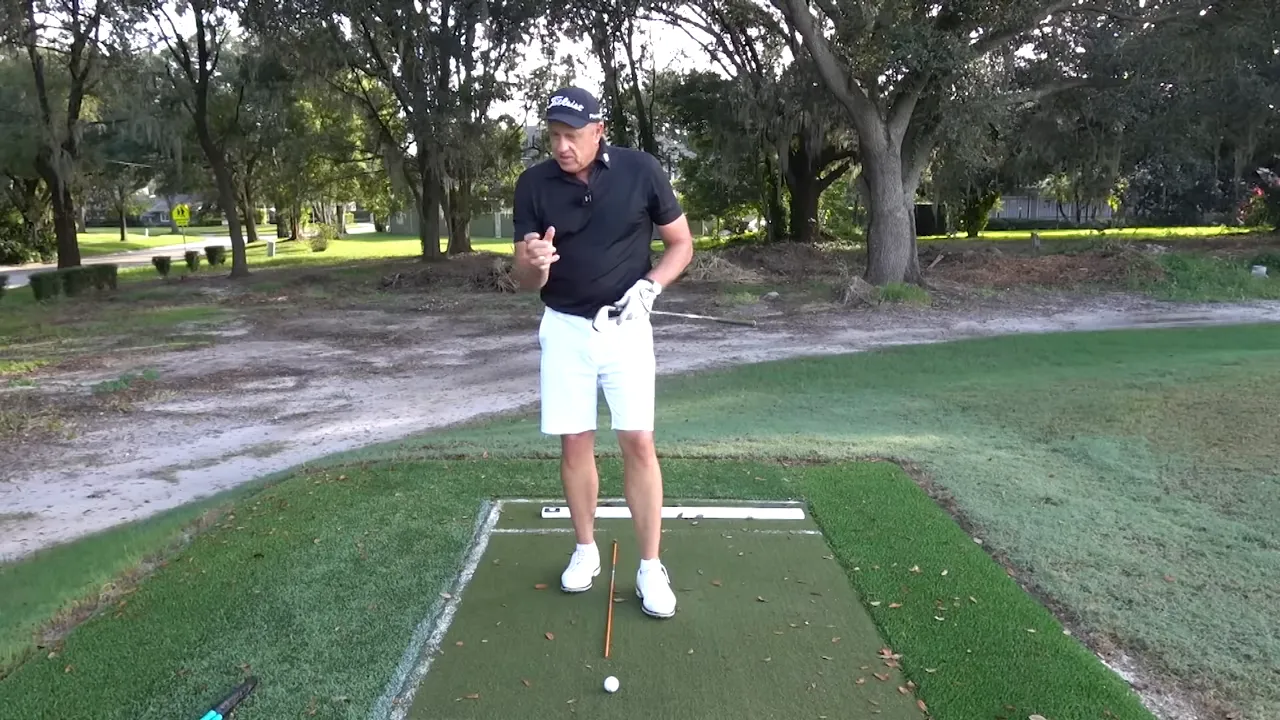
Step 1: Symmetrical Knee Work Drill
Use the symmetrical knee movement cue to improve your pivot depth. Ensure your left knee moves forward and the right glides back.
“Align the left and right knee movements.”
Practice with an Alignment Stick:
- Position the stick outside your trail heel.
- At address, put a club across your shoulders.
- While keeping the right leg turning, aim to position the grip and shoulder behind the ball.
- Enhances pivot depth and promotes a more inside-to-ball path.
- Boosts turn, leading to effortless power and sequence.
Step 2: Increase Hip Turn
A good hip turn offers time, space, and energy. Even older golfers can boost their ball striking by enhancing hip turn.
“Hip rotation winds up shoulders, providing space and power.”
- With a club on your shoulders, try to get a PGA-average of 40° shoulder turn.
- Elite golfers reach 50° hip turn, do mobility drills to increase your turn.
- Imagine a string in your pocket lifting back, helping hip rotation without stress.
Step 3: Shift the Wallet
After winding up, shift laterally across, creating power. PGA pros average a 4–6 inch lateral move, closing the knee gap and aiding leverage.
“Post-turn, shift the wallet forward slightly.”
- With the alignment-stick drill, notice the space.
- Shift the wallet toward the target during downswing.
- Watch knees closing and the trail foot loading for acceleration.
- Facilitates weight transfer and body sequencing.
- Prevents premature lateral movement, ensuring control.
Step 4: Stick One, Stick Two Drill
This drill enhances transition timing, minimizing premature motion. Place two sticks a club width apart near your trail heel.
“Feel the one, two rhythm through movement.”
Set Up:
- Arrange sticks as described.
- Cross hands with a club on your chest, aiming the grip above the ball.
- Execute the one, two shift for proper transition.
- If moving to stick two too early, you’re rushing and may pull shots.
Step 5: Tuck the Right Arm
Keep your right arm in check for consistent impact. Under pressure, it tends to over-straighten, opening the shoulders.
“Tucking the right arm enhances plane and path.”
How to Tuck:
- Grip with visibility of the right forearm inside at address.
- Tuck elbow mildly towards the body during the takeaway.
- At the top, point a marker toward the ball line, ensuring the club is on plane.
Step 6: Let the Club Flow
Don’t let tension stifle your rhythm. Using a rope or weighted tool helps you feel the natural swing release.
“Once relaxed, release with ease and rhythm.”
- Employ long swings with a rope to experience natural weight transfer.
- Maintain grip pressure light at 3-4/10.
Practice Progression: Range to Course
Convert those range improvements to game success with deliberate practice:
- Warm up with mobility drills.
- Perform 10 alignment-stick turns, focusing on knee work.
- Do 20 stick one-stick two swings for timing.
- Hit short wedge shots, focusing on elbow tuck and club release.
Common Faults & Fixes
Early Hip Slide Toward the Ball
Practice wallet shift, using the drill to prevent unwanted sliding.
Right Arm Straightens at the Top
Ensure arm tuck, check marker placement for club control.
Grip Tightens Under Pressure
Train a loose grip with breath work and rope swings.
Course Distance Loss
Restore timing and tension, employing stick drills.
Enhance Golf with Science-Backed Feel
Bridge technique with feel, using data-backed cues for sustained success under pressure. Dr. Rob Neal’s PGA findings inform these methods, improving results through a blend of scientific measurement and intuitive drills.
FAQ
How soon will my ball-striking improve?
With targeted practice over 4-6 weeks, noticeable changes are achievable.
Should seniors increase their hip turn?
Yes, progressively. It’s about mobility and adding just a bit more rotation.
Will these drills cure a slice or hook?
They optimize timing and form, helping correct these common issues.
Drill frequency?
Integrate the drills in each practice for consistent improvement.
Conclusion
Address timing and tension for on-course success. Use alignment-stick drills, shift your wallet, tuck the elbow, and practice a relaxed release. These strategies transformed Jeff’s performance and can revitalize your game too. Practice consistently in focused sessions to master a powerful, repeatable swing.
Final Golf Checklist: Wind up, right hip back, wallet shift, stick one-stick two timing, right elbow tuck, let the club go, light grip. Repeat daily.
0 Comments