
Unlock Golf’s Secret: Effortless Ball Compression with the Right Downswing Sequence
Hi, I’m Eric Cogorno. Ever wondered how top golfers compress the ball so effortlessly? It’s not about a secret move or a unique club — it’s all about the perfect downswing sequence. Here’s how you can turn your ball-striking skills around instantly with a simple, effective drill. Practice these steps to develop a consistent pattern that enhances your contact quality, boosts your power, and ensures a shallower, inside path into the ball.
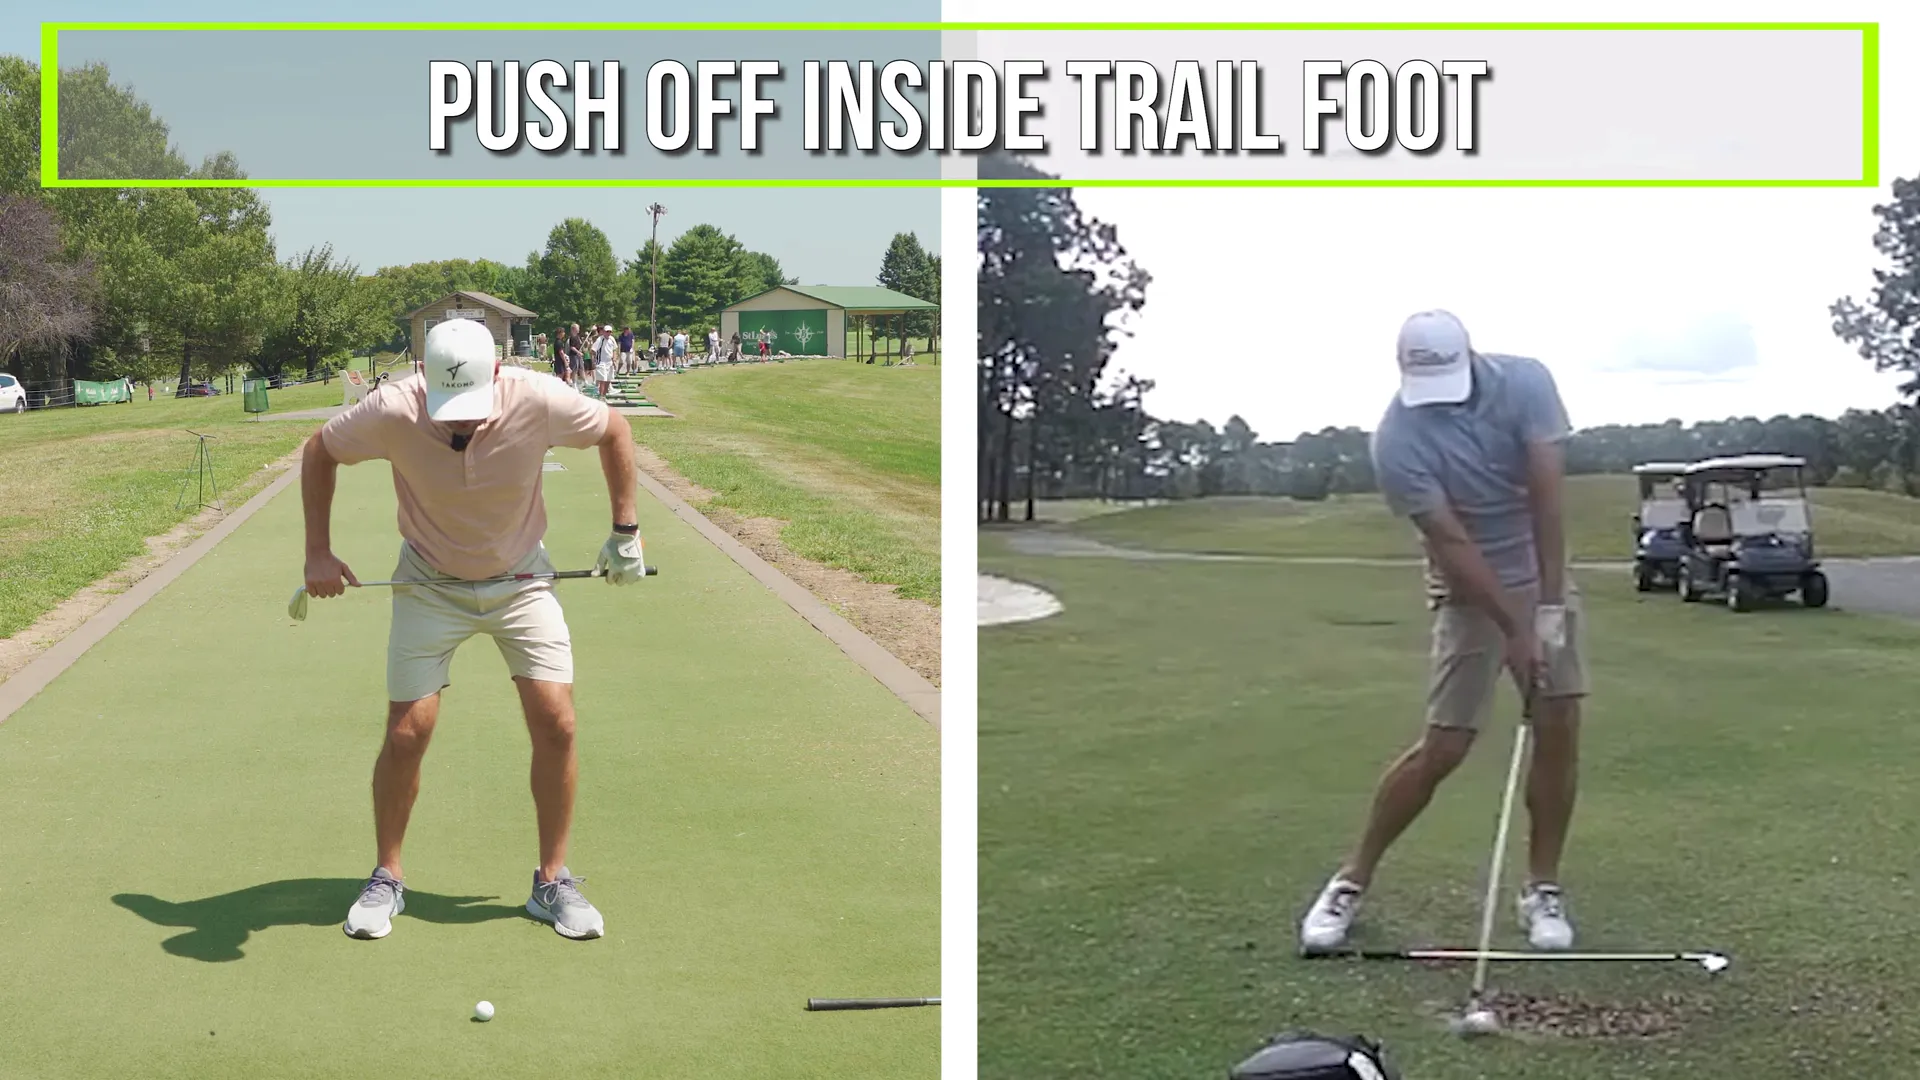
Table of Contents
- Outline
- Introduction: Why this Downswing Sequence Drill Matters
- Step 1: Hips and Weight Shift — Downswing Sequence Drill
- Step 2: Trail Shoulder Down and Forward — Downswing Sequence Drill
- Step 3: Combo — The Alignment Rod Downswing Sequence Drill
- How to Apply the Downswing Sequence Drill to Every Club
- Practice Plan and Progressions for the Downswing Sequence Drill
- Common Mistakes and Troubleshooting
- How to Measure Progress
- Equipment and Tech I Recommend
- FAQ — Downswing Sequence Drill
- Closing: Make the Downswing Sequence Drill Your Default
Outline
- Introduction: The importance of the downswing sequence
- Step 1: Hips and weight shift — the foundation of the downswing sequence drill
- Step 2: Trail shoulder down and forward — the tilt that creates the shallow inside path
- Step 3: The combo drill — syncing hips and shoulder using alignment rods
- Applying the downswing sequence drill to all clubs
- Practice plan, rep targets, and progressions
- Common mistakes and troubleshooting
- FAQ
- Conclusion: Make it your new default
Introduction: Why this Downswing Sequence Drill Matters
Every great golfer knows the secret to consistent ball striking: the perfect downswing sequence. It involves a forward weight shift with hip rotation and a simultaneous drop of the trail (right) shoulder down. Timing is everything, and getting these moves in sync sets reliable ball strikers apart from the rest.
When executed correctly, you achieve:
- Forward low point creation for precise ball-first contact — consistent compression.
- A shallower, inside approach for more power, better flights, and fewer mishits.
- Preserved posture, preventing early extension for quality impact contact.
Explore the exact three-step progression I use with my students: isolate hips, then shoulders, and finally combining them. Use the tips and mantras in each section to refine your sequence.
Step 1: Hips and Weight Shift — Downswing Sequence Drill
The foundation of any solid golf swing starts with the hips. Feel them turn and push forward as the downswing begins. This motion combines hip rotation with forward weight shift. Here’s how to achieve it:
- Set up with a club across your belt buckle.
- From the top of your swing, pull the club toward your chest to feel the rotation.
- Push off the inside of your right foot, rotating your belt buckle toward the target.
- Ensure your right foot and knee point towards the target. Check that your shoelaces face forward as well.
Repetition cues: “Push off the right foot, Belt buckle to target, Shoelaces pointing forward.”

Benefits:
- Pushing from the inside of the right foot generates the necessary weight shift.
- Turning the belt buckle forward helps move the low point ahead of the ball.
- If the shoelaces don’t point forward, it indicates improper hip rotation.
Drill: Practice hip isolation:
- Club across belt buckle for a half-swing, pushing off your right inside foot.
- 20 slow reps to feel the motion, followed by 10 easy shots replicating the hip turn.
…
Step 2: Trail Shoulder Down and Forward — Downswing Sequence Drill
To complement your weight shift, it’s crucial to drop the trail shoulder down and toward the target simultaneously. This motion allows your club to shallow out for a powerful swing. Here’s the feel:
- Place the club across your shoulders.
- Begin with the familiar hip push off the right foot.
- Let the trail shoulder move down and forward—think of a right-side crunch.
- Aim for the clubhead to travel past where the ball would be.

Importance:
- A high right shoulder leads to a steep, outside-in swing path, causing inconsistent contact.
- Descending the right shoulder creates a shallow approach for solid hits.
- Failure to maintain posture often results from not properly tilting the shoulder.
Drill: Shoulder isolation:
- Club across shoulders. Execute short swings letting the shoulder drop.
- Complete 20 reps, then hit 10 balls, emphasizing the shoulder’s role.
…
How to Apply the Downswing Sequence Drill to Every Club
This downswing drill adapts easily across all clubs, from wedges to drivers, by maintaining similar timing and sequence:
Wedge and Short Game: The feel remains the same. Use abbreviated swings and focus on the compression feel. Repeat the combo feel during practice shots.
Mid and Long Irons: Maintain the cue for right-side crunch and weight shift. Start with practice swings using rods before full swings.
Driver: Adjust your setup with increased ball forward and spine tilt, but keep the downswing sequence intact. The rods will be higher; timing stays the same.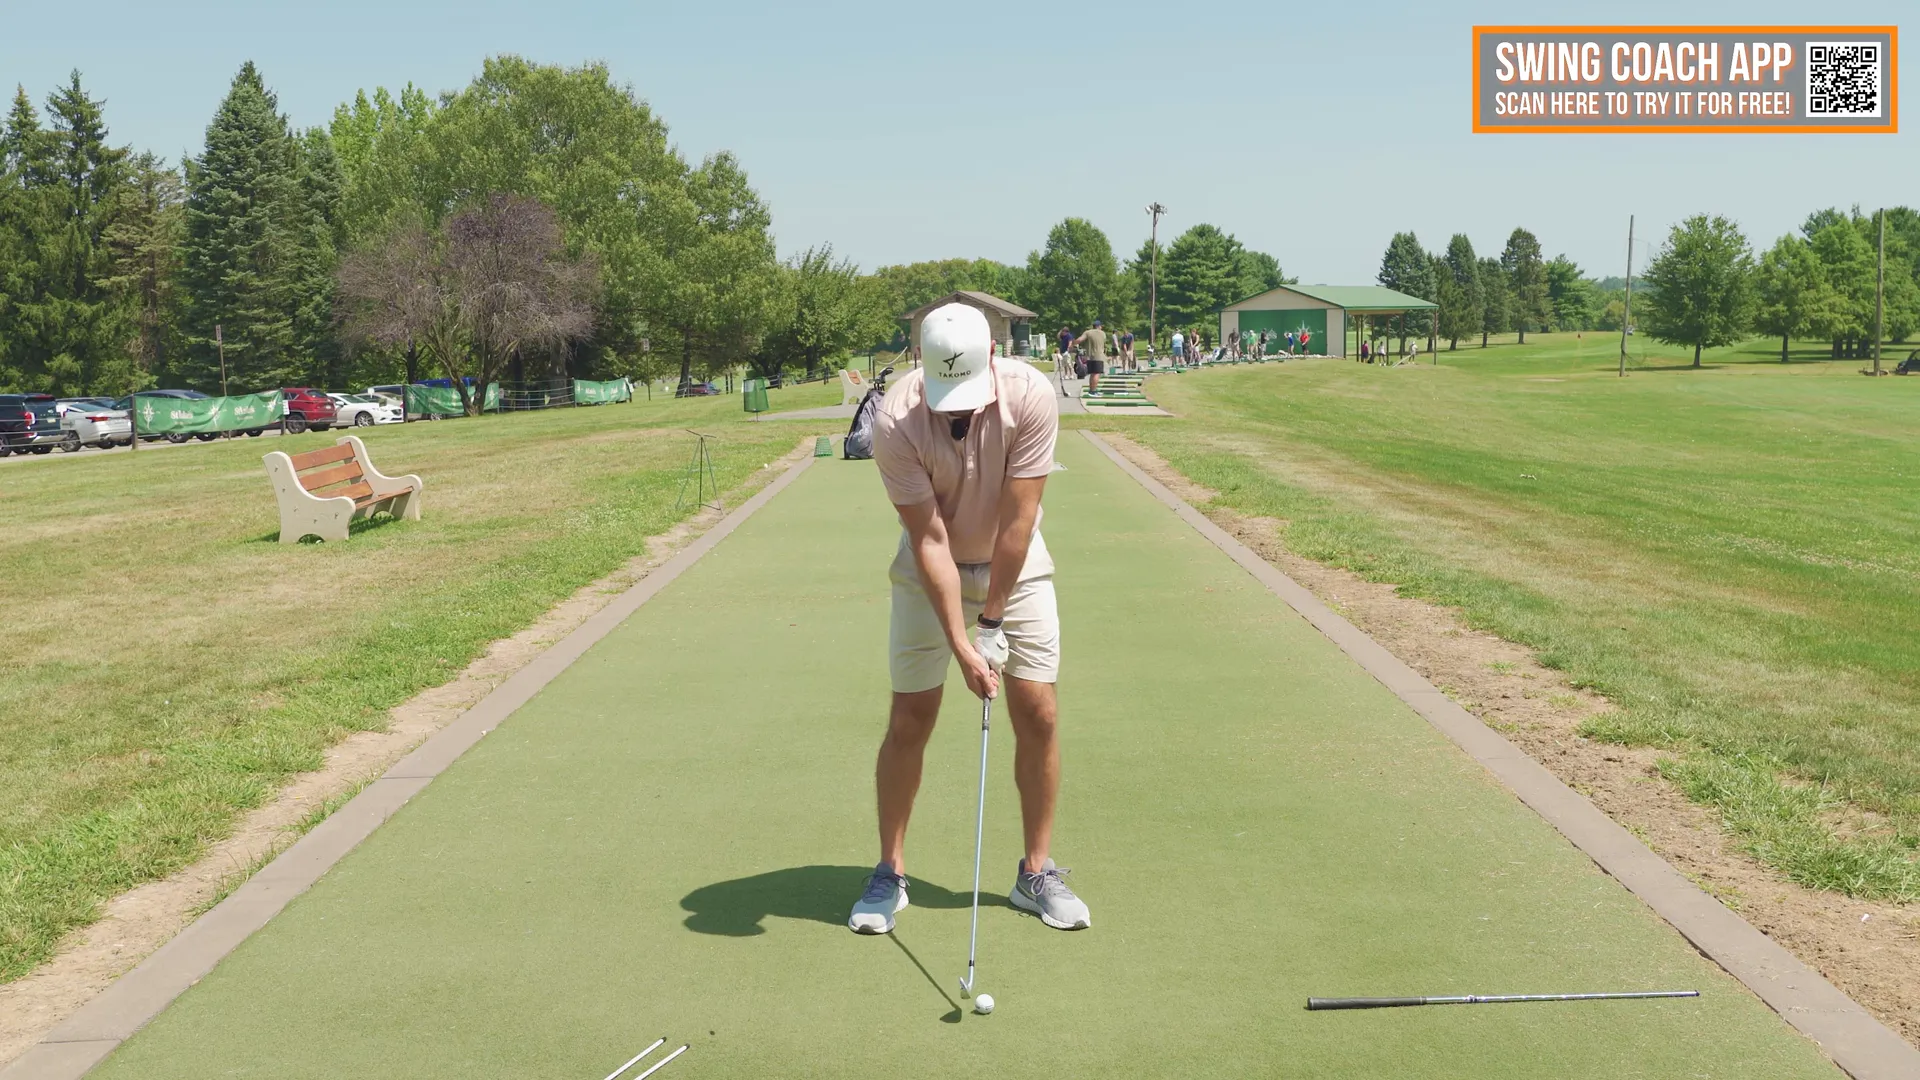
…
Practice Plan and Progressions for the Downswing Sequence Drill
To embed this drill, follow this structured regimen:Session A — Feel Isolation (20–30 mins) – Warm-up: 5–10 easy 7-iron swings. – Hip isolation: 20 reps, club across belt followed by 10 balls. – Shoulder isolation: 20 reps with club across shoulders, followed by 10 balls. – Combo rods: 30 reps, focusing on making rods touch. Completion drills enforce practice.Session B — Transfer to Ball (30–45 mins) – Warm-up: 10 wedge swings. – Combination drills: 20 half-swings with rods followed by practice shots with wedges. Continue till mid-irons.
Weekly aim:
- 3–4 dedicated sessions weekly, incorporating quick feel work before golfing.
…
Common Mistakes and Troubleshooting
Right shoelaces stay aimed at the ball:
Cause: Improper weight transfer. Solution: Emphasize the hip push.
Right shoulder remains high or pulls back:
Cause: Dominant upper body. Solution: Focus on shoulder isolation for posture preservation.
Mismatch between hip rotation and shoulder drop:
Cause: Sequential instead of simultaneous movement. Solution: Utilize rods to enforce union.
Early extension standing up:
Cause: Shoulder remains high. Solution: Ensure shoulder tilt and focus on staying down.
…
How to Measure Progress
Track downswing success through quantifiable checks:
- Consistent divot patterns: Achieve ball-first turf contact.
- Shot dispersion: Enhanced regularity of trajectory.
- Video feedback: Visuals from multiple angles assist in analyzing form accuracy.
- Driver distillation: Increased performance and ball speed metrics.
…
Equipment and Tech I Recommend
- Alignment rods for practice sessions.
- Device apps to tandem swing-capture for feedback.
- Club employment for targeted drills.
Incorporating app usage enhances accuracy through real-time breakdown, assisting the feel-to-result interpretation.
…
FAQ — Downswing Sequence Drill
Improvement timeline?
Expect tangible differences post-session; strategic repetition solidifies change within 2–6 weeks.
Course application?
Yes! Use small feel reminders during pre-shot routine.
Effects on slices or pulls?
The drill targets common swing penalties, leading to progressive rectification.
Left-handed adaptability?
Yes, simply adjust the physical orientation to match opposite-handed technique.
Repetition exaggeration?
Initial exaggeration promotes proper form learning; natural swing follows proficiency.
Practice rep benchmarks?
Begin small, bolstering effort quality over quantity.
…
Closing: Make the Downswing Sequence Drill Your Default
Great golfers integrate hip and shoulder shifts seamlessly — by understanding and repeating the downswing sequence drill, you too can achieve remarkable consistency and power. Remember to practice: isolate hips, isolate shoulders, then sync them using alignment rods. Apply across all clubs, adjust accordingly, and utilize mantra reminders. Objective feedback bolsters depth and efficacy of training, transcending from “feel” to assured execution.
Invest in your swing. Practice, repeat mantras, and experience the game-changing results for yourself! Keep me updated on your progress and stay committed to improvement!


0 Comments