

Want to become a putting pro? Focus on your setup, and let the stroke take care of itself. This guide reveals a simple, pressure-ready method for building a repeatable putting setup. Elevate your golf game with these expert tips.
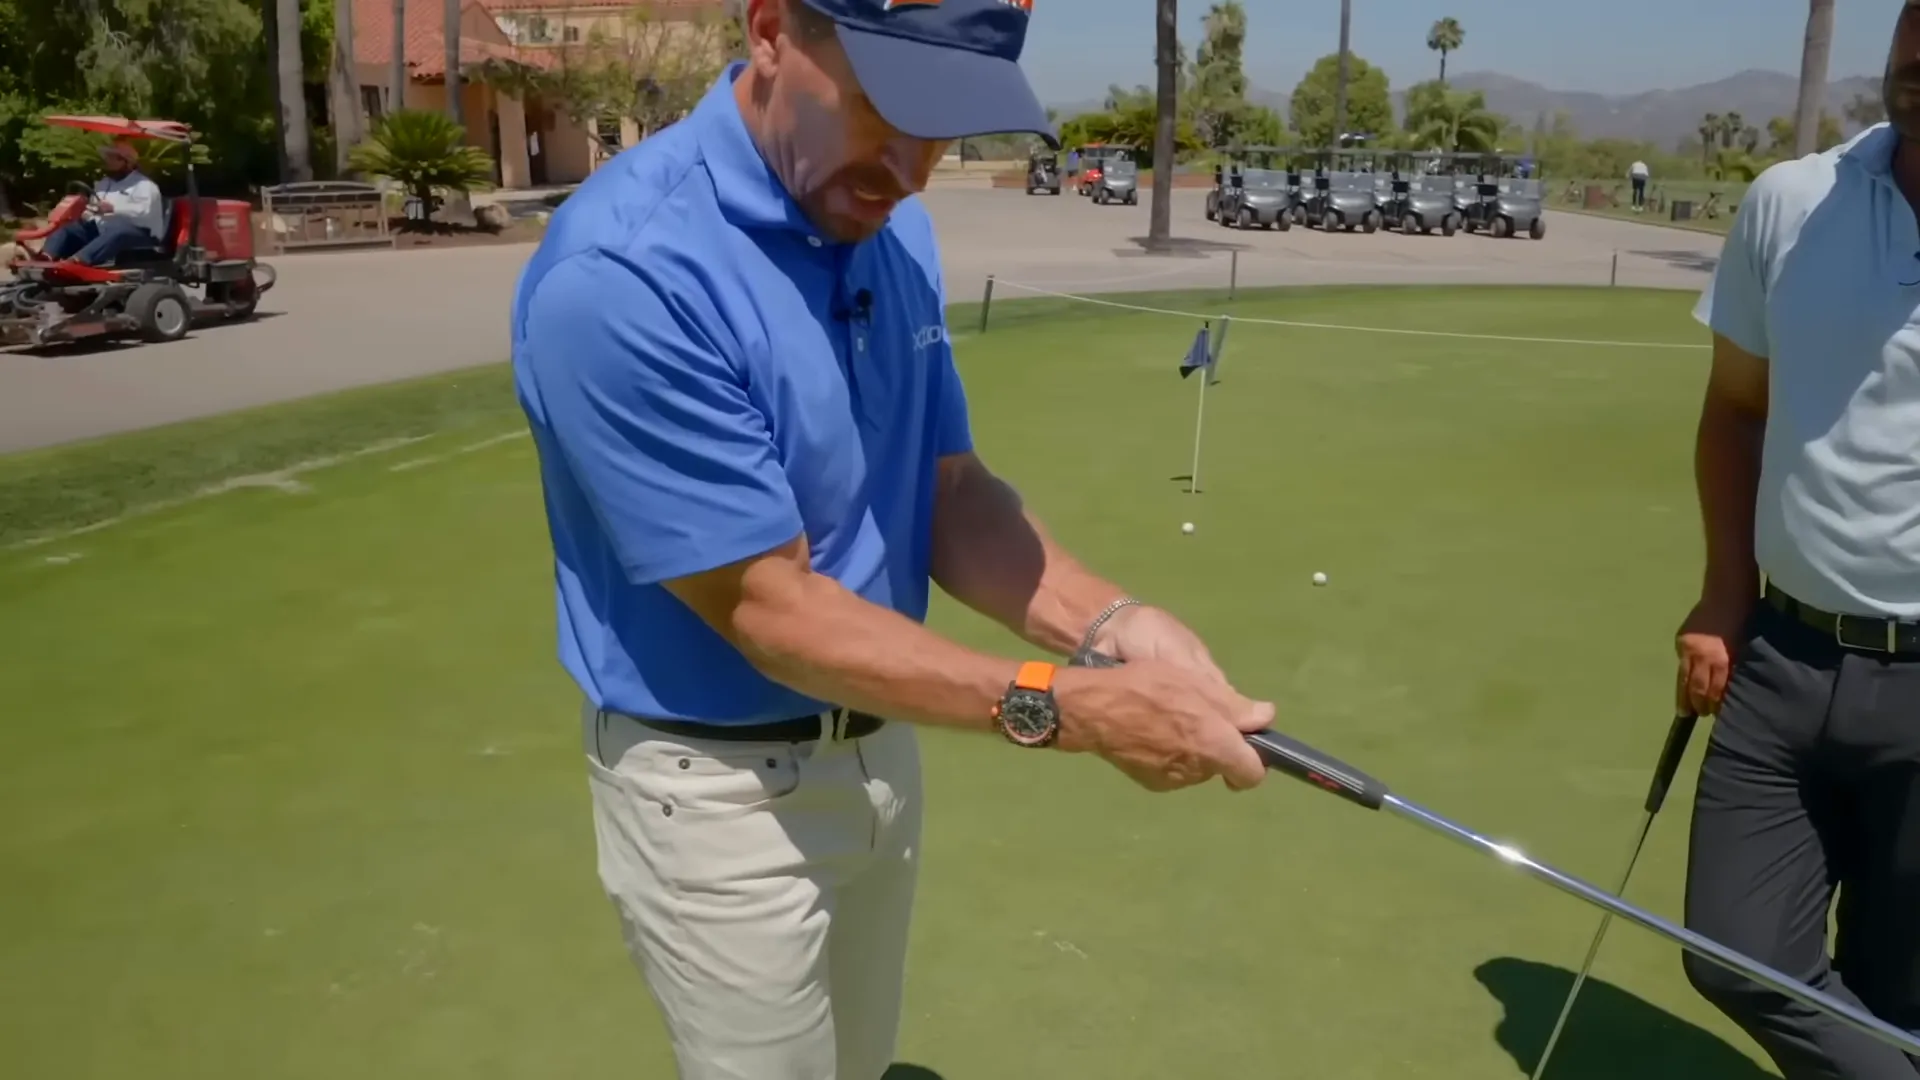
Table of Contents
- Step 1: Build the Setup Habit — Rotate, Tuck, Tilt
- Step 2: Get the Right Length Putter — It’s Mathematical
- Step 3: Eyes Over the Inside Edge of the Ball
- Step 4: Hands Under the Shoulders — Embrace the Arc
- Step 5: Understand the Slight Arc — Avoid Overthinking
- Step 6: Lower Body Position — Lock, Unlock; Hips Over Shoulders
- Step 7: Pressure and Grip — Run the Putter Through Your Palms
- Step 8: Stroke Lengths — 5 Inches Back, 9 Inches Through
- Step 9: Green Reading and Alignment — Precision Over Guessing
- Step 10: Practice Aids and Drills — Foster Reliability
- Step 11: Simple Drills to Reinforce Mechanics
- Step 12: Mindset — Simplify and Trust Your Setup
- Step 13: Putting it All Together — Pre-Shot Checklist
- Step 14: Common Mistakes and Quick Fixes
- Step 15: Tracking Progress and Establishing Routine
- Step 16: FAQ — Common Questions Answered
- Conclusion — Make the Setup Sacred, the Stroke Simple
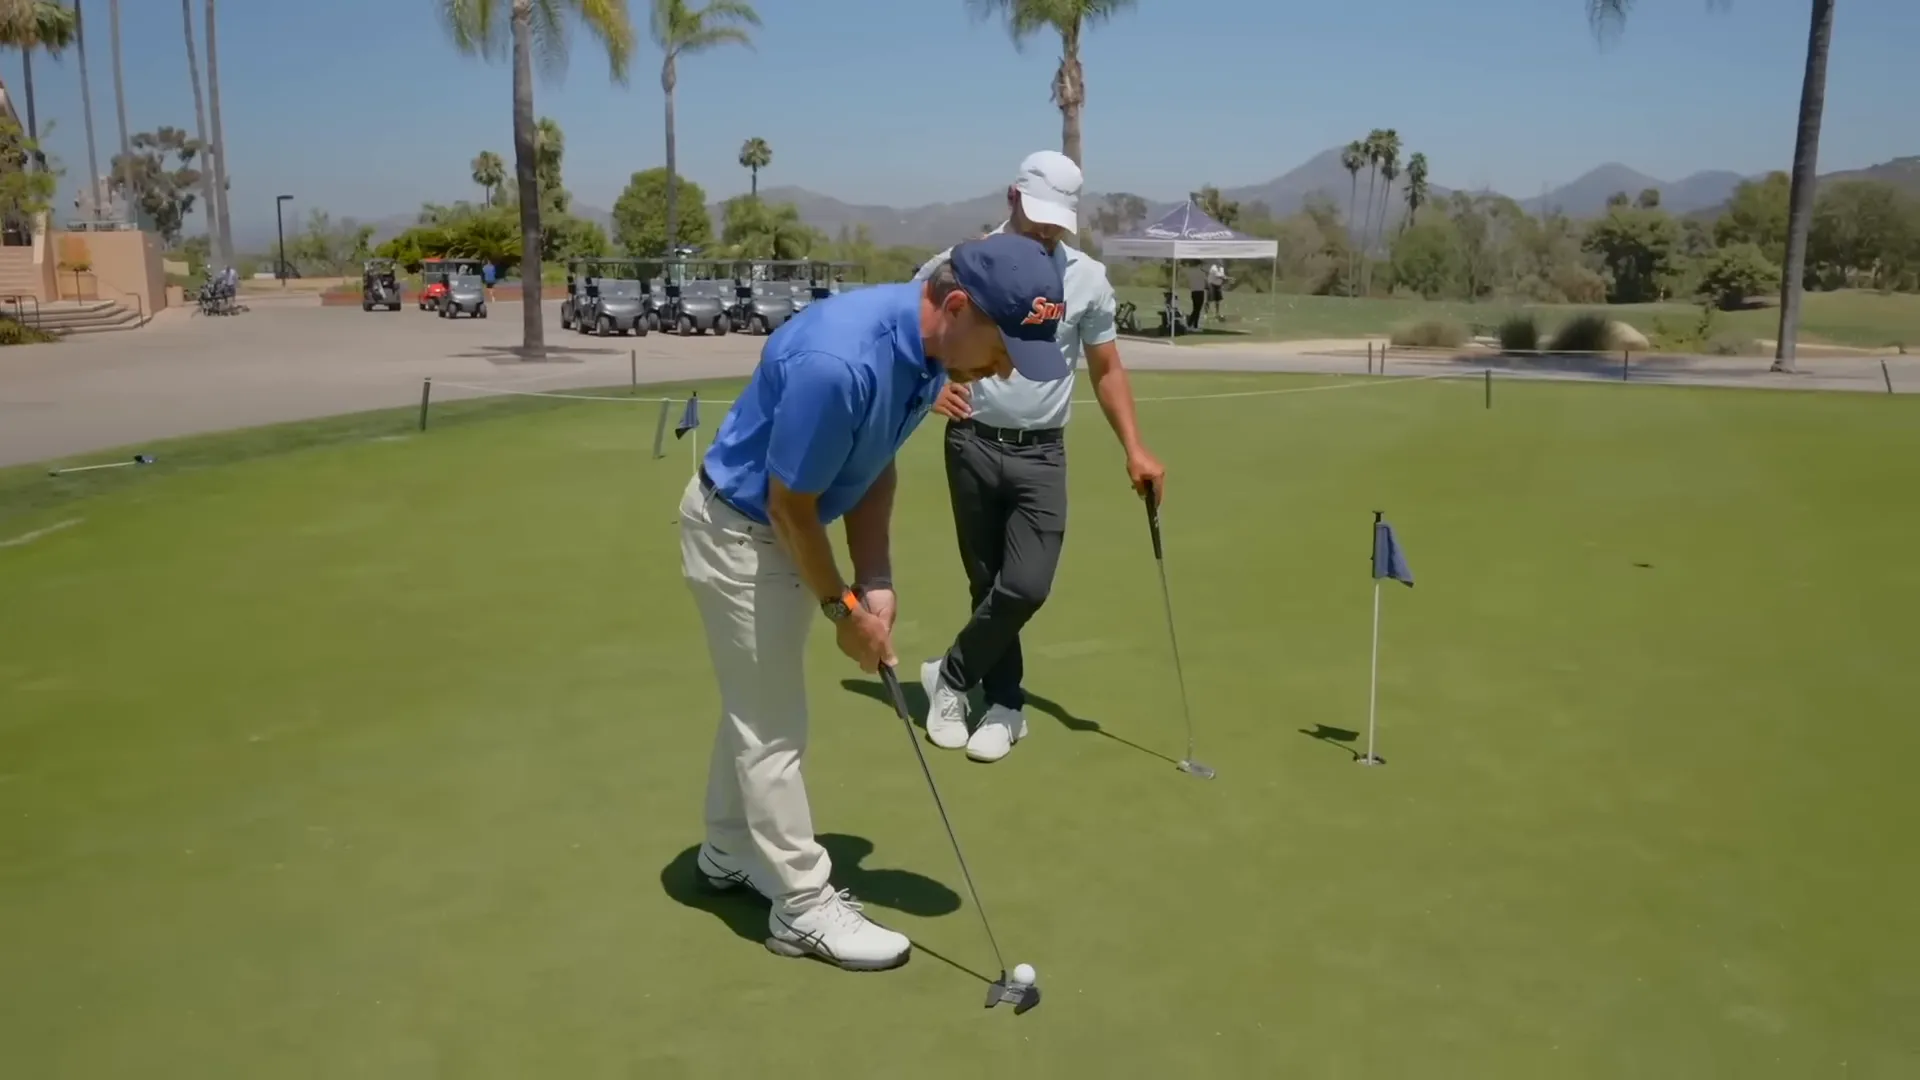
Step 1: Build the Setup Habit — Rotate, Tuck, Tilt
Your setup is the thinking spot, allowing the stroke to flow naturally. Nail these placements to keep your stroke automatic.
- Rotate your elbows in: Align elbows inward at your ribcage to form a stable hinge with putter and forearms.
- Tuck your elbows and hands: Position hands in front of your chest, enabling a natural shoulder-line swing.
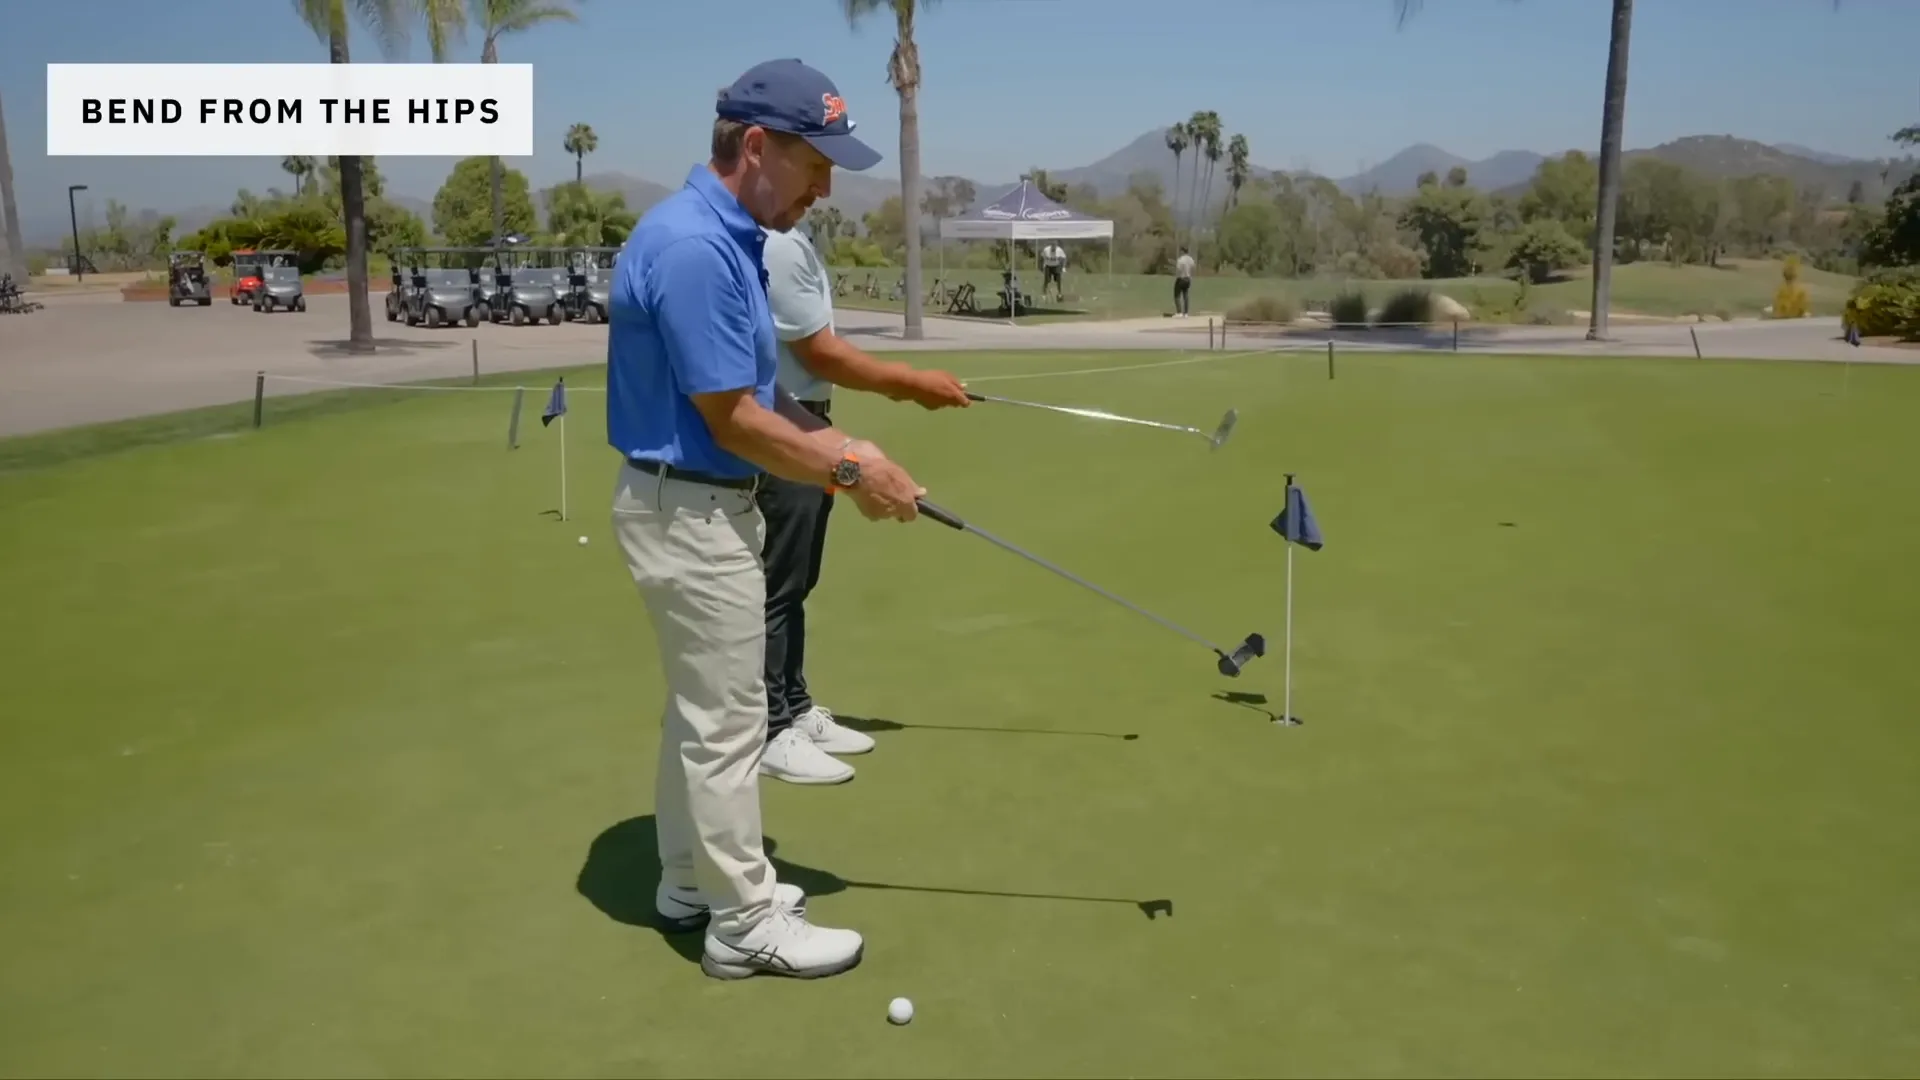
- Tilt from the hips: Lean from the hips to maintain eye position and connection to the putter.
Quote to remember: “Think during the setup so you don’t have to during the stroke.” Make the setup your focus and let everything else flow easily.
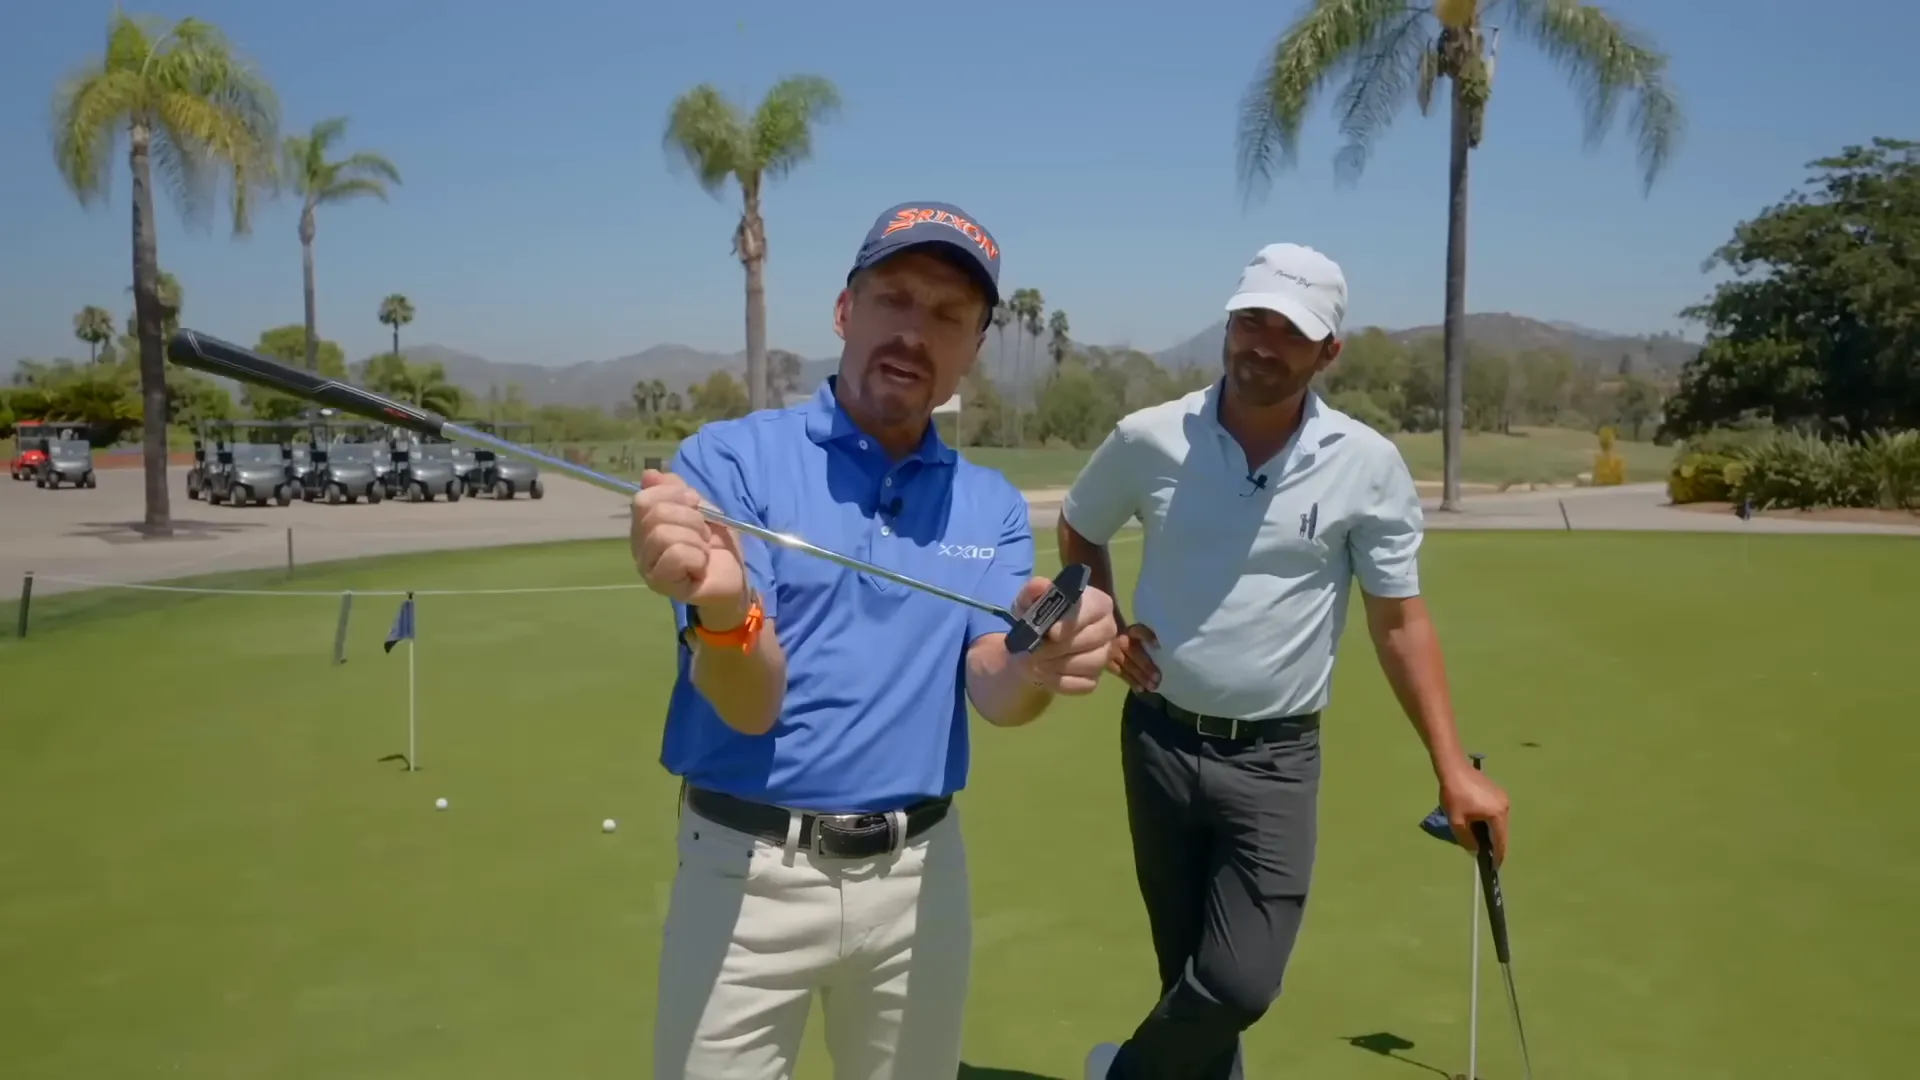
Step 2: Get the Right Length Putter — It’s Mathematical
Putter length is crucial for achieving the optimal setup.
- If too long, it skews eye alignment and affects geometry.
- Correct length integrates the shaft into the setup, aligning forearms and eye position.
Key takeaway: The right putter length supports natural setup geometry, essential for accurate putting.
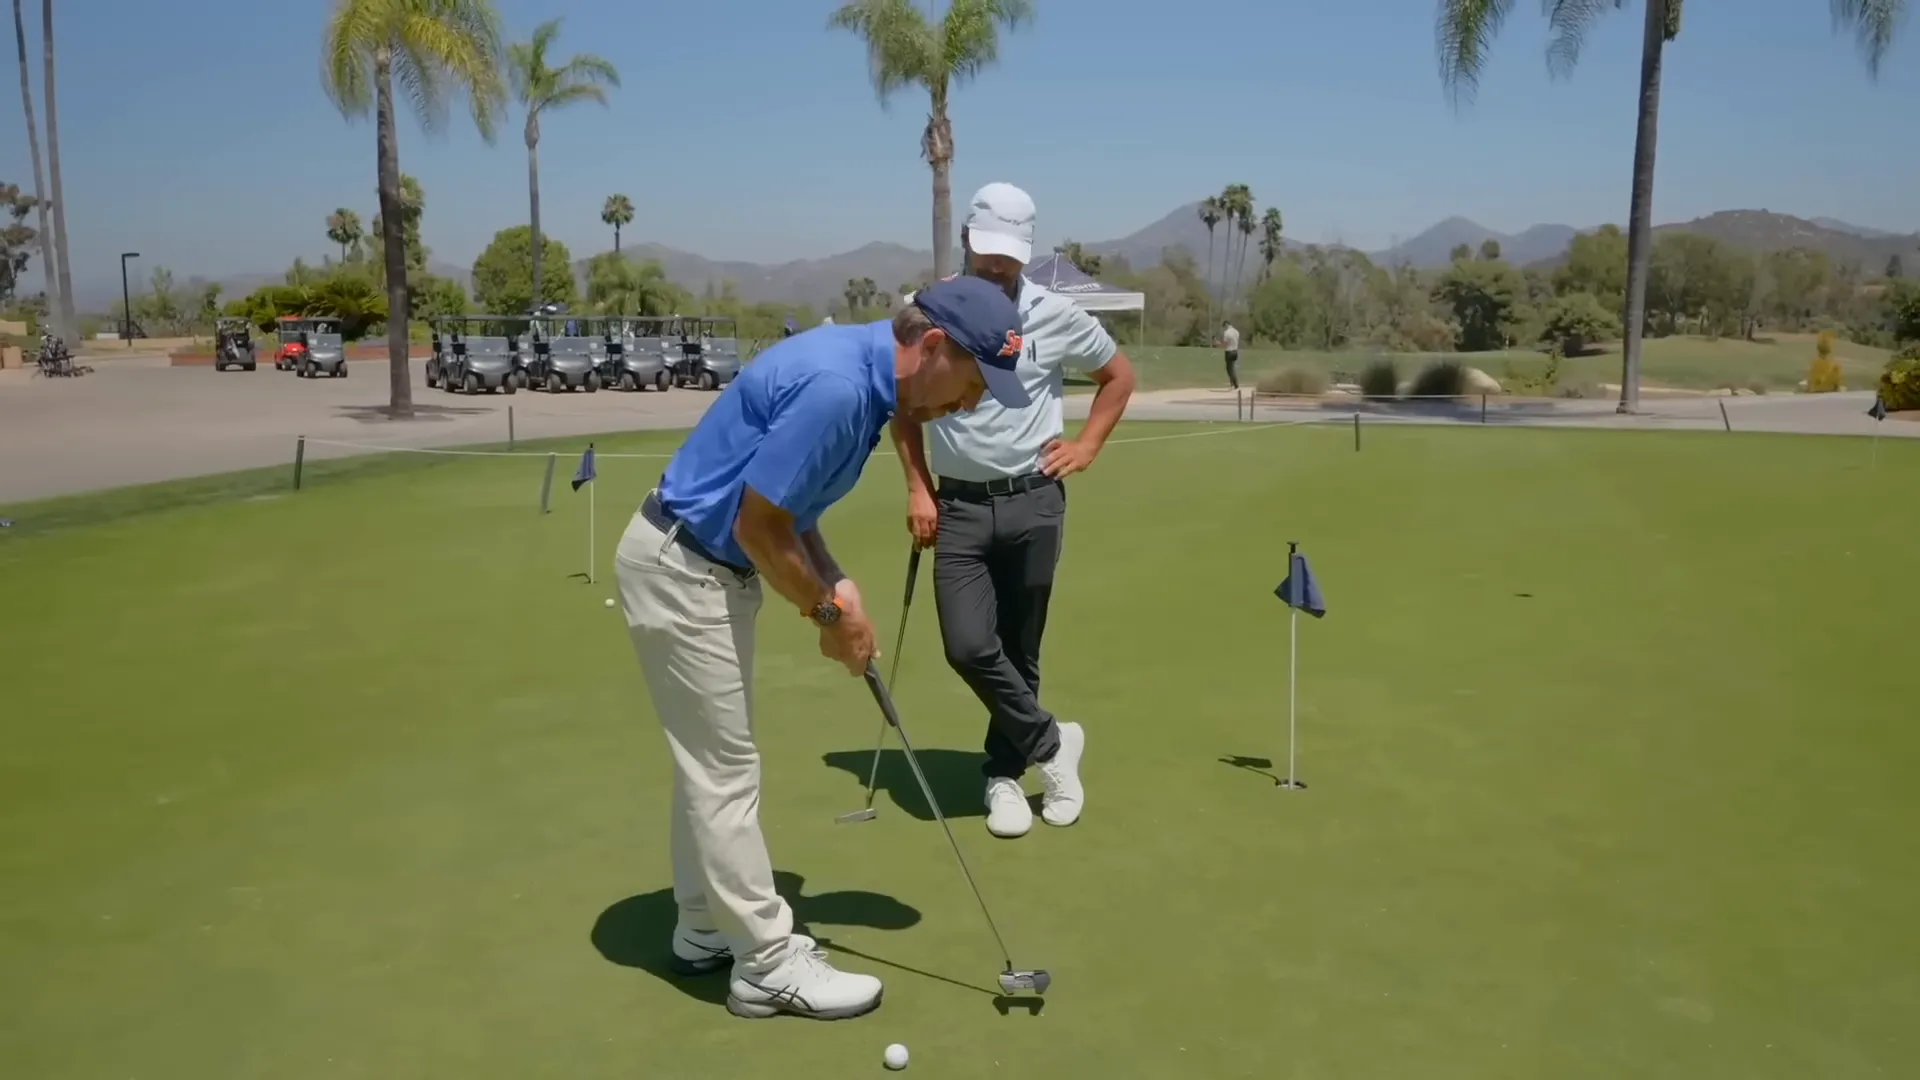
Step 3: Eyes Over the Inside Edge of the Ball
Positioning your eyes is crucial for accuracy.
- Align eyes over the inside edge of the ball for direct sight down the line.
- Avoid letting eyes drift beyond the ball to maintain straight-line perception.
Practical note: Eyes too far inside suggest adjustments in putter length or tilt are needed.
Step 4: Hands Under the Shoulders — Embrace the Arc
Position hands directly under your shoulders for a straight swing.
- This alignment encourages a natural hand path without forcing strokes.
- Hands inside or outside shoulder line disrupts the swing path, impacting consistency.
Main point: A natural setup enables pressure-resilient performance.
Step 5: Understand the Slight Arc — Avoid Overthinking
The putter’s natural arc requires no extra manipulation.
- Hands move straight; the shaft’s angle naturally creates a slight, effective arc.
- Avoid overly controlling the arc to maintain consistent contact.
Practical drill: Swing hands and note the path; adjust until travel is straight.
Step 6: Lower Body Position — Lock, Unlock; Hips Over Shoulders
Your lower body is pivotal for a free-flowing stroke.
- Minimal knee flex is essential; aim for “lock, unlock” posture.
- Keep hips over or slightly forward of shoulders to allow hands to swing under freely.
Quick test: A freely swinging putter returning to grip confirms correct setup and weight distribution.
Step 7: Pressure and Grip — Run the Putter Through Your Palms
Grip influences contact consistency.
- Align shaft through palms for forearm continuity, reducing reliance on the wrist.
- Lightly let putter rest on the surface to maintain a natural pendulum effect.
Emphasize control over face and path rather than grip pressure.
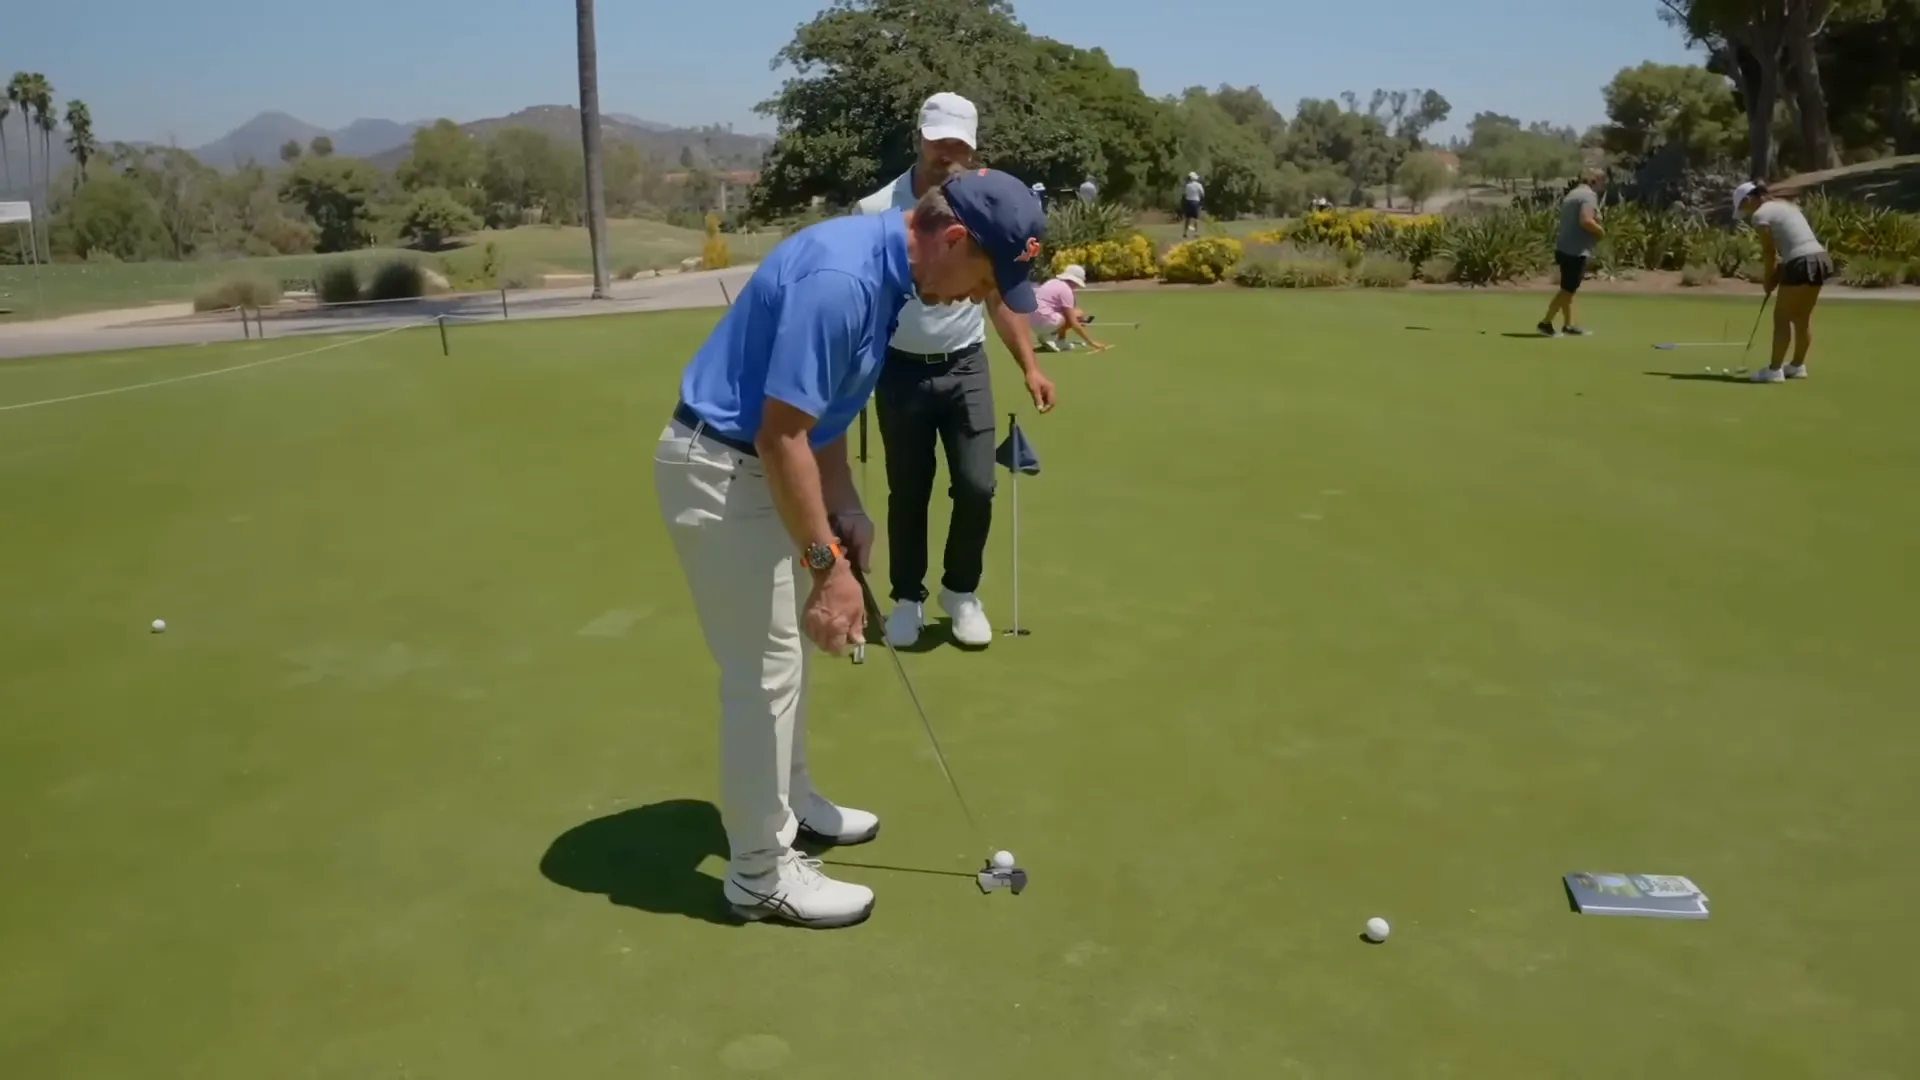
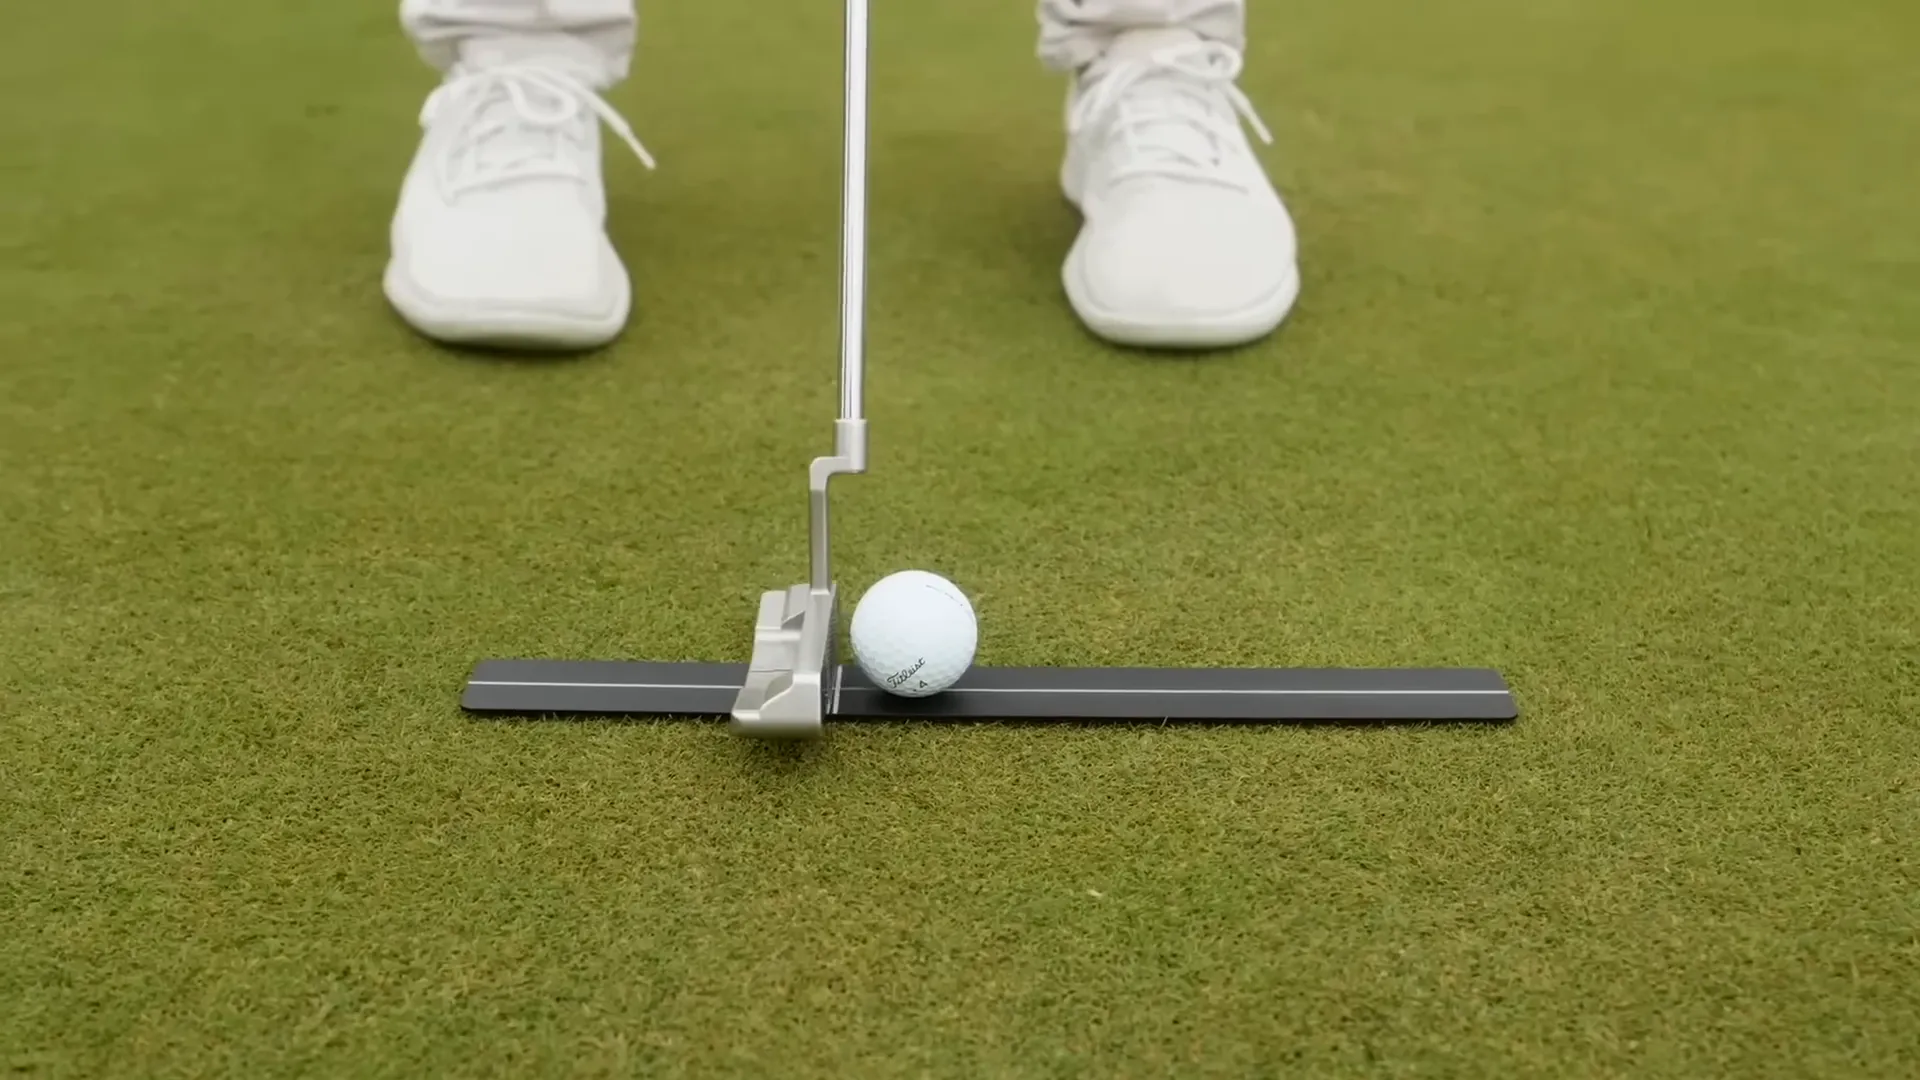
Step 8: Stroke Lengths — 5 Inches Back, 9 Inches Through
Consistency in stroke length improves straightness and roll.
- 5 inches back keeps the putter square before the natural arc takes over.
- 9 inches forward ensures roll control for improved putt accuracy.
Utilize this cue for reliable impact positions and smooth rolls.
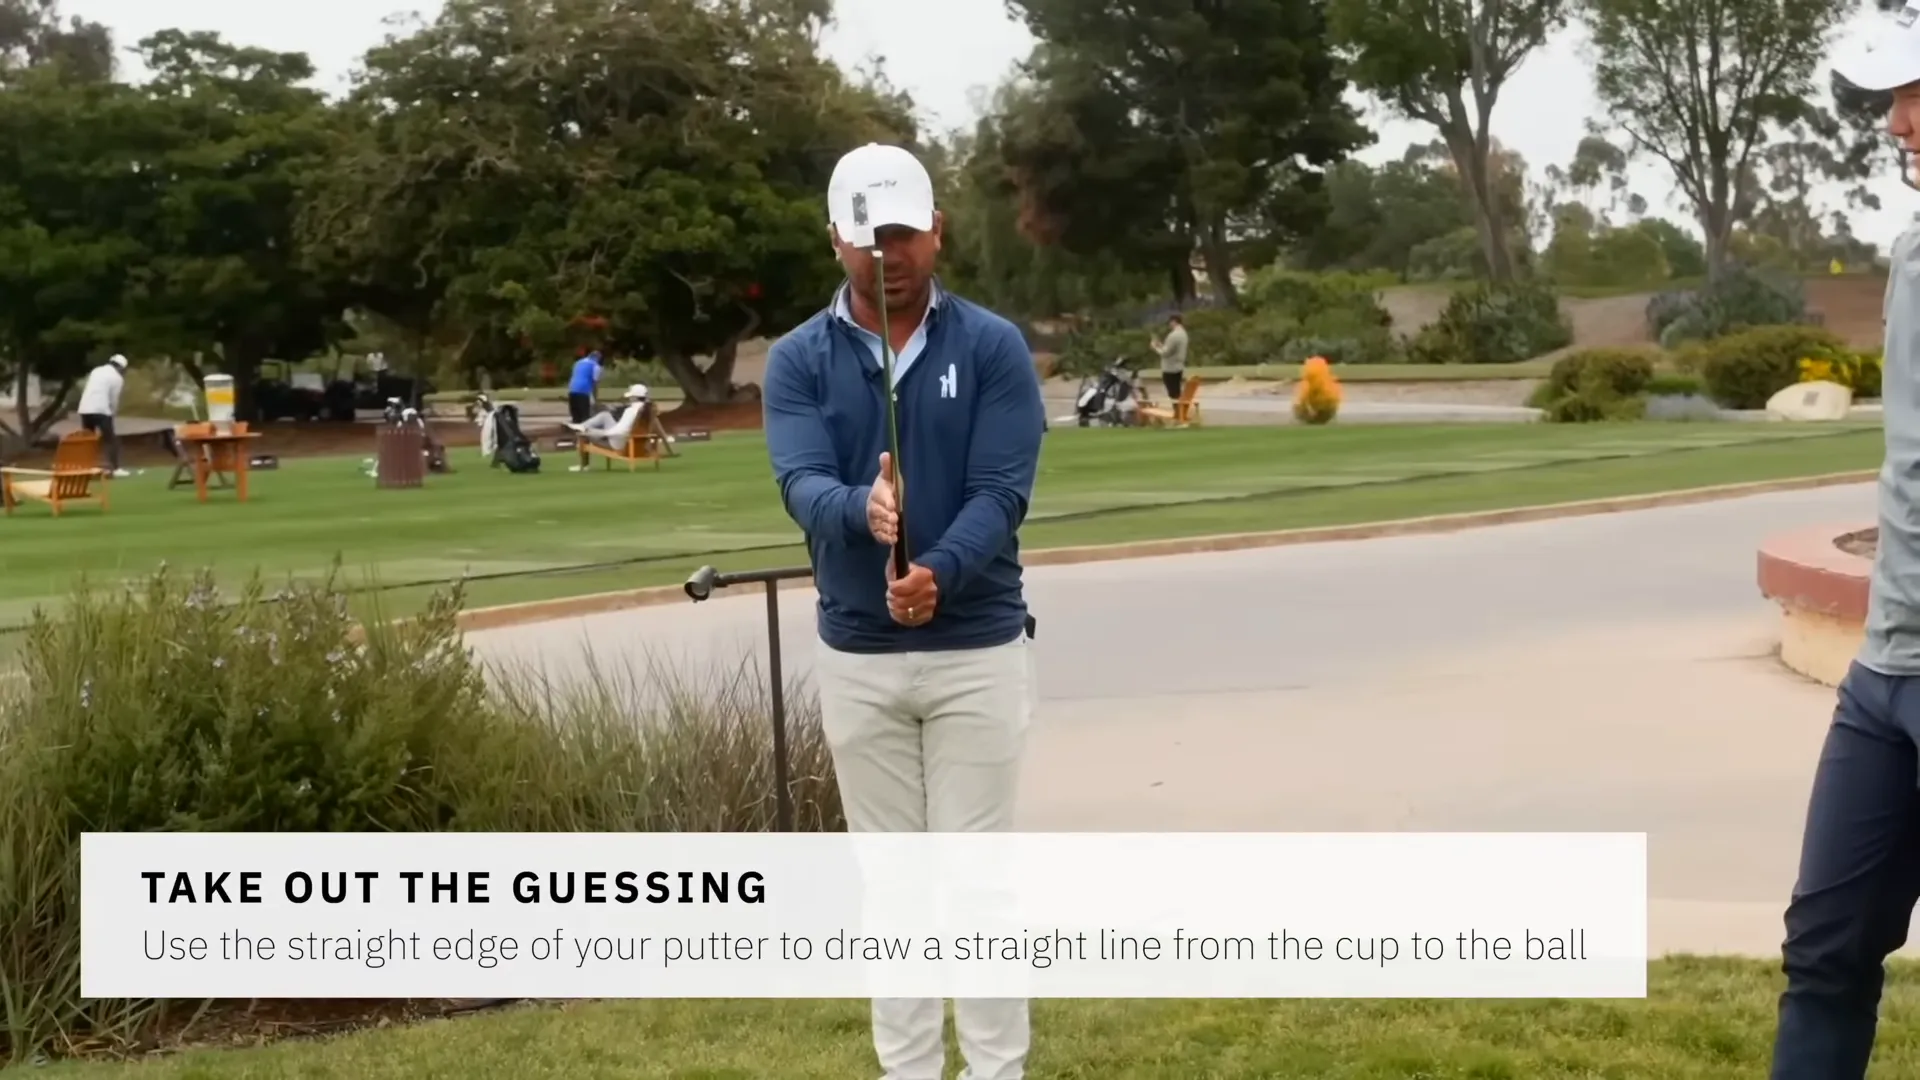
Step 9: Green Reading and Alignment — Precision Over Guessing
Precision separates good putters from average ones.
- Use a one-eye sightline to align physically from ball to hole.
- An inside ball edge gaze aligns physical and mental lines consistently.
Practice this method to replace guesswork with confidence in your read.
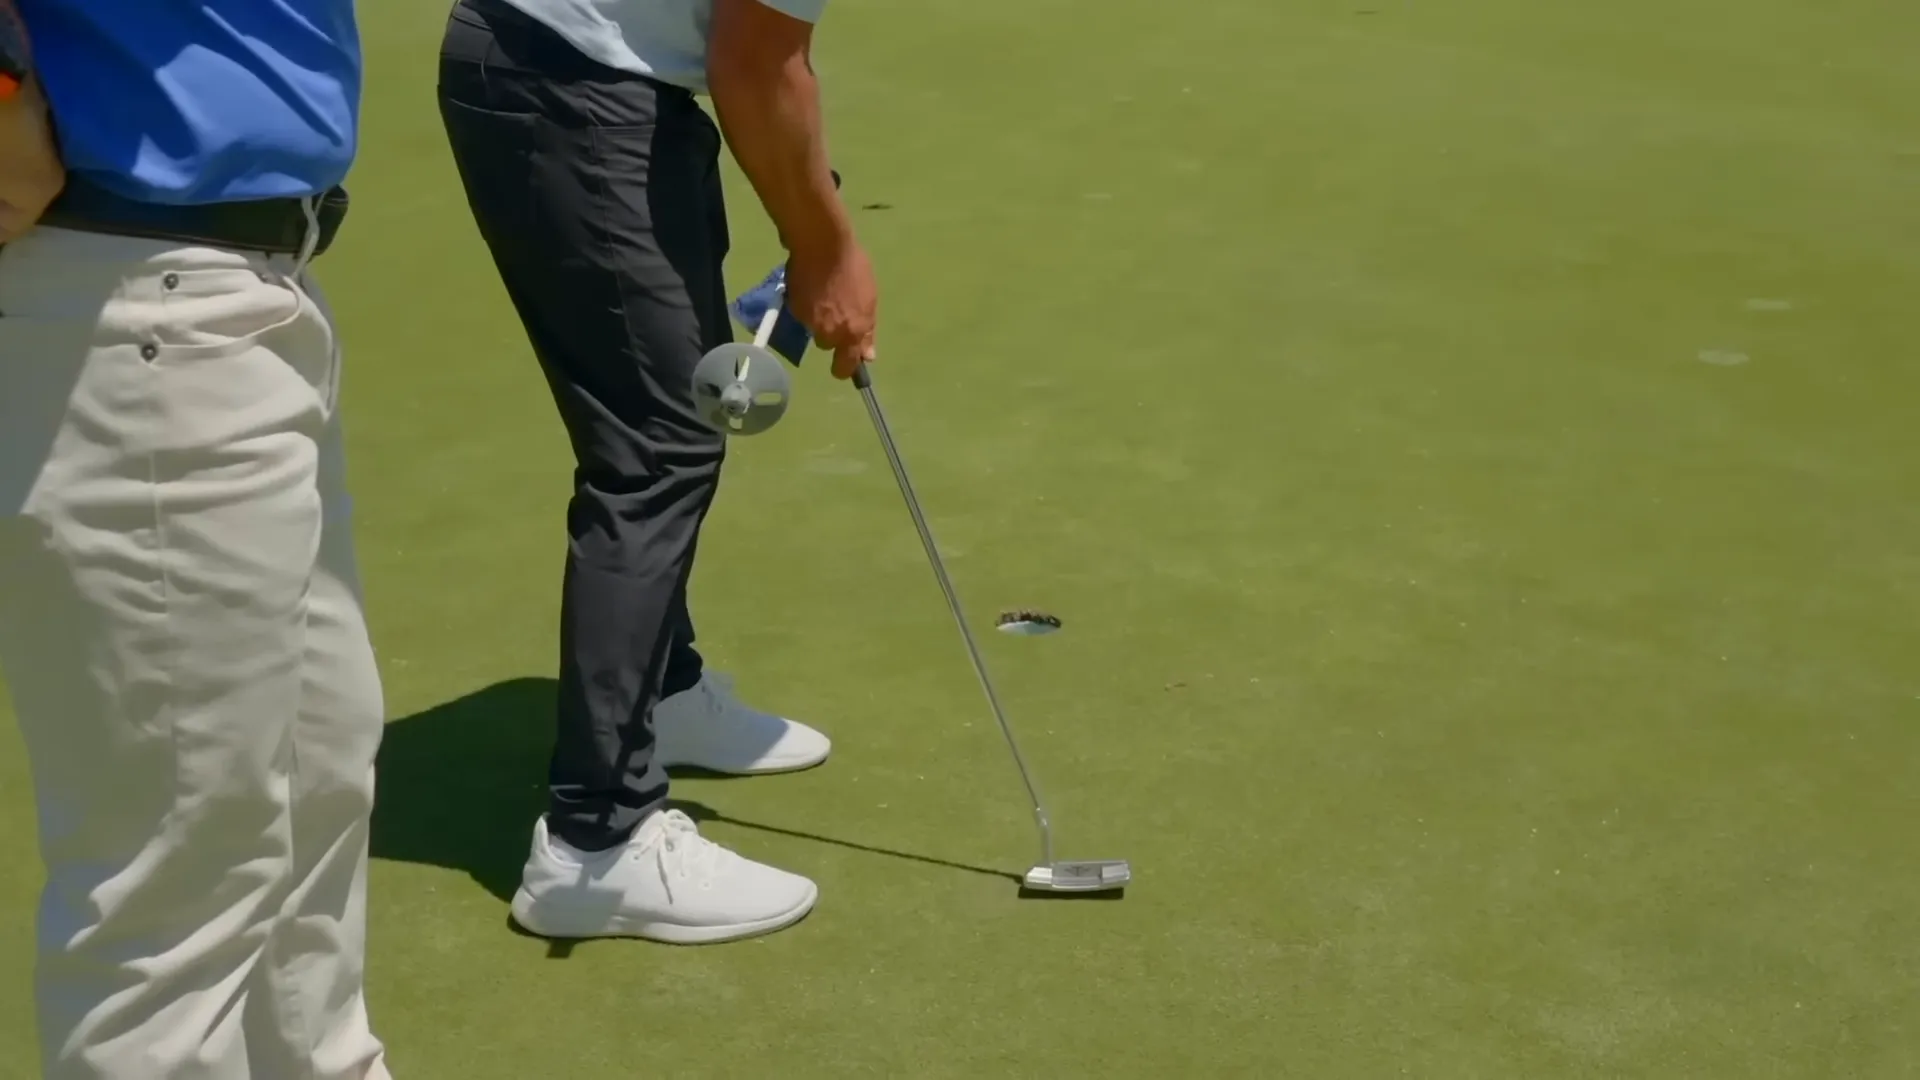
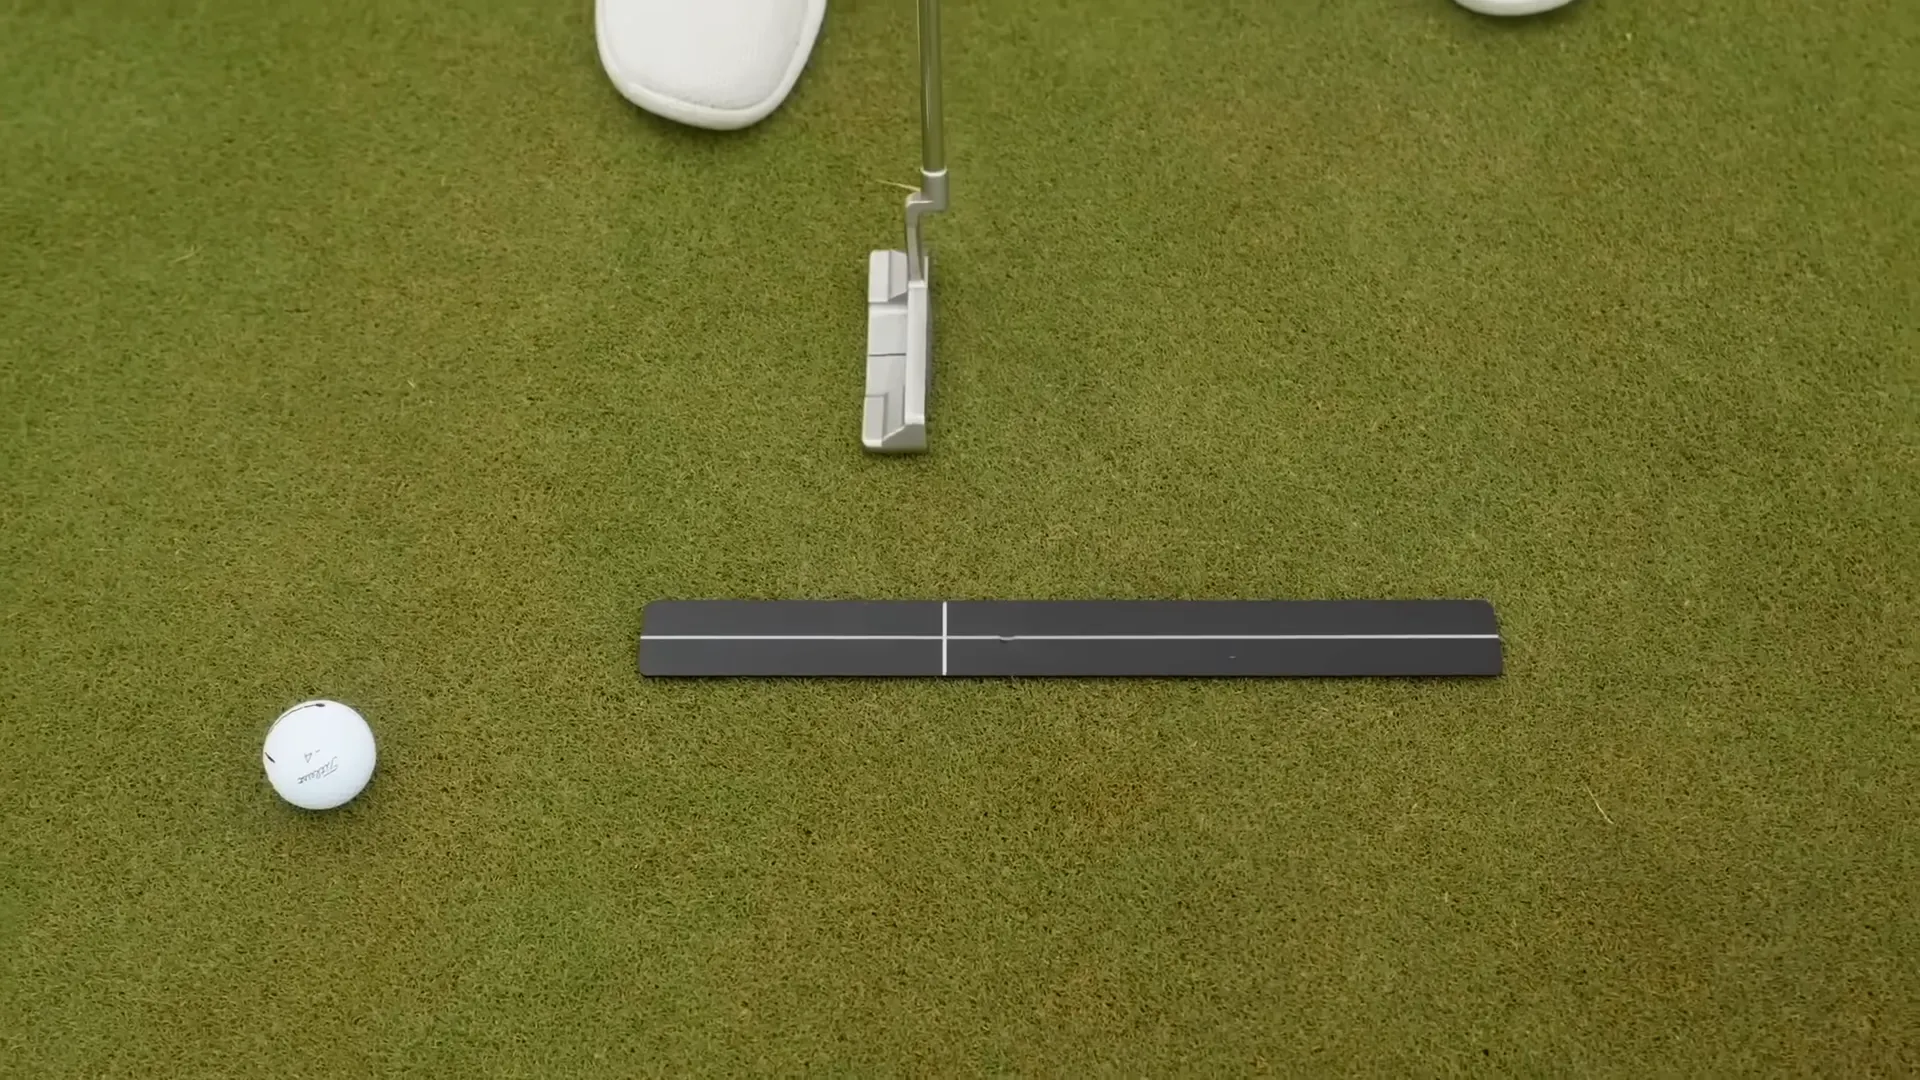
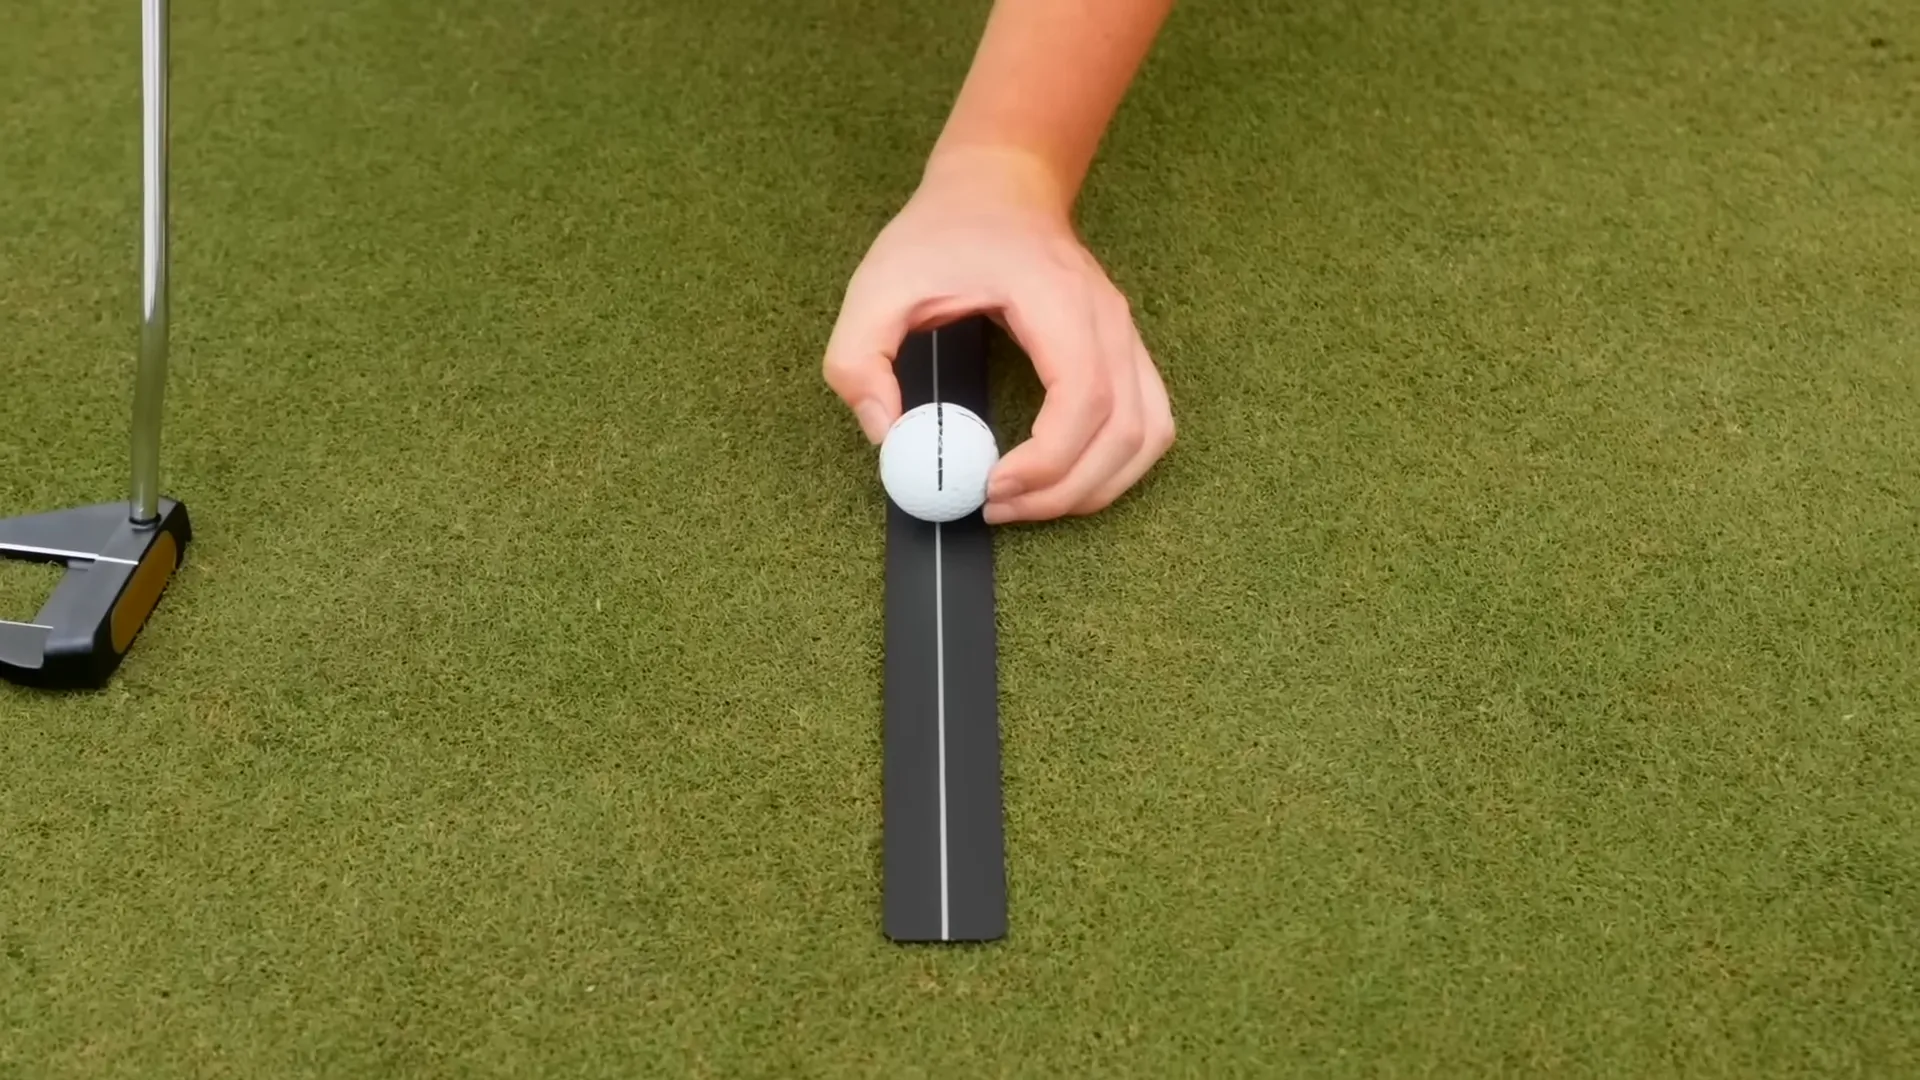
Step 10: Practice Aids and Drills — Foster Reliability
Leverage practice aids for targeted improvements.
- Use aids like rulers to define stroke paths and reinforce positive habits.
- Aid practice ensures smooth, pressure-free putter contact.
- Encourages light setup, enhancing consistent center strikes.
Solidify your basic stroke routine for lasting change.
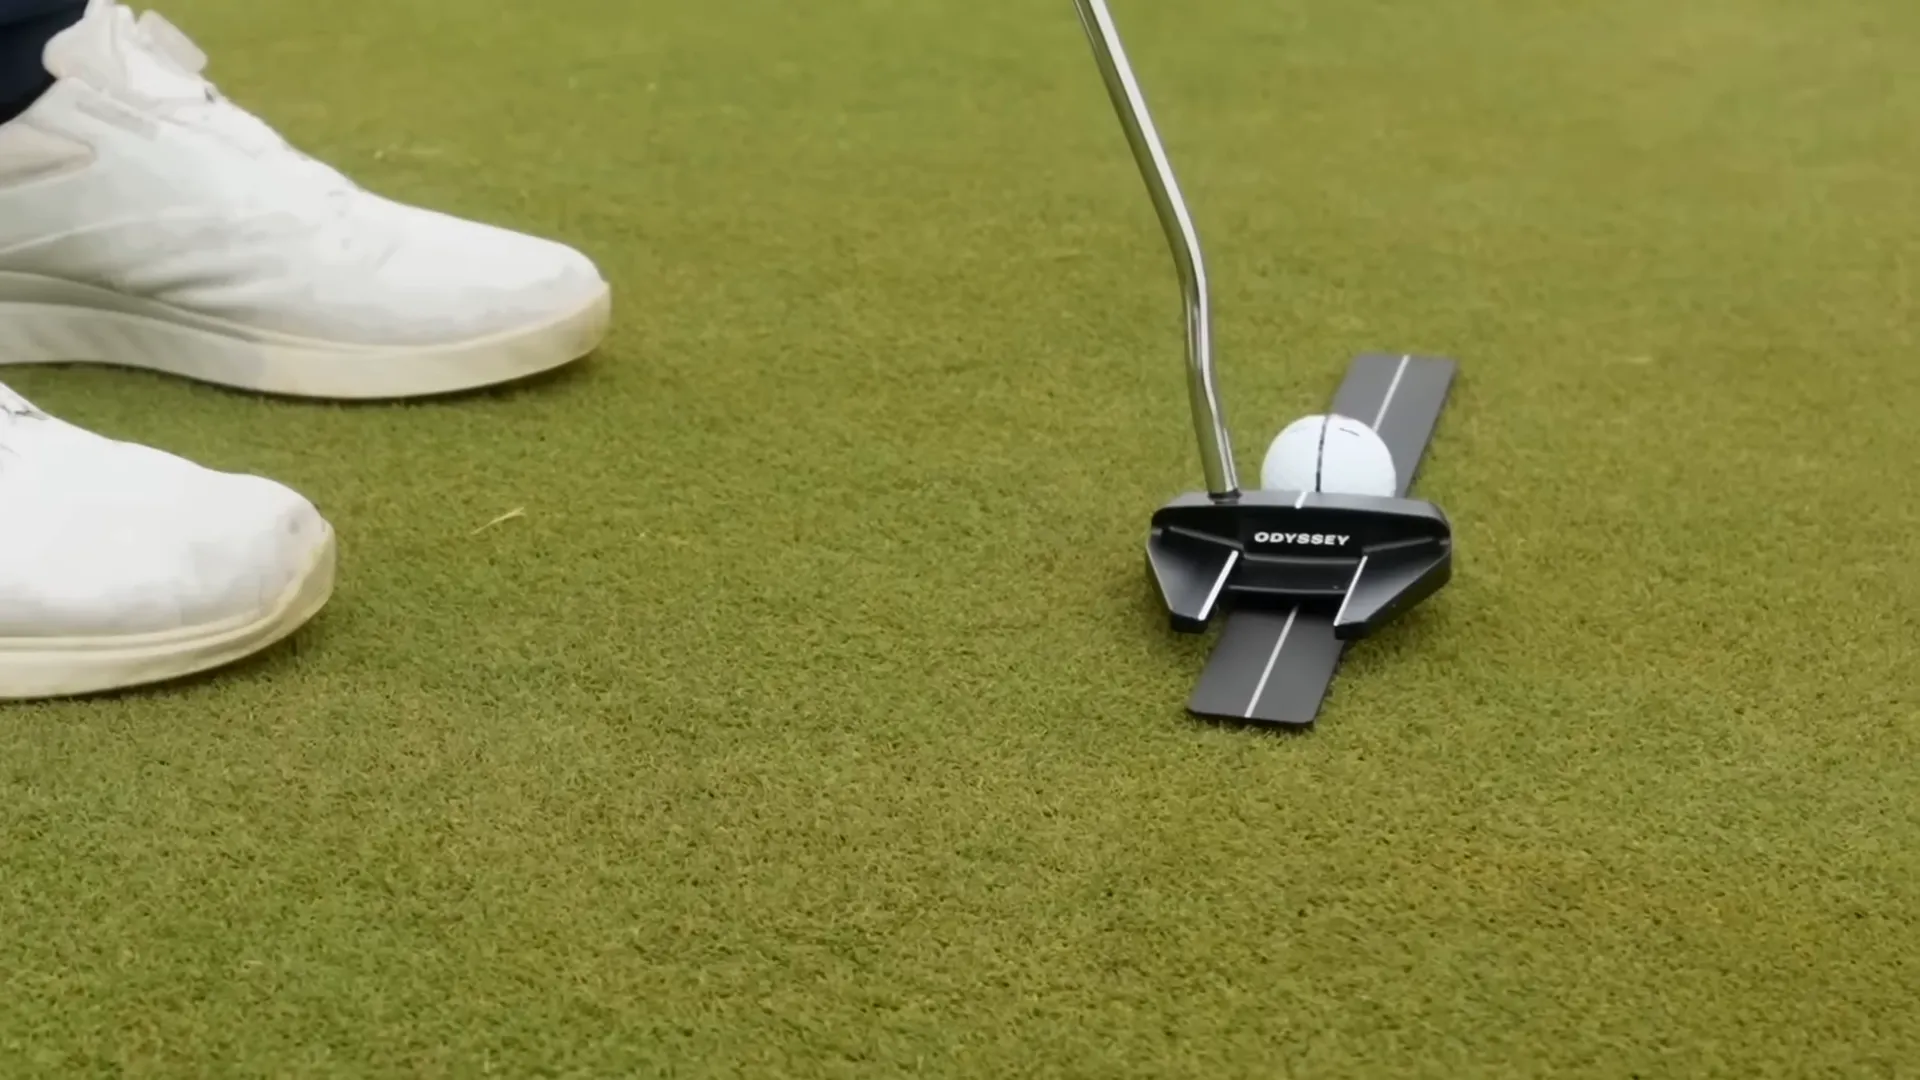
Step 11: Simple Drills to Reinforce Mechanics
Efficient drills enhance muscle memory for sustained improvements.
- One-Hand Finish Drill: Test balance by removing your right hand mid-stroke.
- 5-in / 9-out Drill: Develop the flat stroke before you naturally arc forward.
Short, focused practice sessions harness greater improvements over time.
Step 12: Mindset — Simplify and Trust Your Setup
A controlled mind enhances putt success.
- Embrace simplicity and permit automaticity after the address.
- Minimize conscious adjustments to preserve stroke flow and accuracy.
Mantra: “Setup with intention, stroke with trust.”
Step 13: Putting it All Together — Pre-Shot Checklist
Follow this quick pre-putt checklist for repeatable setup performance.
- Select line using sighting routine.
- Align putter length with forearms.
- Tuck elbows into ribcage.
- Position hands under shoulders.
- Maintain weight on the balls of feet.
- Grip lightly with putter resting lightly.
- Ensure eyes are correctly aligned over the ball.
- Commit to a preset stroke length.
Consistency builds trust in your putting rhythm for a reliable performance.
Step 14: Common Mistakes and Quick Fixes
Address these frequent errors for immediate improvements.
- Eyes too far inside: Adjust putter length and tilt accordingly.
- Hands outside shoulder line: Tweak elbow position to correct outside path.
- Excessive pressure: Embrace a gentle putter hold to erase tension.
Implementing these corrections fortifies setup efficiency.
Step 15: Tracking Progress and Establishing Routine
Track key metrics over time for measurable improvement.
- Monitor putts hit successfully from various distances.
- Assess missed putt factors to optimize focus areas.
- Refine practice routines with clear progress indicators.
Weekly practice involves using setup aids for consistent improvement over volume drilling.
Step 16: FAQ — Common Questions Answered
Q: How important is putter fitting to becoming a great putter?
A: Extremely important. Accurate putter fitting supports proper setup practices, leading to consistent putting success.
Q: Should my hands feel like they move straight back and straight through?
A: Yes, with hands under shoulders, the feeling aligns with a natural straight path, accommodating slight arcs from the shaft’s angle.
Q: How much pressure should I put into the ground with the putter?
A: Minimal. The putter should rest light as excessive pressure affects stroke fluidity.
Q: How do I practice green reading effectively?
A: Adopt the one-eye method to align sightlines accurately, fostering trust in alignment accuracy.
Q: What’s one single change that will give the biggest immediate improvement?
A: Adjusting eye position over the ball’s inside edge and hands under shoulders with proper hip tilt provides swift setup efficacy.
Conclusion — Make the Setup Sacred, the Stroke Simple
Mastering putting doesn’t mean constant technique overhauls. Focus on a consistent setup, trust your equipment’s right fit, and practice repetitions. Rotate, tuck, tilt during the setup with a correctly fitted putter; maintain connection with light grip pressure throughout your simple stroke. Let nature happen, practice mindfully, and enjoy becoming a great putter.
0 Comments