


Unlock the secret to mastering chip shots and elevate your golf game with our expert-backed four-shot chipping system. Learn how to handle any lie and control trajectory and spin like a pro.
Chip shots around the green often cause anxiety. It’s not just about the perfect shot—it’s about dealing with tough lies like bare lies, scabby lies, and deep rough. Golf demands precision to get the ball from these tricky spots onto the green, stopping it quickly near the flag. The challenge? Many golfers find consistency and control a bit elusive.
In this post, I’m sharing a transformative four-shot chipping system taught by my mentor, Graeme Walker, who coaches Tommy Fleetwood, known for his exceptional short game. This system will boost your confidence, consistency, and control from any lie. Let’s dive in!
Step 1: Putt with Loft
The first shot in our system focuses on coordination between the club, hands, and body. Often, when golfers struggle with chip shots, their bodies move erratically. Set up with the ball slightly ahead of center. Strike with the club’s base, not the leading edge. Graeme calls this ‘putt with loft.’ Take your putting stance, raise the handle slightly, and let your arms hang down. Feel the base of the club striking the ground.
Avoid leaning back or helping the ball up. Keep your body aligned and aim for the base of the club to brush the ground. No wrist action; everything should work together.
Step 2: Hinge & Hold
Once you’ve mastered the first shot, let’s enhance the ball speed and spin with the ‘hinge and hold’ technique. Position the ball back in your stance, aligning the shaft with your lead armpit. The aim is a powerful strike with the club’s front section.
Hinge your wrist slightly and maintain that hinge during the shot. This technique produces a hotter flight with backspin.
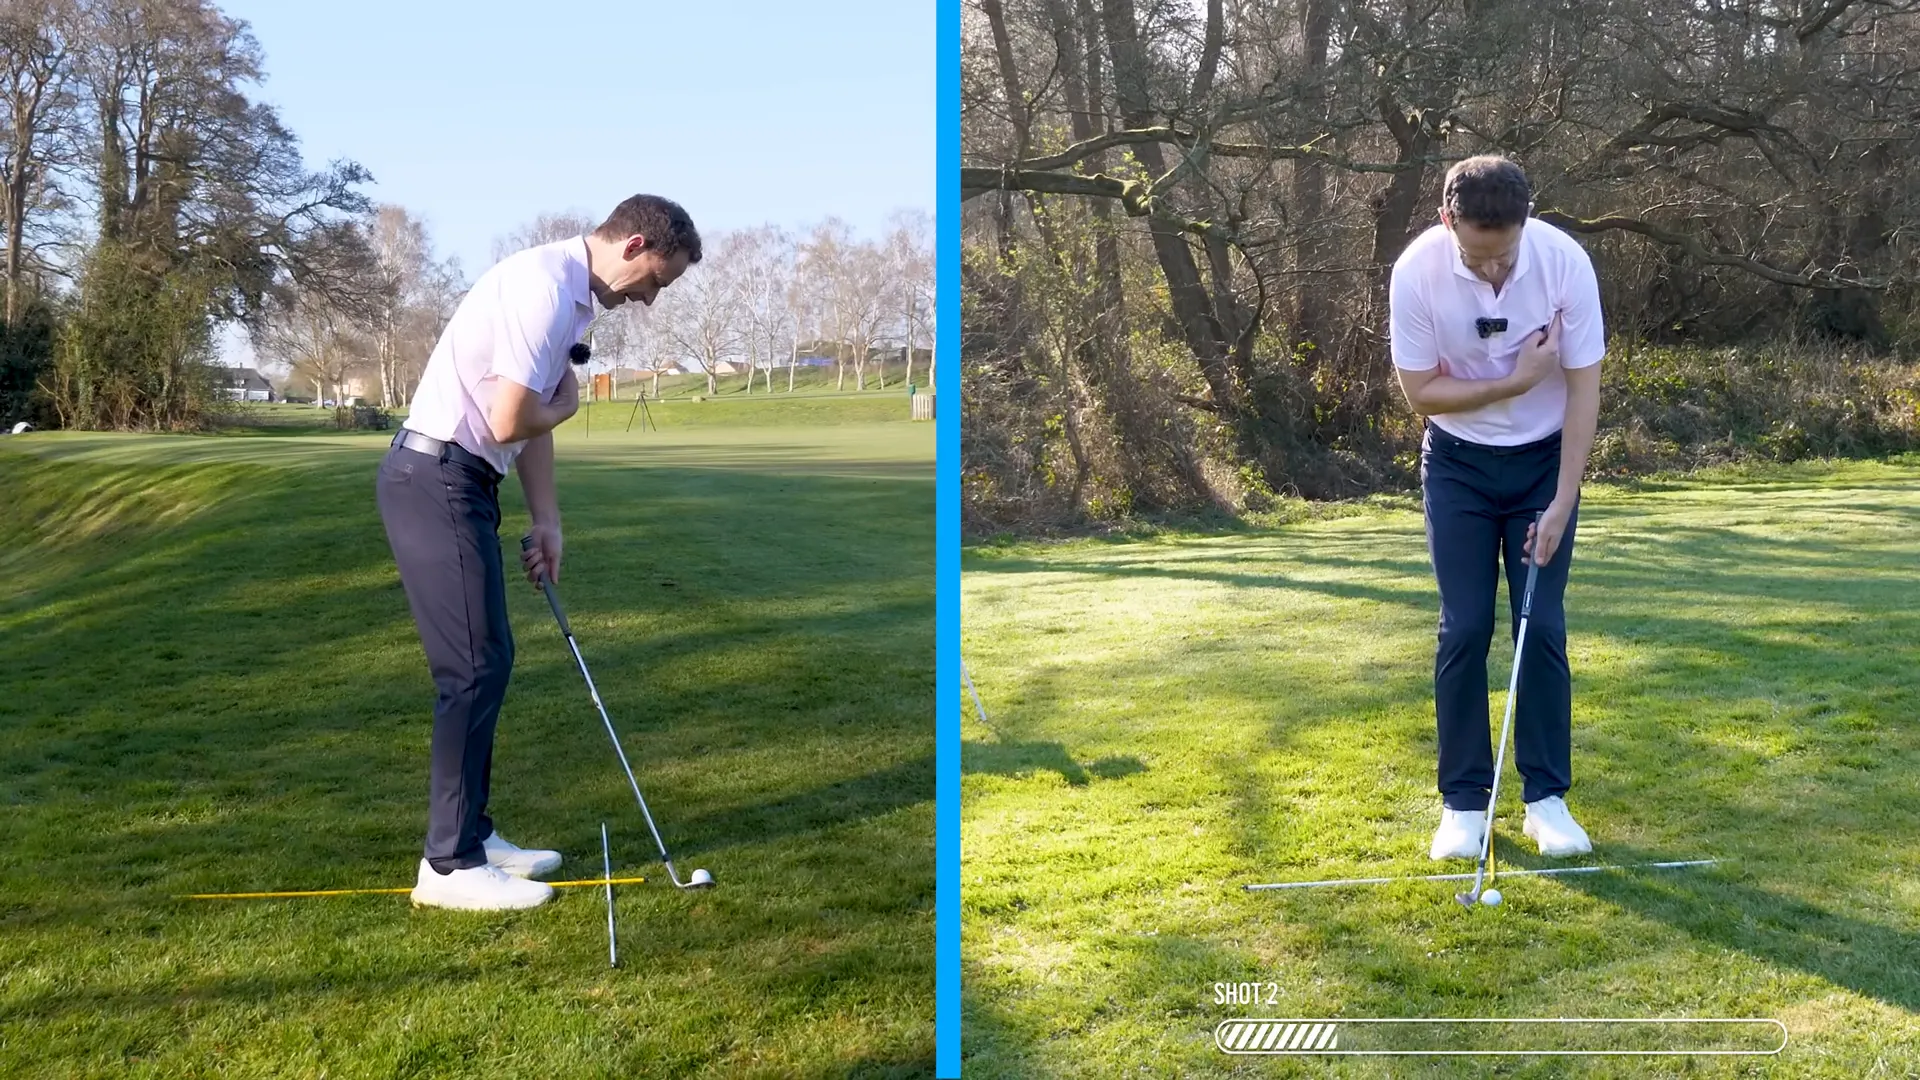
Remember to maintain your posture and avoid leaning back, enhancing control and consistency.
Step 3: The Fish’s Tail
The third shot is crucial for softly landing the ball from rough lies—termed the ‘fish’s tail.’ This uses the club’s back section.
Position the ball opposite your lead heel, directing the club towards your heart. Hinge the club back and through for a smooth motion, allowing the ball to pop up softly.
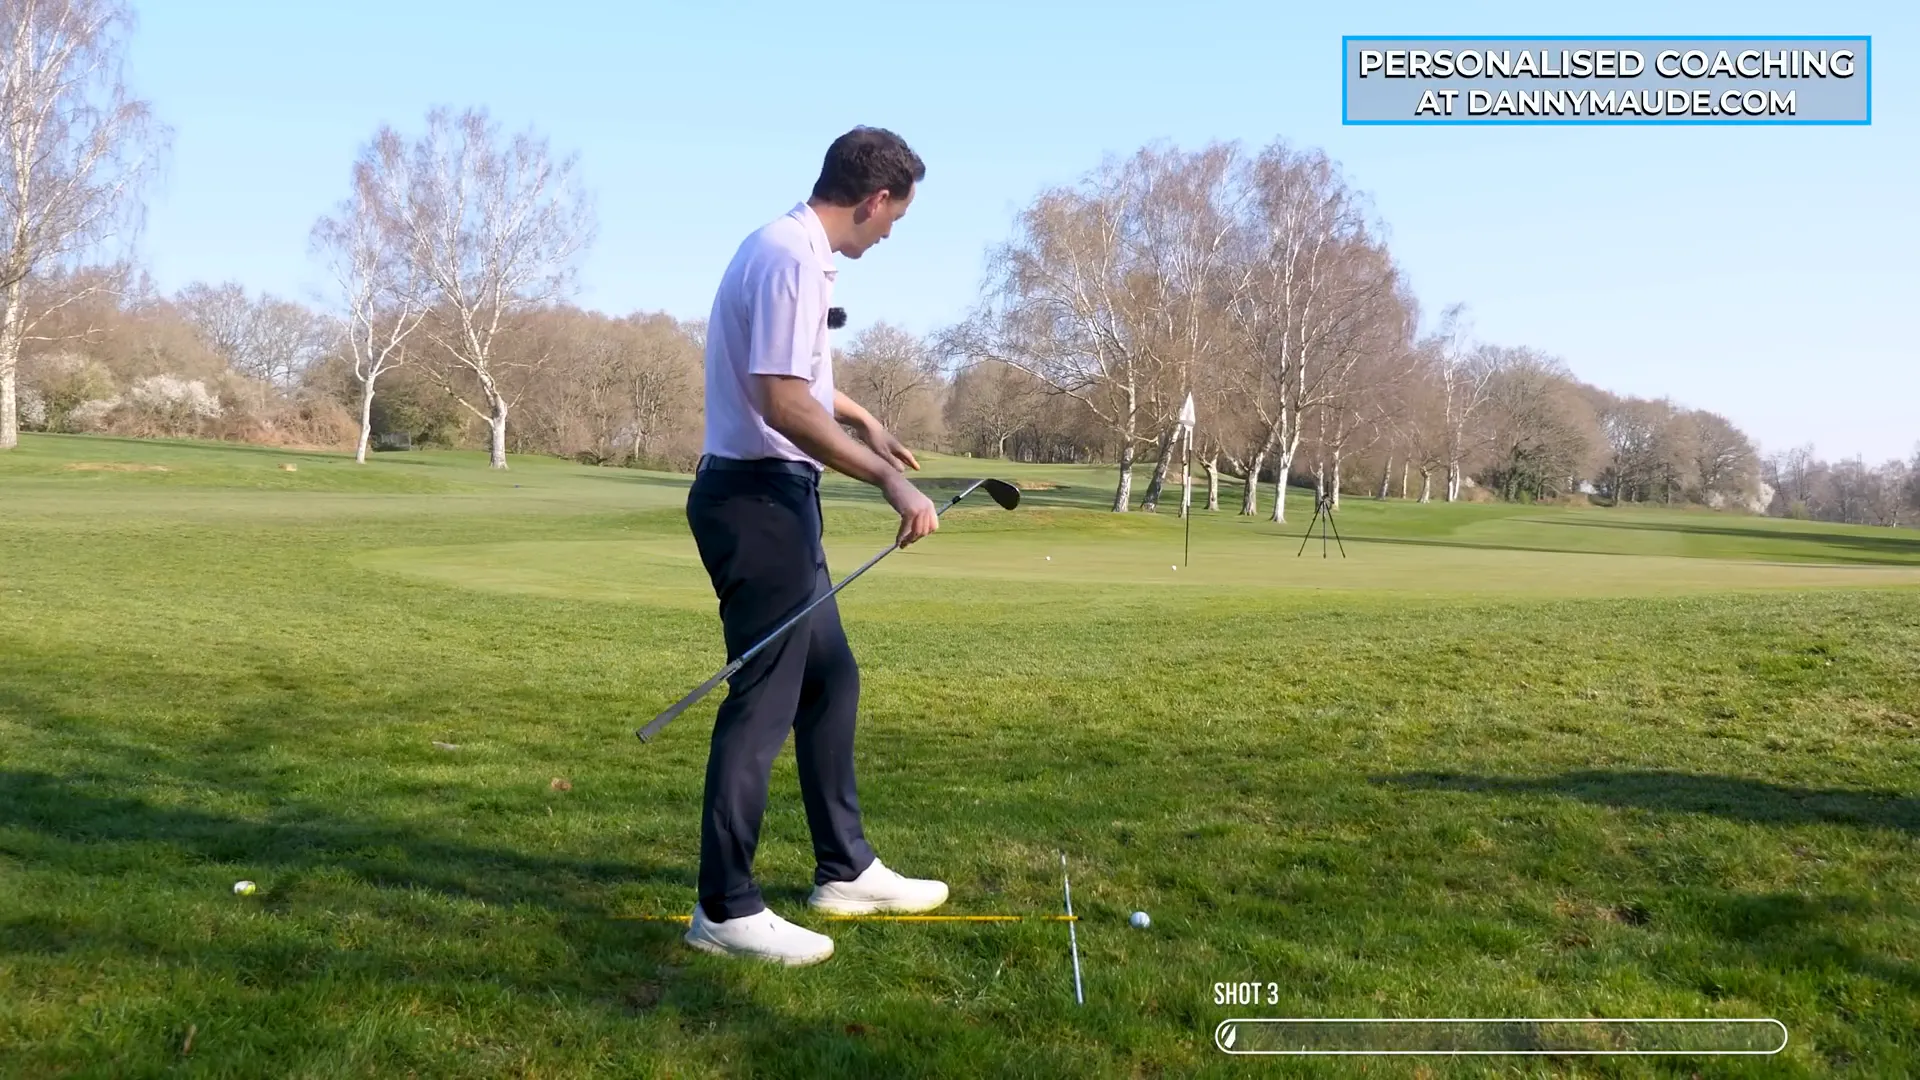
Focus on a fluid motion without wrist rolling, aiming for a soft landing.
Step 4: The Parachute Shot
The final shot, the ‘parachute shot,’ is all about height and softness. Use the club’s far back edge for this impressive shot.
Position the ball at the instep of your lead foot, slightly opening the club face. Aim to add loft from the start. As you swing, feel the club rise, committing fully for optimal distance control.
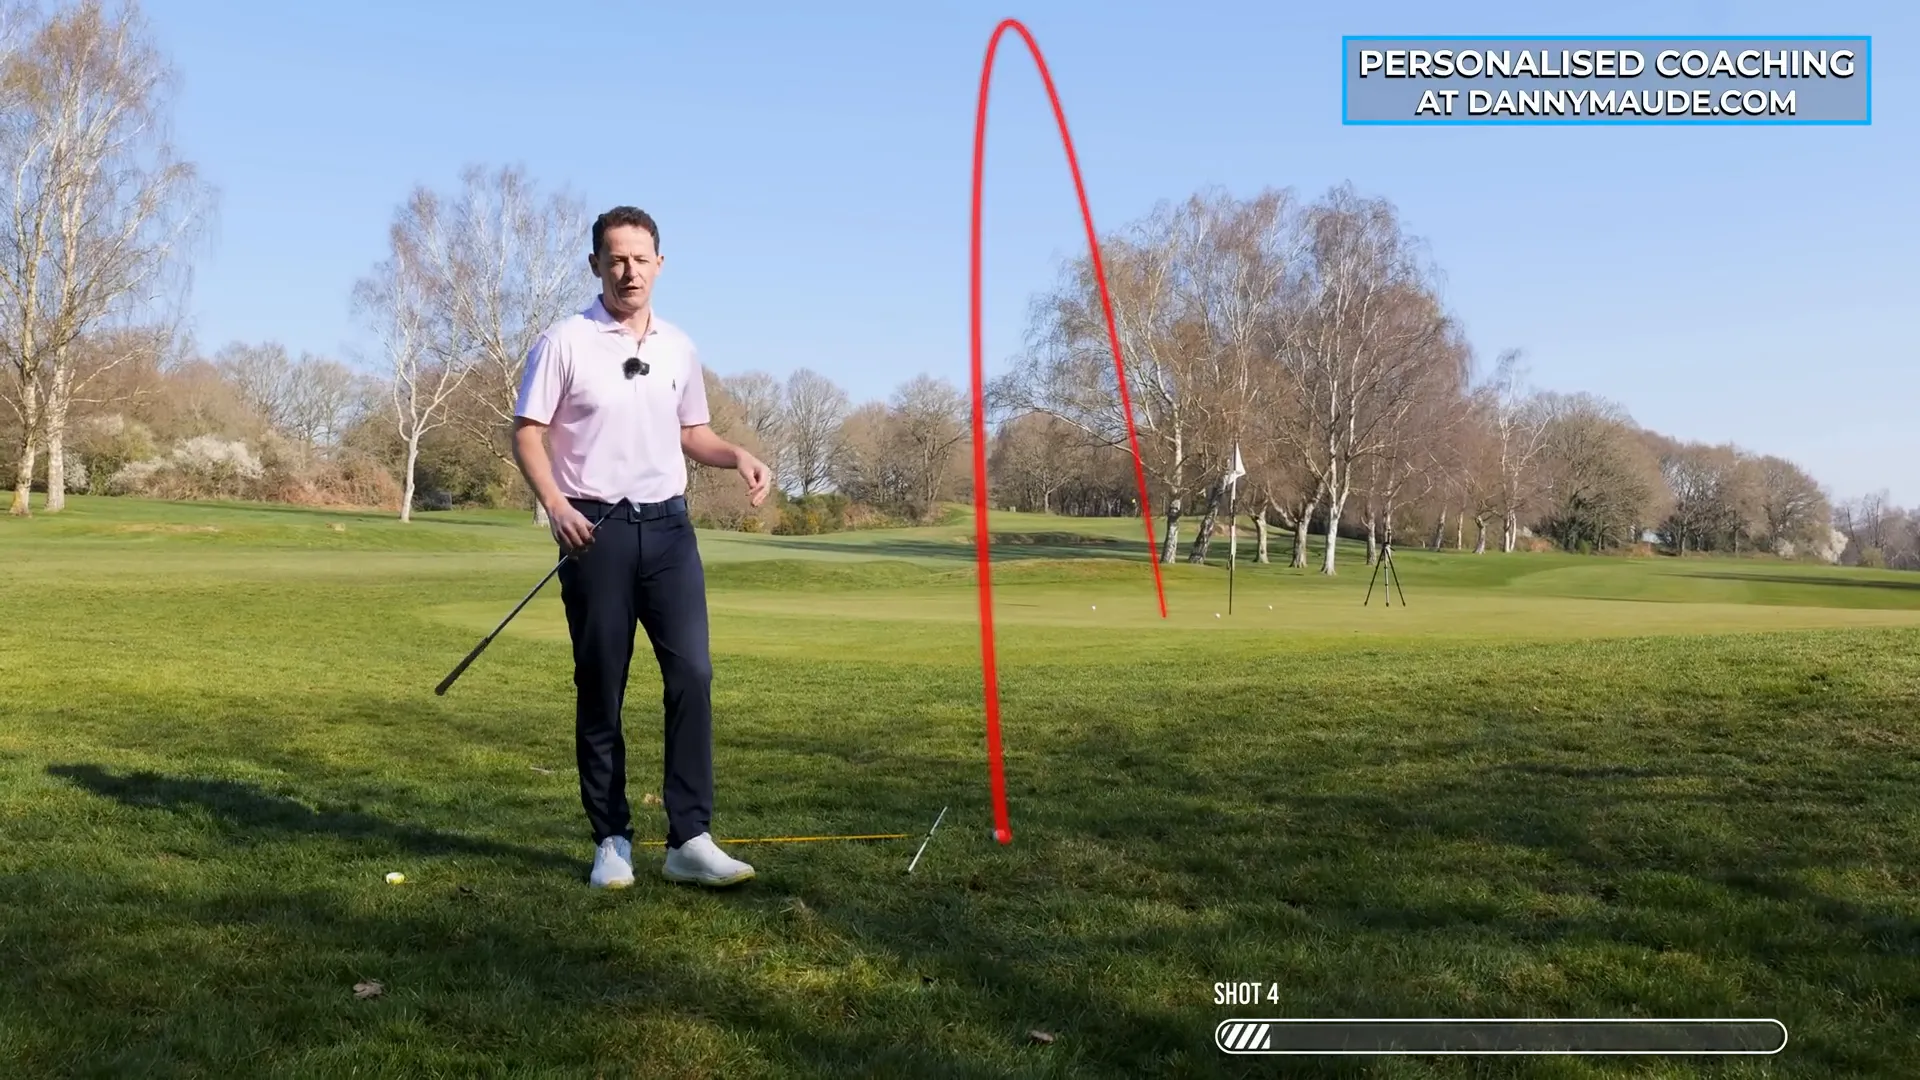
Avoid leaning back—keep your lead side steady, allowing your wrists to execute the shot confidently.
Conclusion
This four-step system has enhanced many golfers’ confidence and abilities. If you’re ever unsure, return to the first shot and rebuild your foundation. Remember, practice is key!
Check below for a free practice plan to implement these techniques. If this guide was helpful, give it a thumbs up and share it with a friend eager to improve their short game!
0 Comments