

Unlock Effortless Power in Your Golf Swing: If inconsistent ball-striking and power are hindering your golf game, mastering the wrist hinge and release is essential. This guide offers a comprehensive approach to perfecting your golf swing technique.
Table of Contents
- Step 1: Why the Wrist Hinge Matters
- Step 2: The Literal Checkpoint — Club Parallel to the Ground
- Step 3: The 45-Degree Hinge — The Literal Feel
- Step 4: Blend Hinge and Turn — The 50/50 Rule
- Step 5: Build Your Practice Station — The Three-Rod Drill
- Step 6: How to Perform the Three-Rod Hinge Drill
- Step 7: The Feel Cues — What to Say to Yourself
- Step 8: The Set Position — What it Looks and Feels Like
- Step 9: The Release — “Knuckles Down” and Palm-to-Ceiling Feel
- Step 10: The Release Drill — Feel it Against a Wall
- Step 11: The “Bucket” Analogy and What to Avoid
- Step 12: Common Faults and How to Fix Them
- Step 13: Practice Progression and Routine
- Step 14: When to Use Tailored Feel Cues
- Step 15: Why this Approach Helps Your Ball Flight and Consistency
- Step 16: Sample Practice Session
- Step 17: Common Questions and Clarifications
- Step 18: Frequently Asked Questions (FAQ)
- Conclusion: Make the Hinge and Release Part of Your Swing Foundation
Step 1: Why the Wrist Hinge Matters
The wrist hinge is a fundamental part of a reliable golf swing. It acts like a door hinge — place it correctly, and the swing works seamlessly. Incorrect hinging leads to inconsistent paths and clubface issues at impact, resulting in erratic shots.
Step 2: The Literal Checkpoint — Club Parallel to the Ground
A critical checkpoint is when your club is parallel to the ground in your backswing. Ensure your hands and club align with your feet line for an optimal swing path and consistent ball striking.
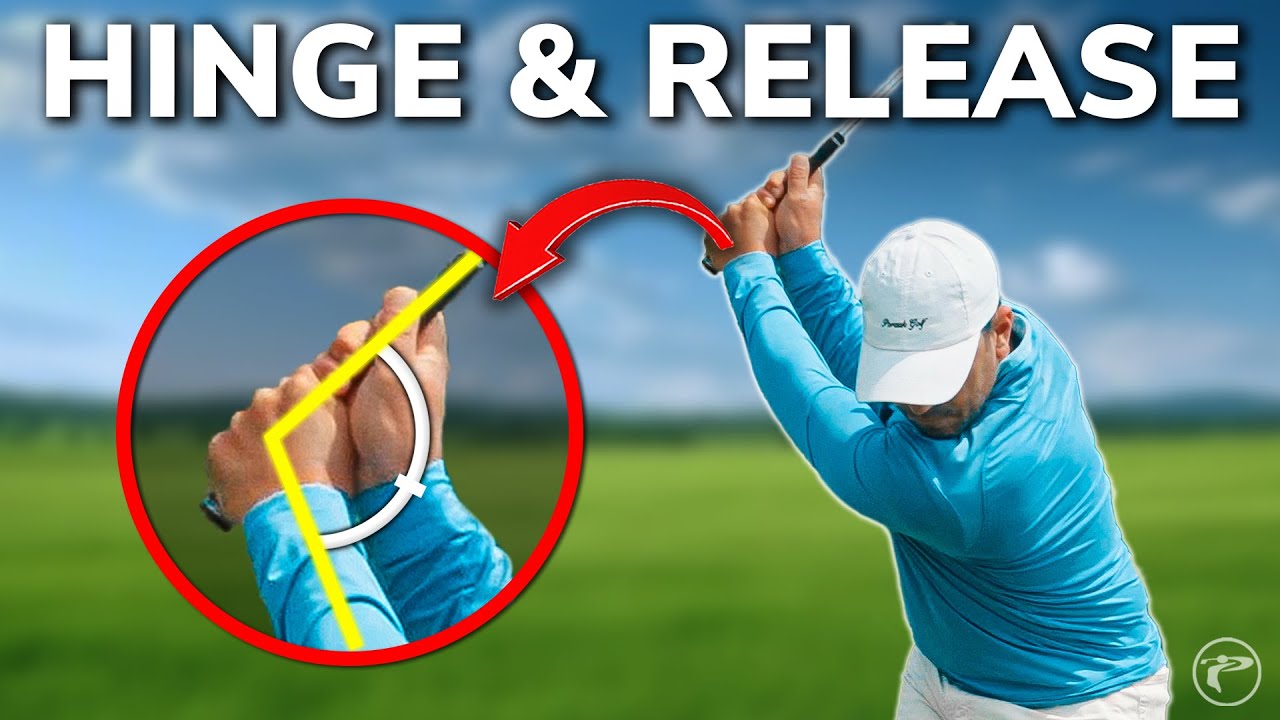
Step 3: The 45-Degree Hinge — The Literal Feel
The ideal wrist hinge forms a 45-degree angle from your lead wrist, ensuring a flat wrist and preventing an open or closed clubface. This hinge supports a consistent and powerful release.
Step 4: Blend Hinge and Turn — The 50/50 Rule
Combine your wrist hinge and body turn for the first half of your backswing. This blend prevents unwanted compensatory movements and sets up a fluid downswing.
- Hinge at roughly 45 degrees relative to your lead wrist.
- Rotate your torso simultaneously.
- Stop when the club is parallel to the ground, hands aligned with the feet.
Step 5: Build Your Practice Station — The Three-Rod Drill
This drill simplifies the hinging direction using two white alignment rods and one yellow rod to visually guide your hinge path.
- One rod along your feet line.
- Second rod perpendicular to mark ball position.
- Yellow rod at a 45-degree angle between them.
Step 6: How to Perform the Three-Rod Hinge Drill
Set up similarly to your normal ball position, and repeat swings by following your visual guide:
- Slowly hinge the club along the yellow rod.
- Track your hands along the white rod path.
- Incorporate body rotation — remember 50/50.
- Ensure your hands and club align down your feet line at the checkpoint.
Step 7: The Feel Cues — What to Say to Yourself
Avoid overly dramatic cues; instead, focus on literal guidance like:
- “Hinge to 45 degrees.”
- “Hands down the white line.”
- “Butt of the club toward the ball.”
- “Set and rotate.”
Step 8: The Set Position — What it Looks and Feels Like
The correct set position helps you rotate through hits effectively without manipulating the club:
- Club parallel to the ground.
- Accurate hand and club alignment.
- Butt of the club slightly toward the ball.
- Lead wrist flat.
Step 9: The Release — “Knuckles Down” and Palm-to-Ceiling Feel
The release is vital for consistent squaring of the face at impact. The “knuckles down” or “palm to the ceiling” feel ensures a dynamic strike:
- Rotate and feel the back of the lead hand and front of the trail hand closing to the target.
- Lead palm should face the sky, promoting a flat lead wrist.
Step 10: The Release Drill — Feel it Against a Wall
Enhance your release skill by practicing against a wall without relying solely on ball feedback:
- Stand near a wall and align your set position.
- Rotate, letting your lead hand’s back and trail hand’s front “hit” the wall.
- Increase speed gradually for immediate feedback on hand position and face angle.
Step 11: The “Bucket” Analogy and What to Avoid
Think of your arms and club as a bucket. Keep movements in sync to prevent inaccurate shots. Avoid lateral lag in your arms that disrupts the natural flow of your swing.
Step 12: Common Faults and How to Fix Them
Address these errors with precise cues:
- Hands outside at parallel: Use yellow rod hinge direction as a guide.
- Hands inside at parallel: Maintain the 45-degree position.
- Cupped lead wrist: Keep a flat lead wrist for proper impact.
- Bowed lead wrist: Bring back to the neutral 45-degree.
- Chicken wing at release: Utilize wall drill cues for improvement.
- Forcing the release: Let rotation guide your release naturally.
Step 13: Practice Progression and Routine
Follow these steps to smoothly integrate these skills into your game:
- Warm-up with light swings emphasizing hinge and turn.
- Use the three-rod setup for initial practice.
- Add rotation for a blended approach and stop at the parallel checkpoint.
- Use the wall to perfect the knuckles-down release.
- Combine techniques: set, rotate through, and hit half shots.
- Transition to full swings by maintaining sequence.
Step 14: When to Use Tailored Feel Cues
Not all players require the same guidance. After mastering the literal 45-degree hinge, customize cues to individual needs without exaggeration:
- For players with existing tendencies, modify hinge feel accordingly.
Step 15: Why This Approach Helps Your Ball Flight and Consistency
A consistent hinge plus a body-driven release enhances:
- Repeatable swing plane and shot shape.
- Natural face squaring at impact.
- Efficient compression for better shots.
Step 16: Sample Practice Session
Spend 30–45 minutes perfecting these techniques at the range or home:
- Warm-up: Focus on natural hinge and rotation.
- Perform slow three-rod hinge drills focusing on placement.
- Conduct the wall release drill for knuckles-down sensation.
- Hit set-and-go shots, gradually increasing swing intensity.
Step 17: Common Questions and Clarifications
Build a fundamental understanding by starting with literal positions before advancing to personal cues.
Step 18: Frequently Asked Questions (FAQ)
Q: How do I confirm a correct hinge?
A: Use alignment rods or video to check if your hands align with your feet at the club shaft’s parallel position.
Q: What if I can’t feel the hinge correctly?
A: Use literal cues or rod setups for guidance; adjust feels for personal imperfections.
Q: Can “knuckles down” encourage flipping?
A: It shouldn’t if you maintain angles through rotation and avoid forcing hand movements.
Q: How long for improvement?
A: Consistent practice often results in changes within 2–6 weeks.
Q: Is this method suitable for beginners?
A: Yes, beginners should start with 45-degree hinge teaching for long-term swing reliability.
Q: What about limited wrist mobility?
A: Adjust mechanics to suit abilities while aiming for a balanced hinge and rotation.
Conclusion: Make the Hinge and Release Part of Your Swing Foundation
Refining your wrist hinge and release can drastically improve your golf game. Practice consistently with structured techniques to simplify your swing. Rotate through a knuckles-down position for forward shaft lean, repeat effective drills, and allow for a natural swing evolution. Embrace these skills for stronger, straighter shots.
0 Comments